

This was a fun project and thanks to both the book, A Year of Sewing with Nani IRO and the publisher’s videos on YouTube, I definitely grew my skills in garment construction. If you’ve sewn 1 or 2 garments and feel confident with your sewing machine, this could be a good project for you.


(Note: This is the third and final post in the Nani IRO series. Read the first two blog posts for the full dressmaking story.)
Mistakes I made:
1- Traced a few pieces of the pattern wrong and had to start over.
2- Used a dull rotary blade, which made inaccurate cuts.
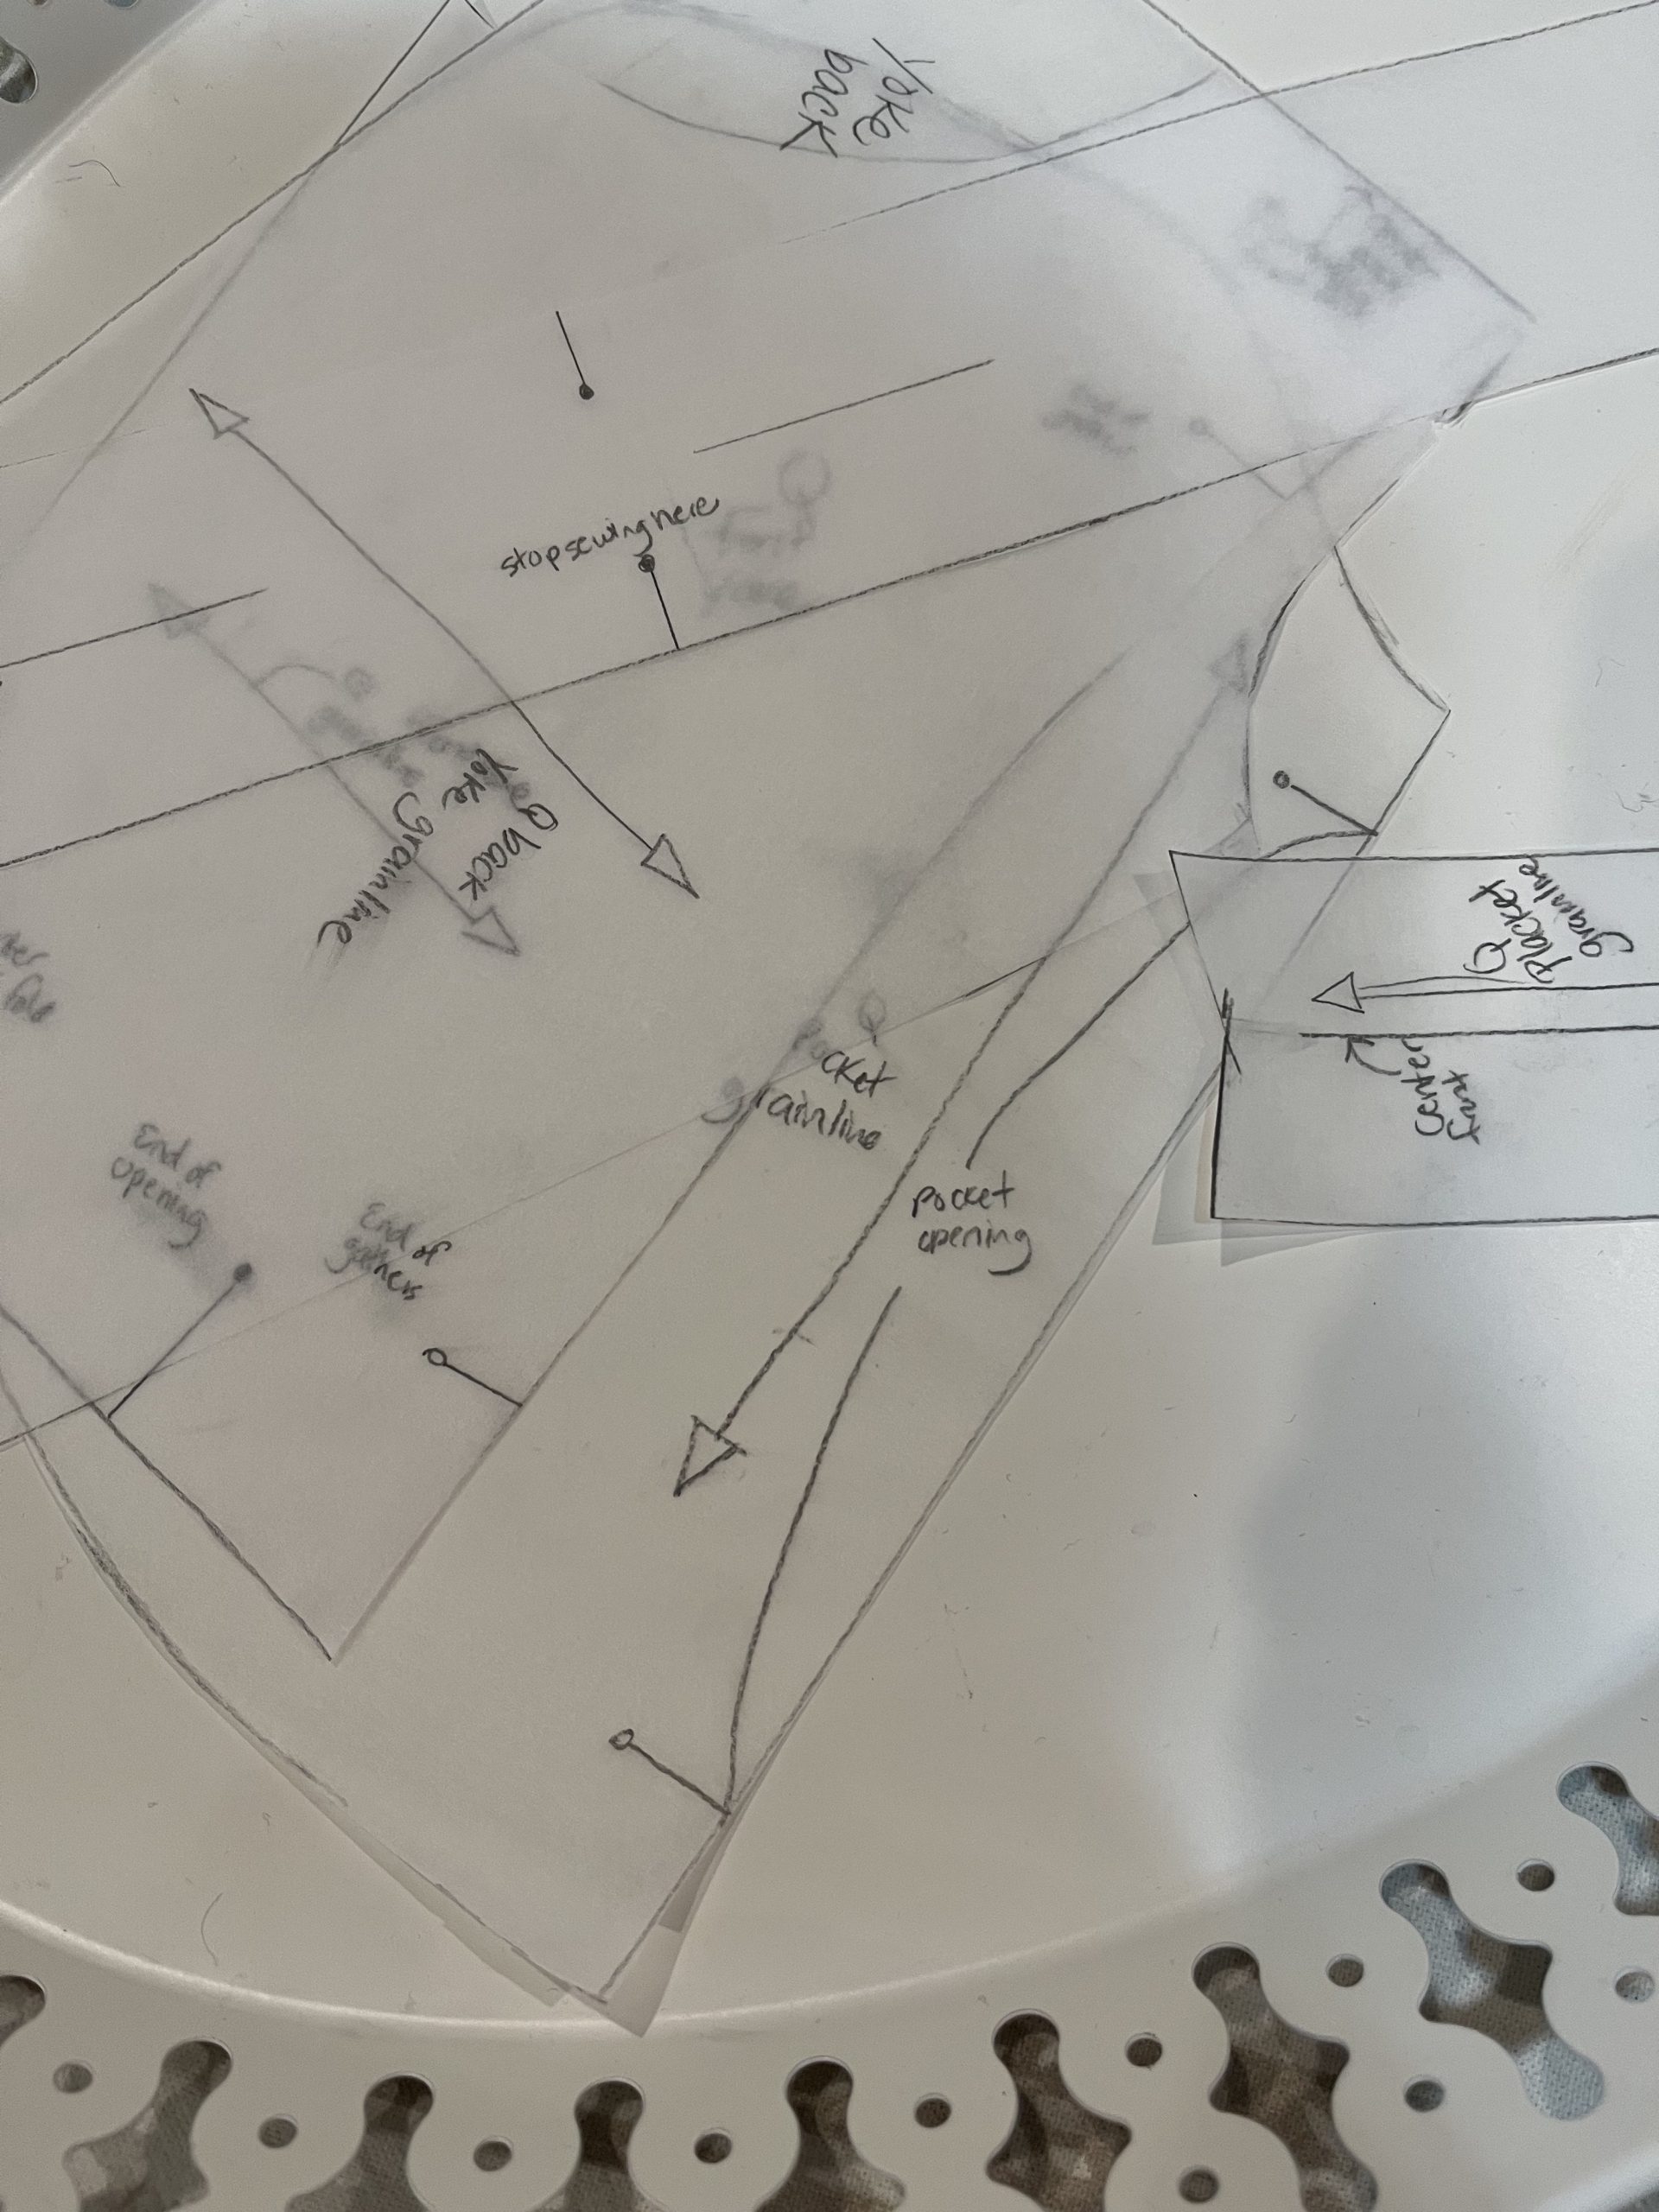
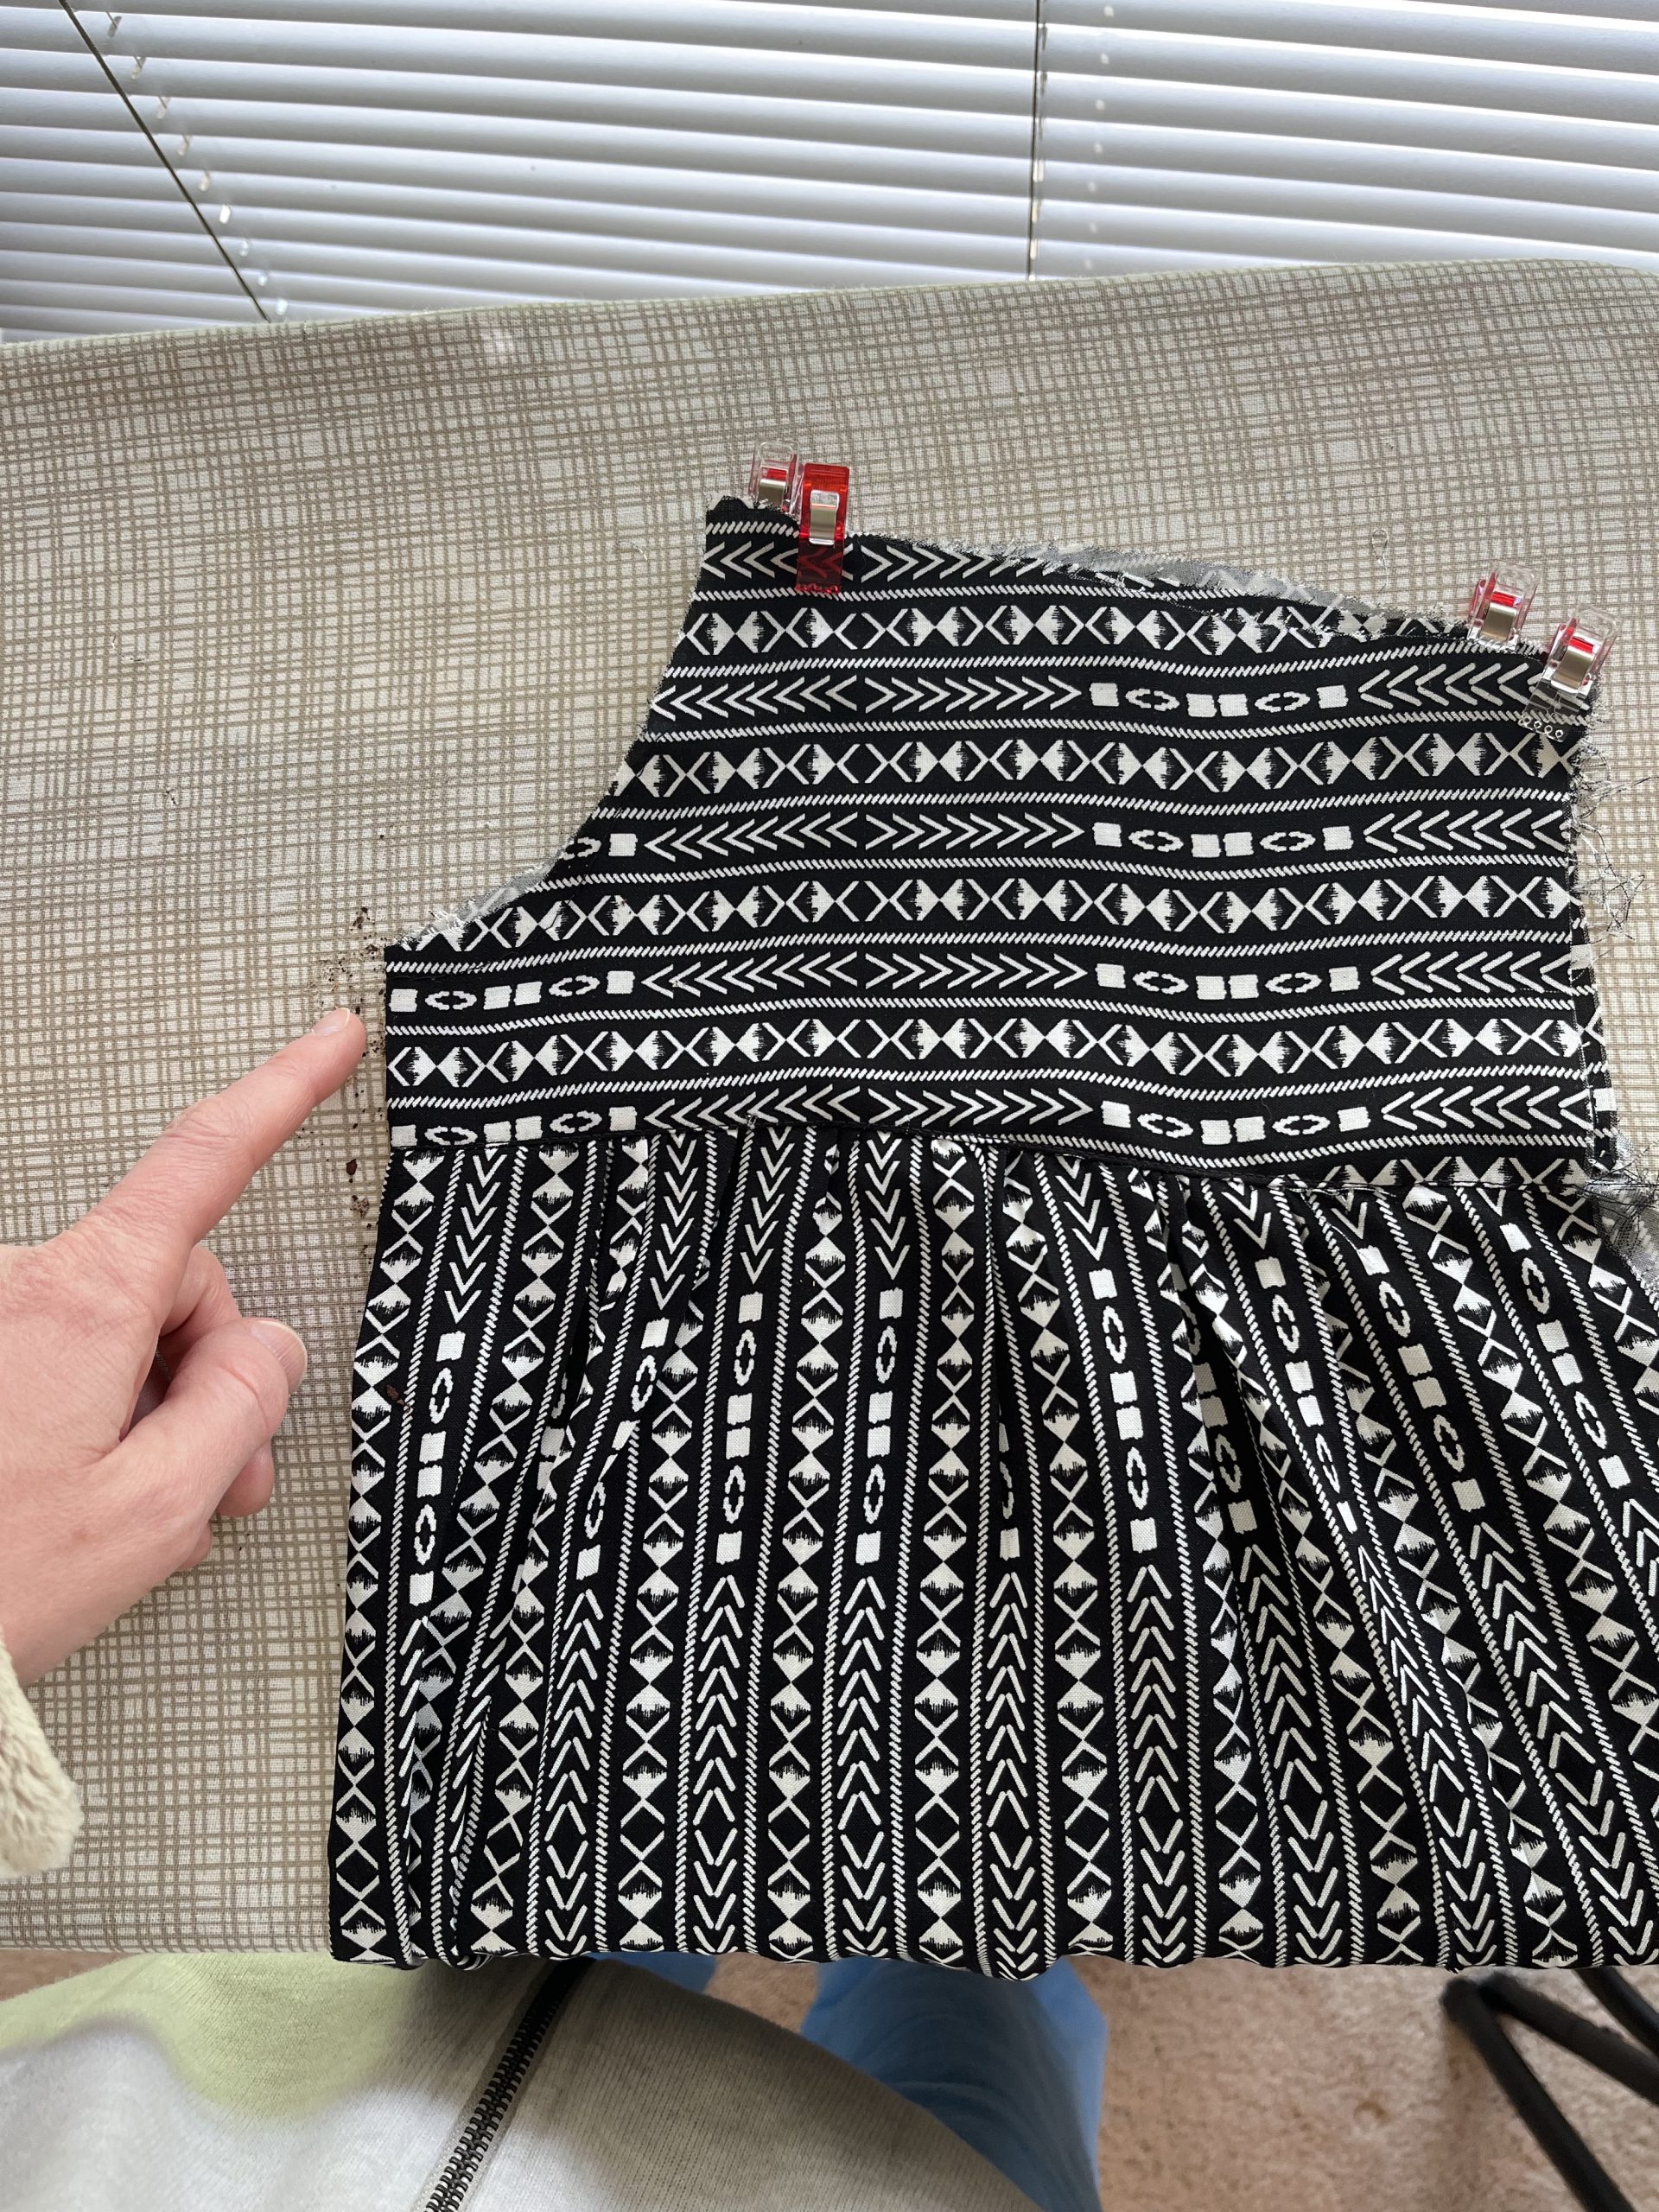
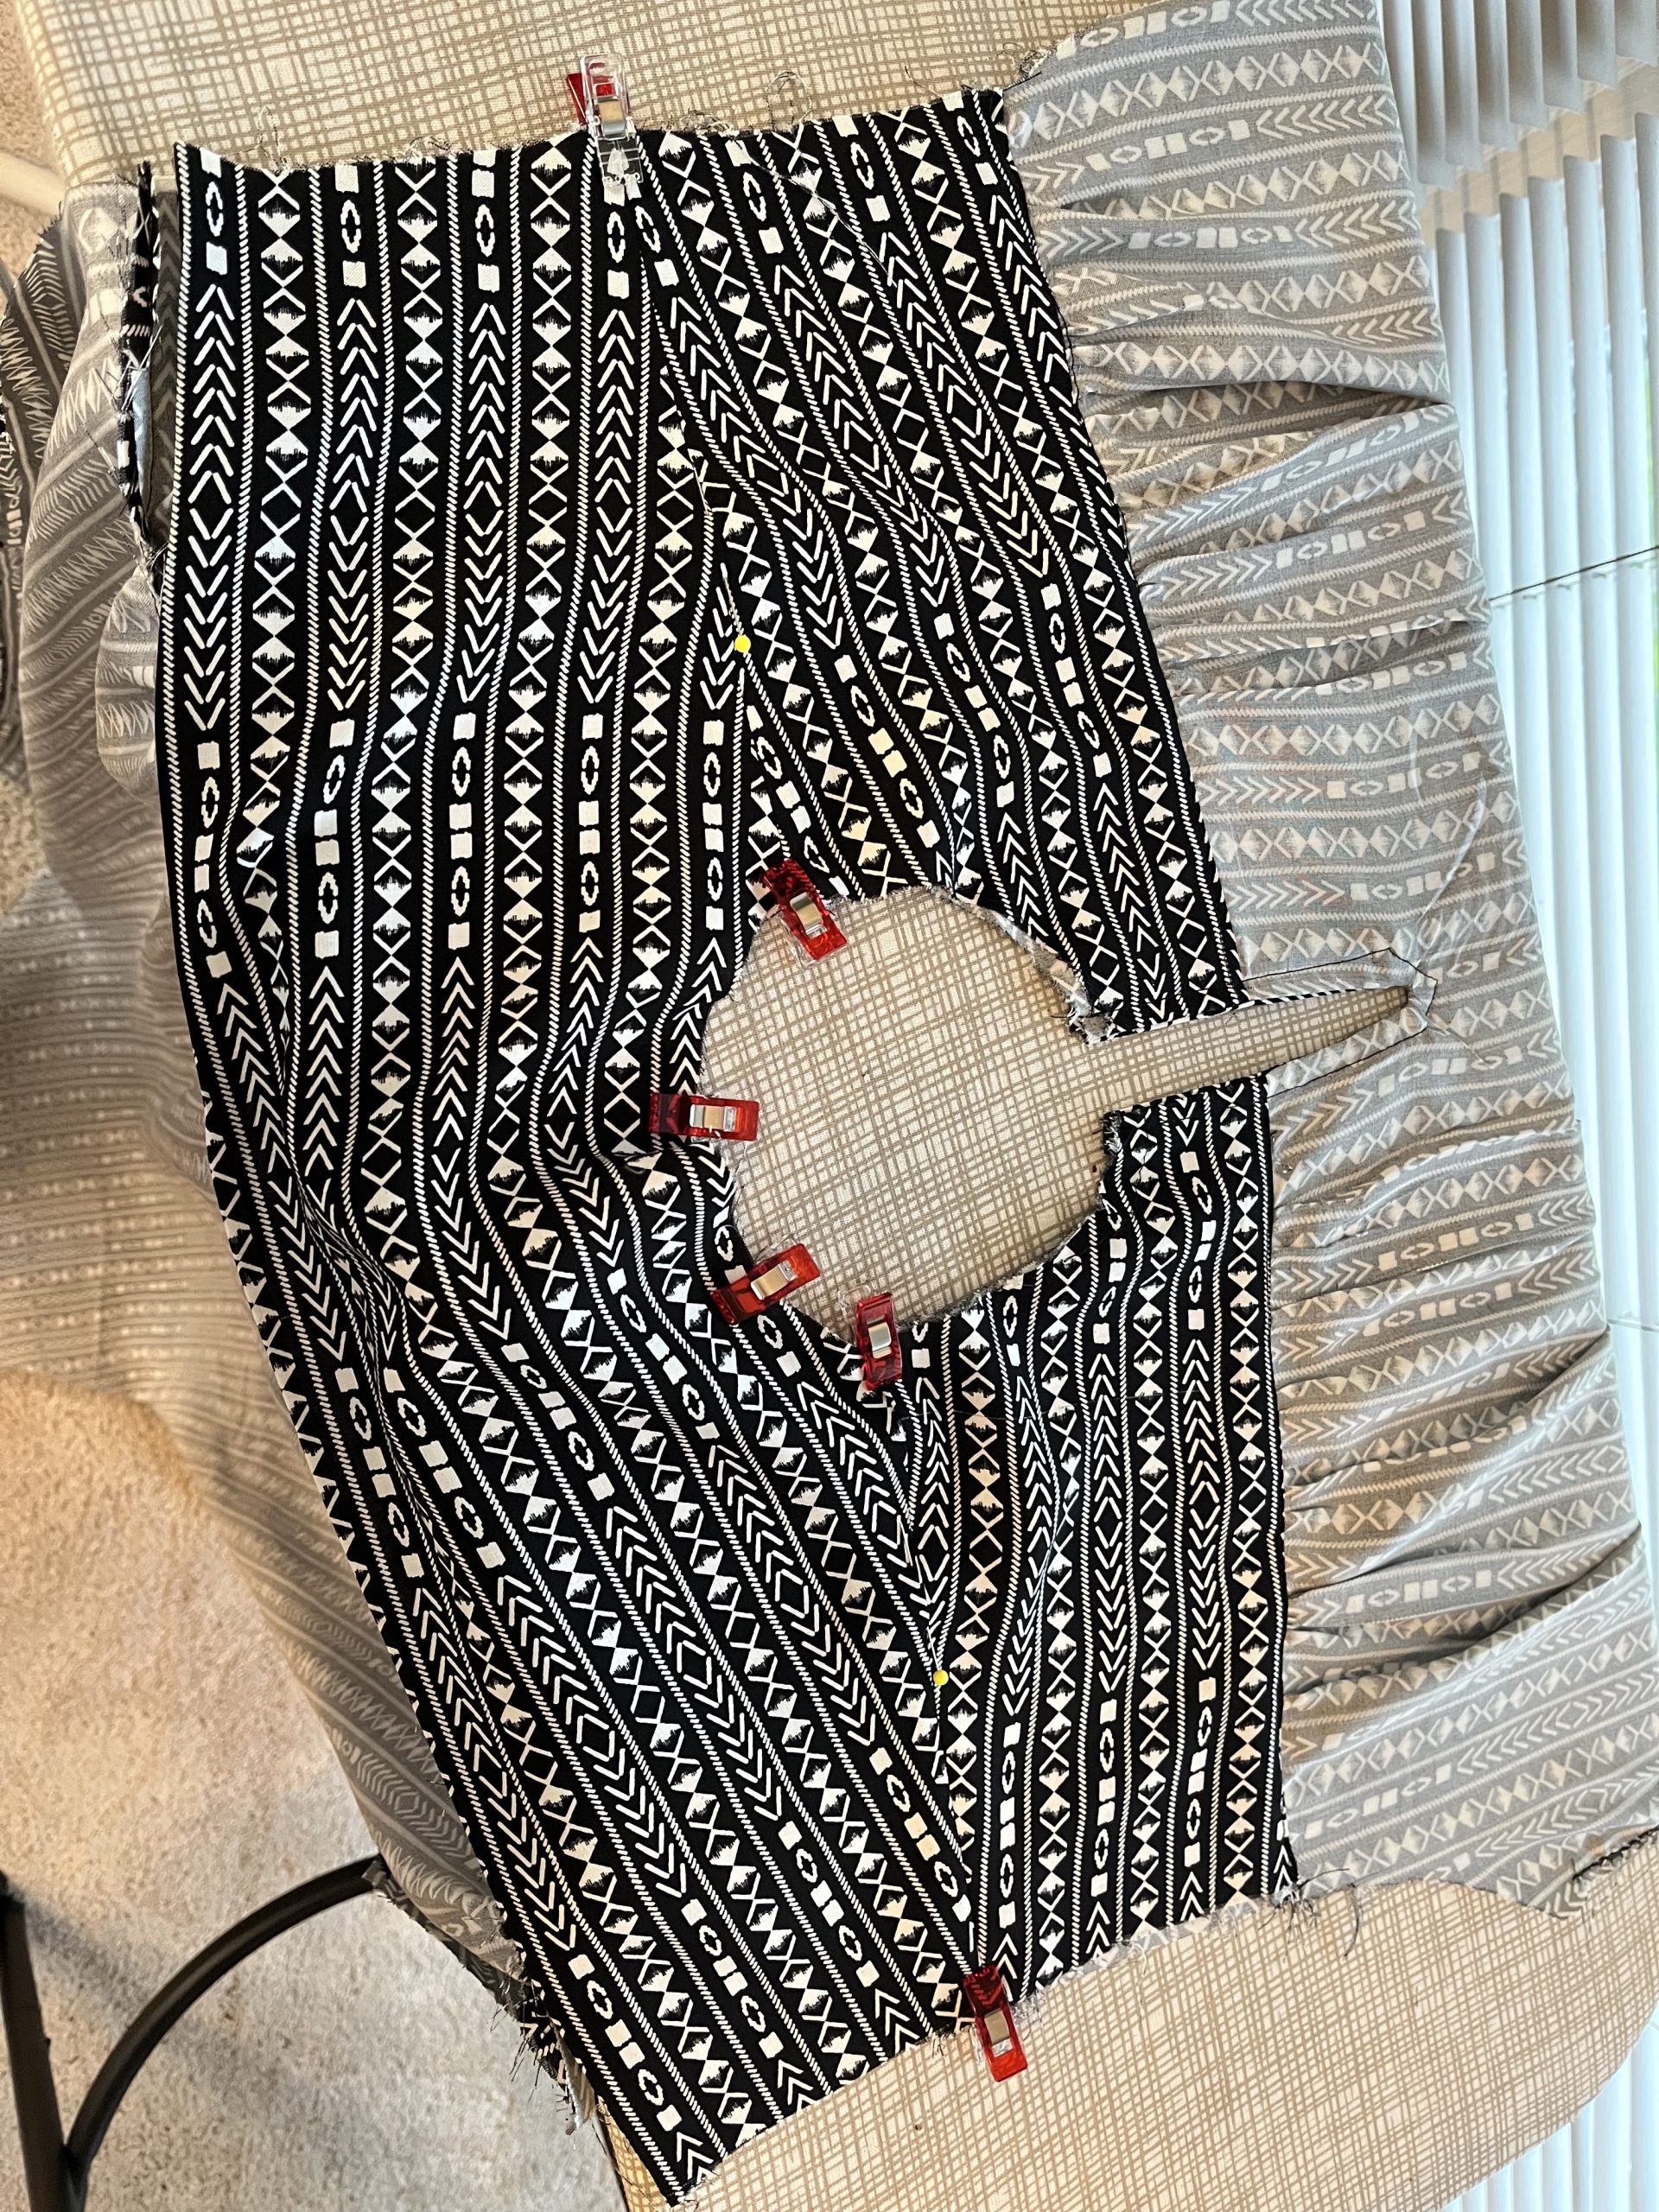
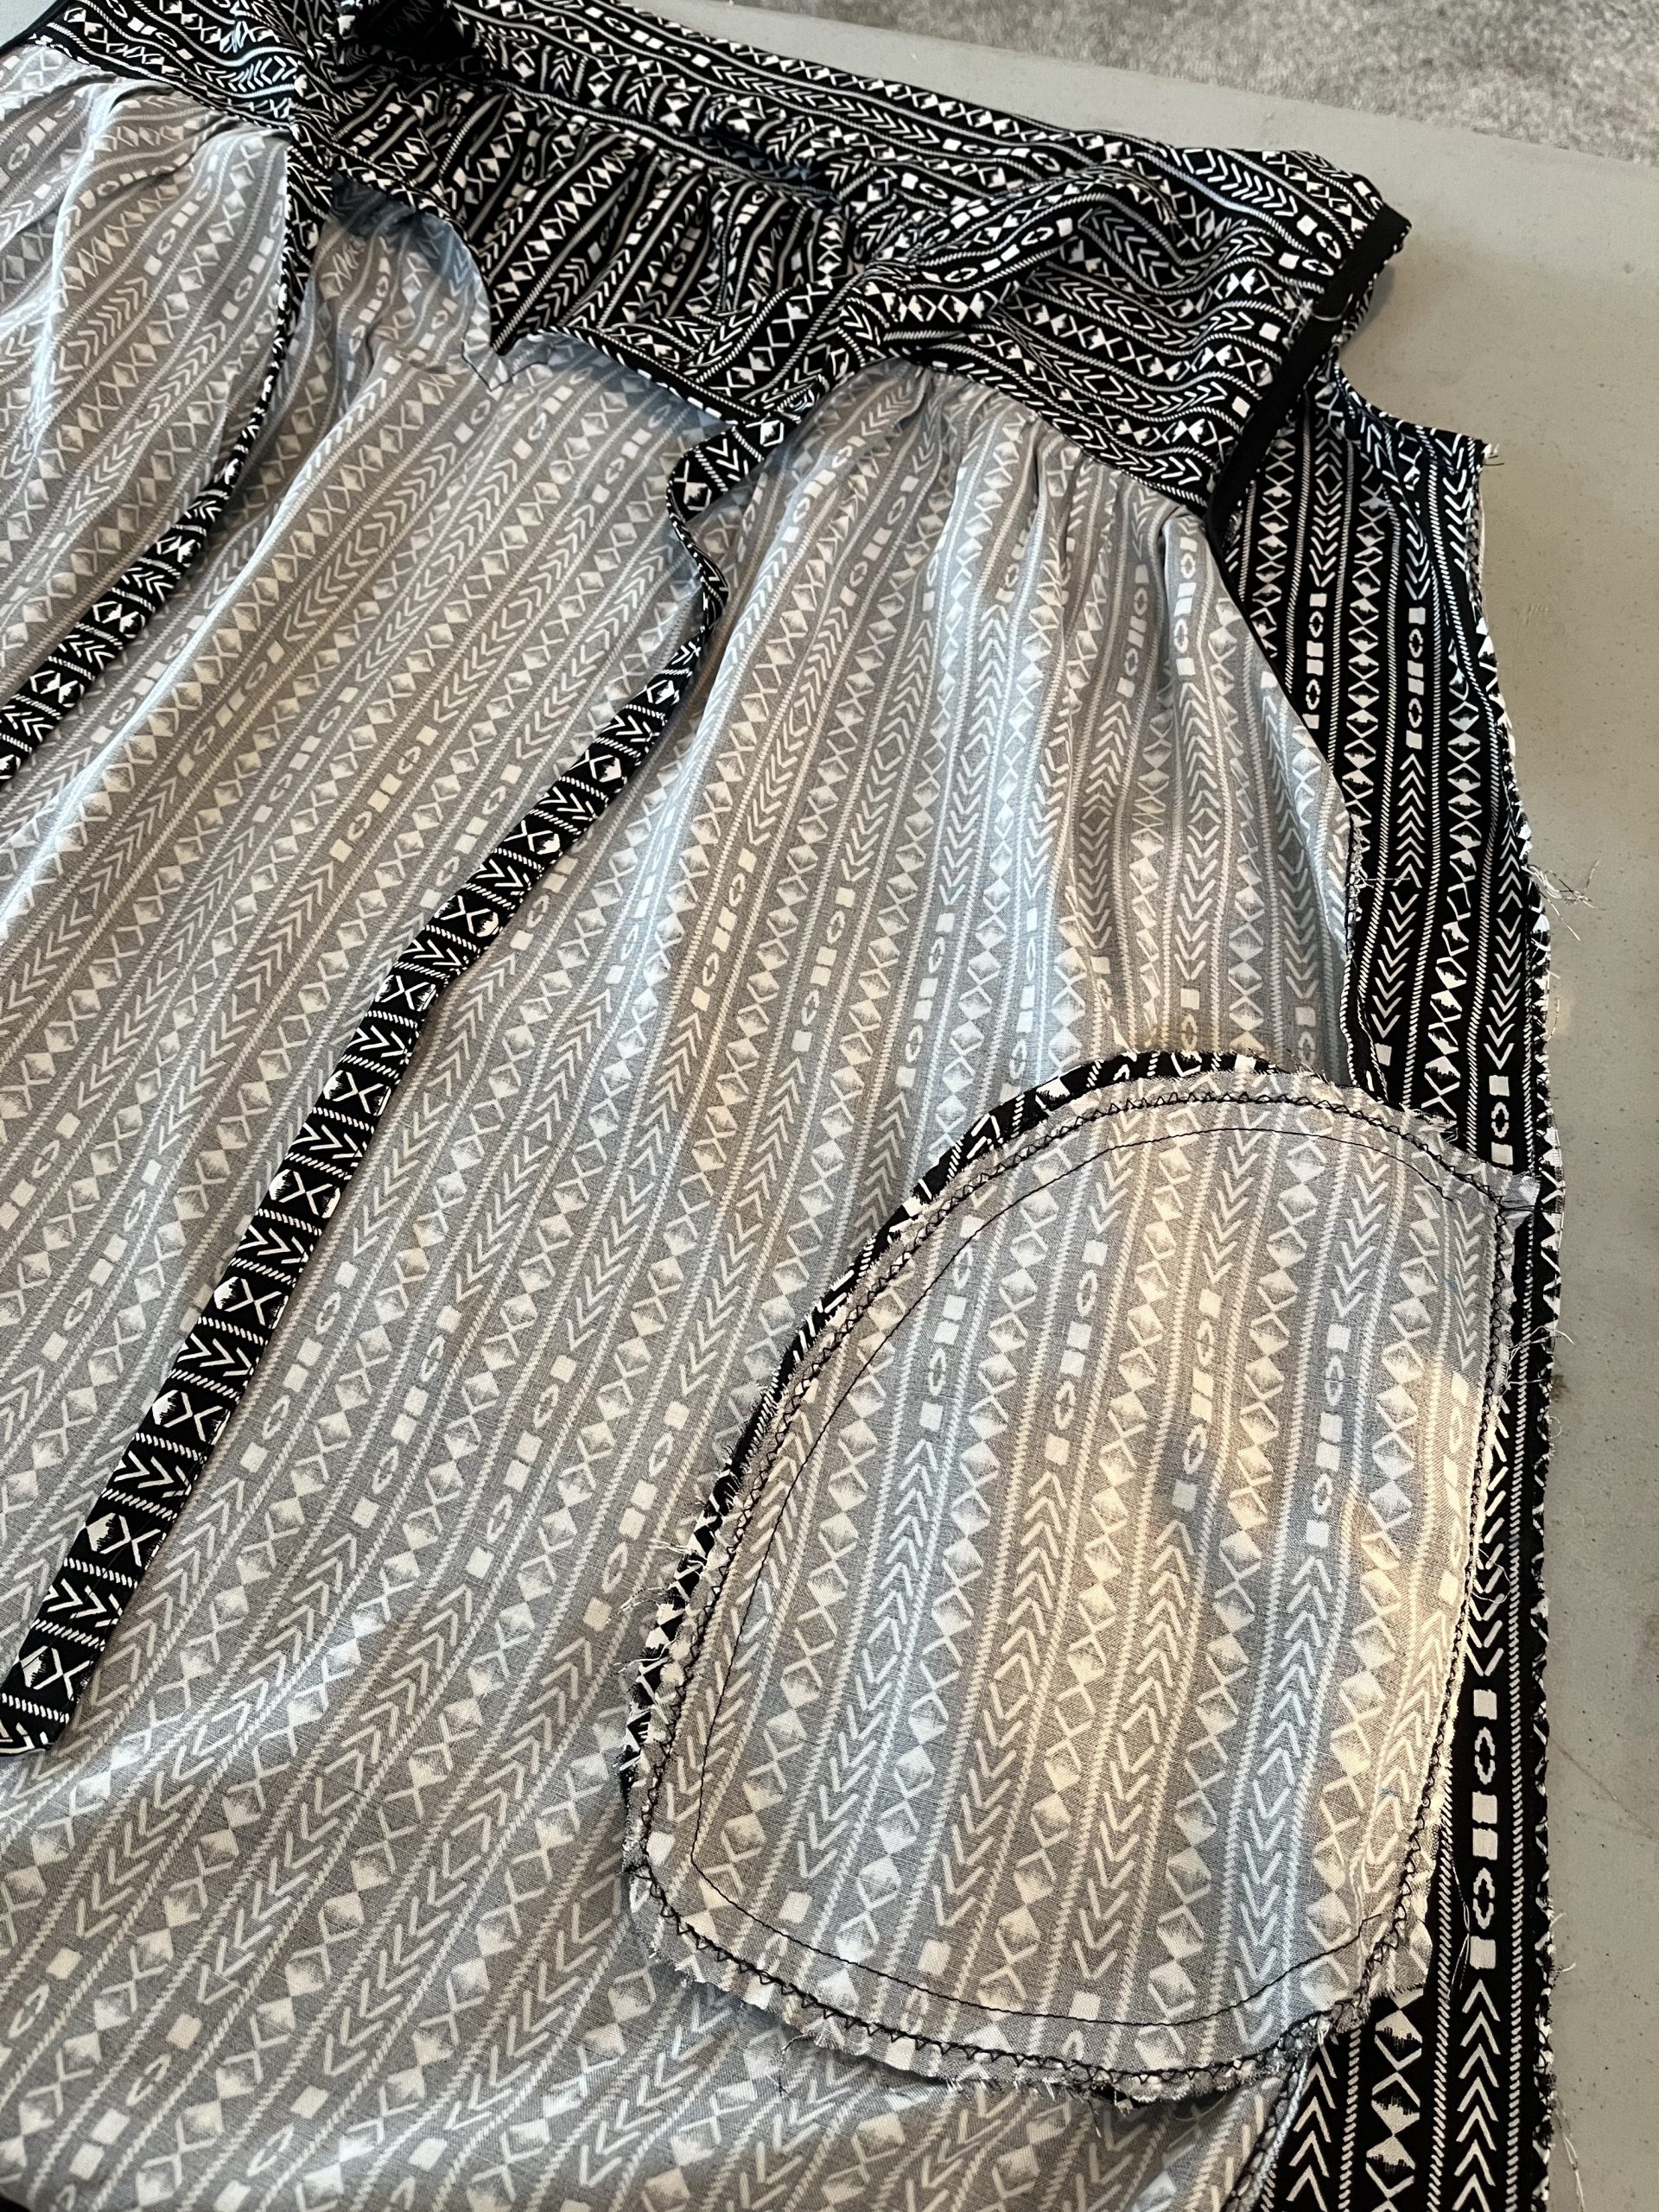
3- Forgot to increase stitch-width on my sewing machine when I sewed around the edges. This resulted in wonky-shaped pockets, and ultimately reduced the volume of the pocket. (You’ll see this in the photos, but thankfully it’s hidden inside of the dress.)
Overview of the process
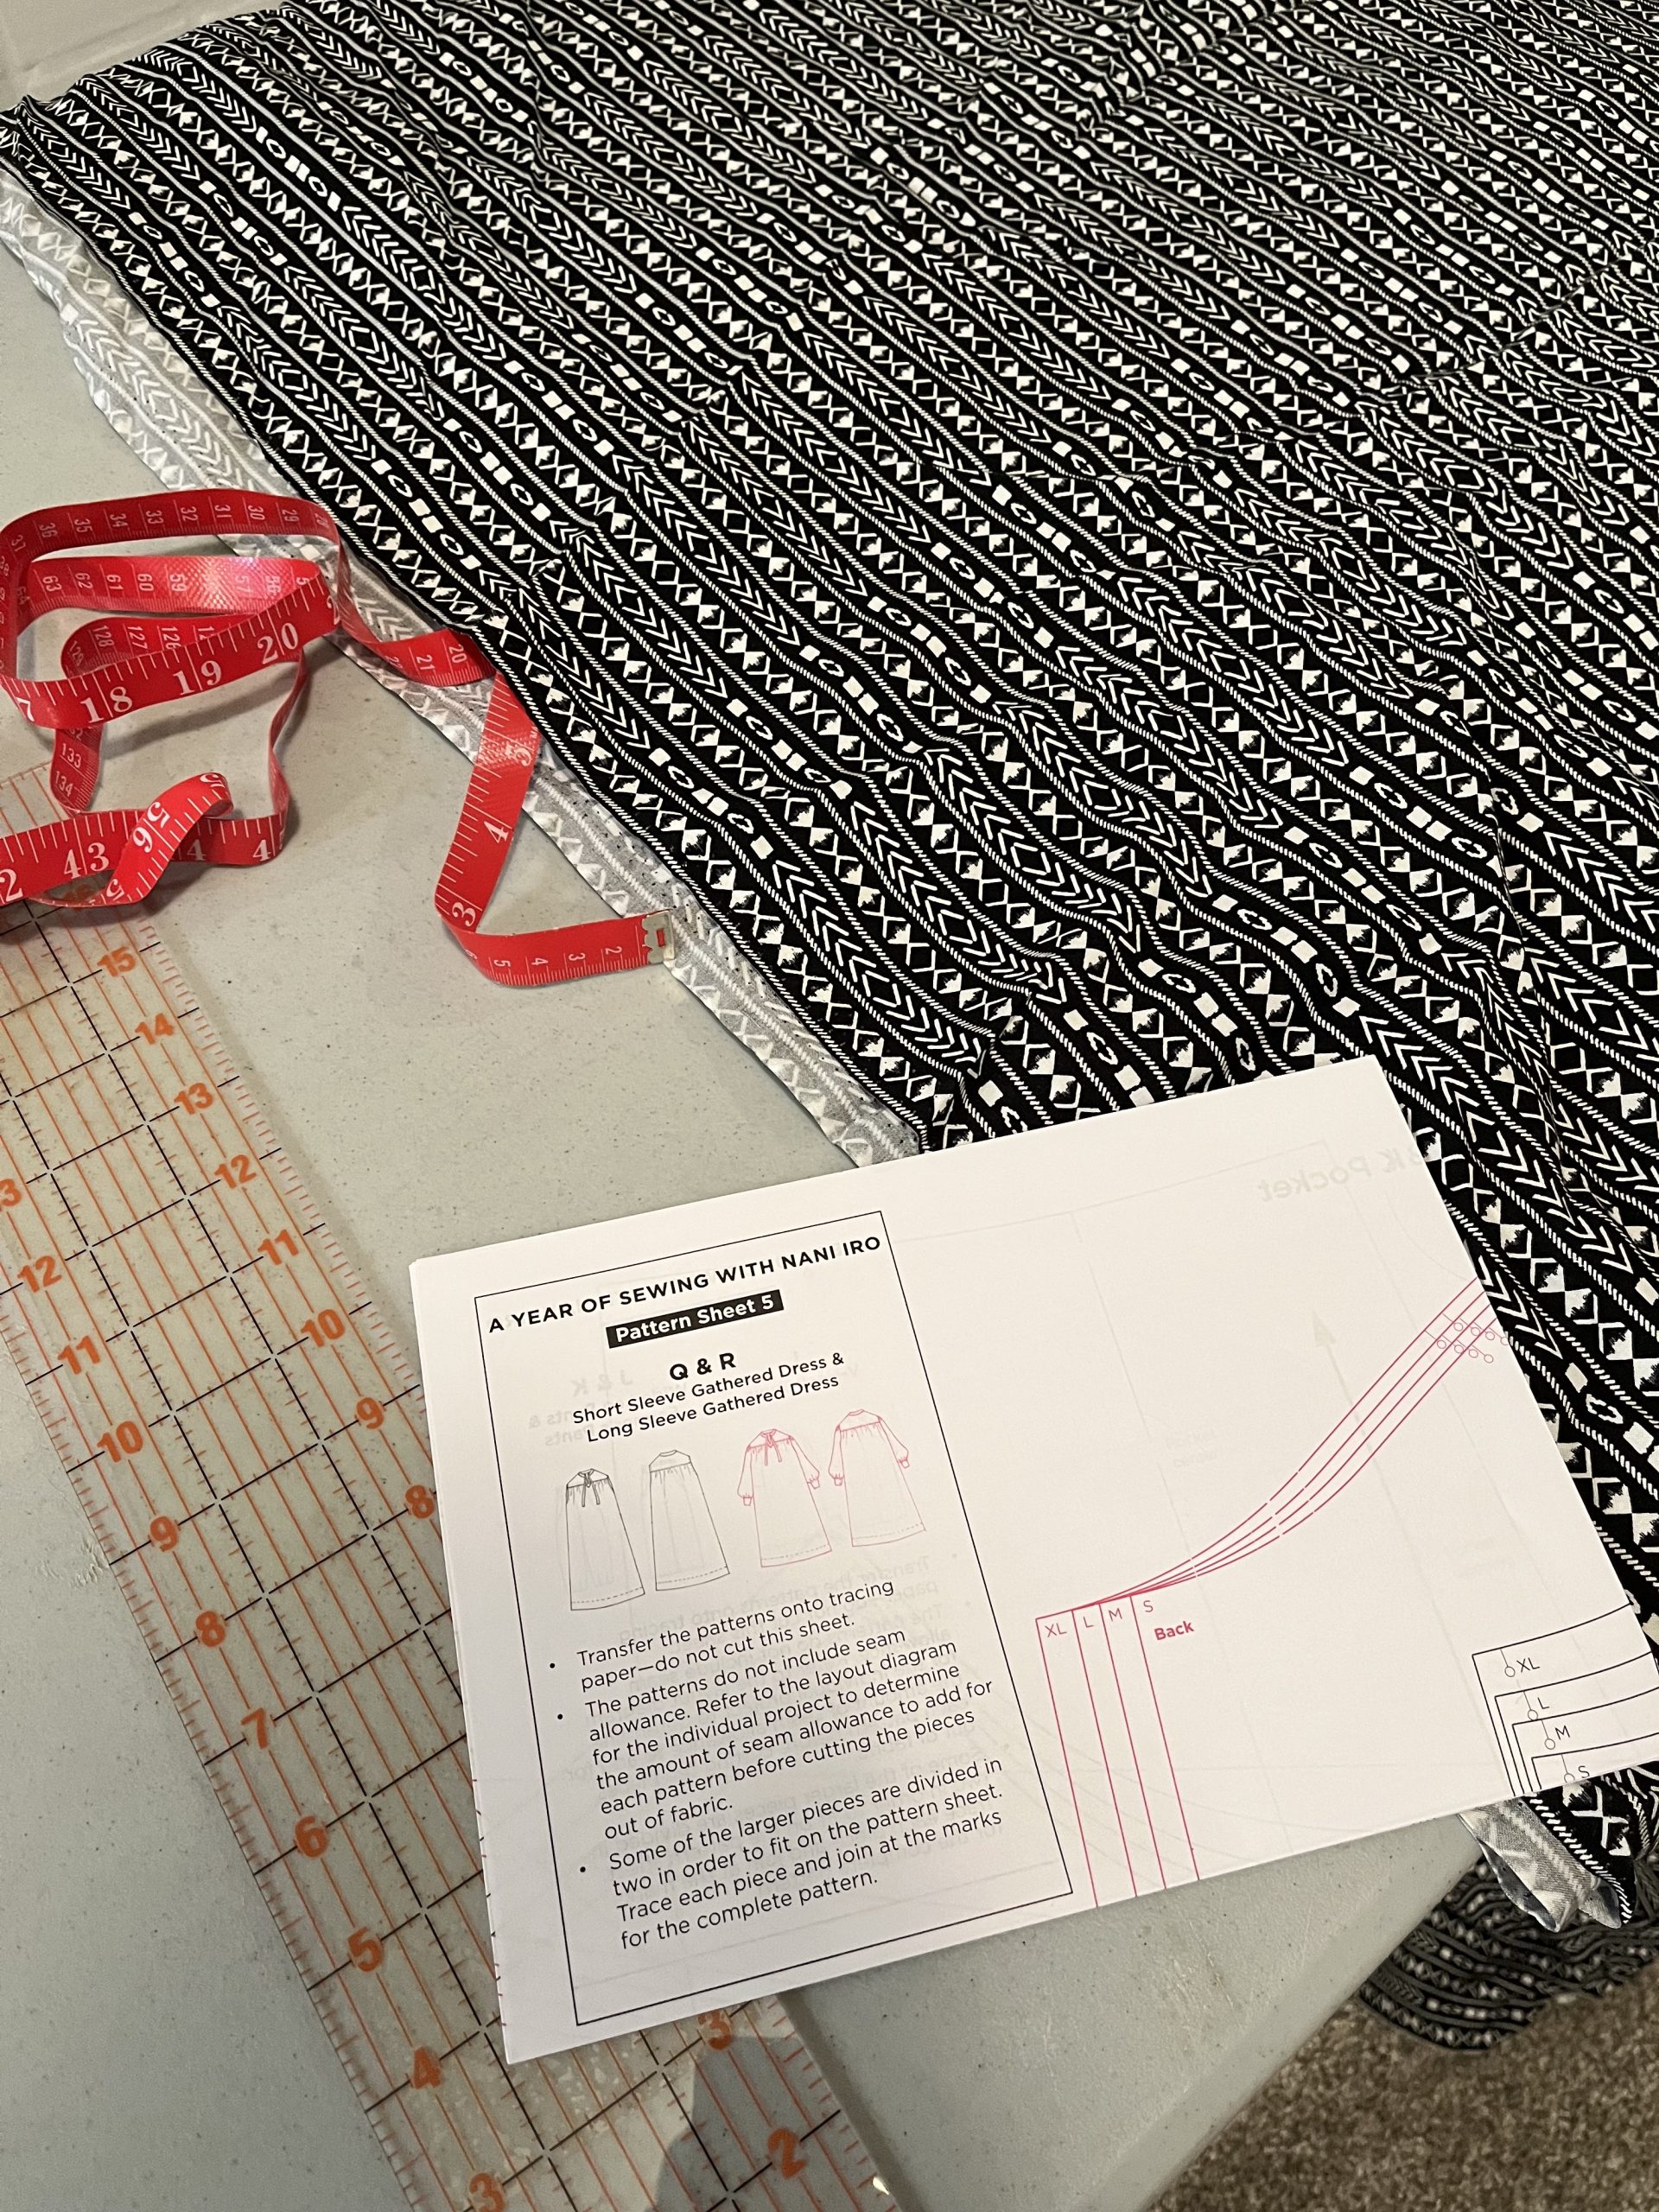
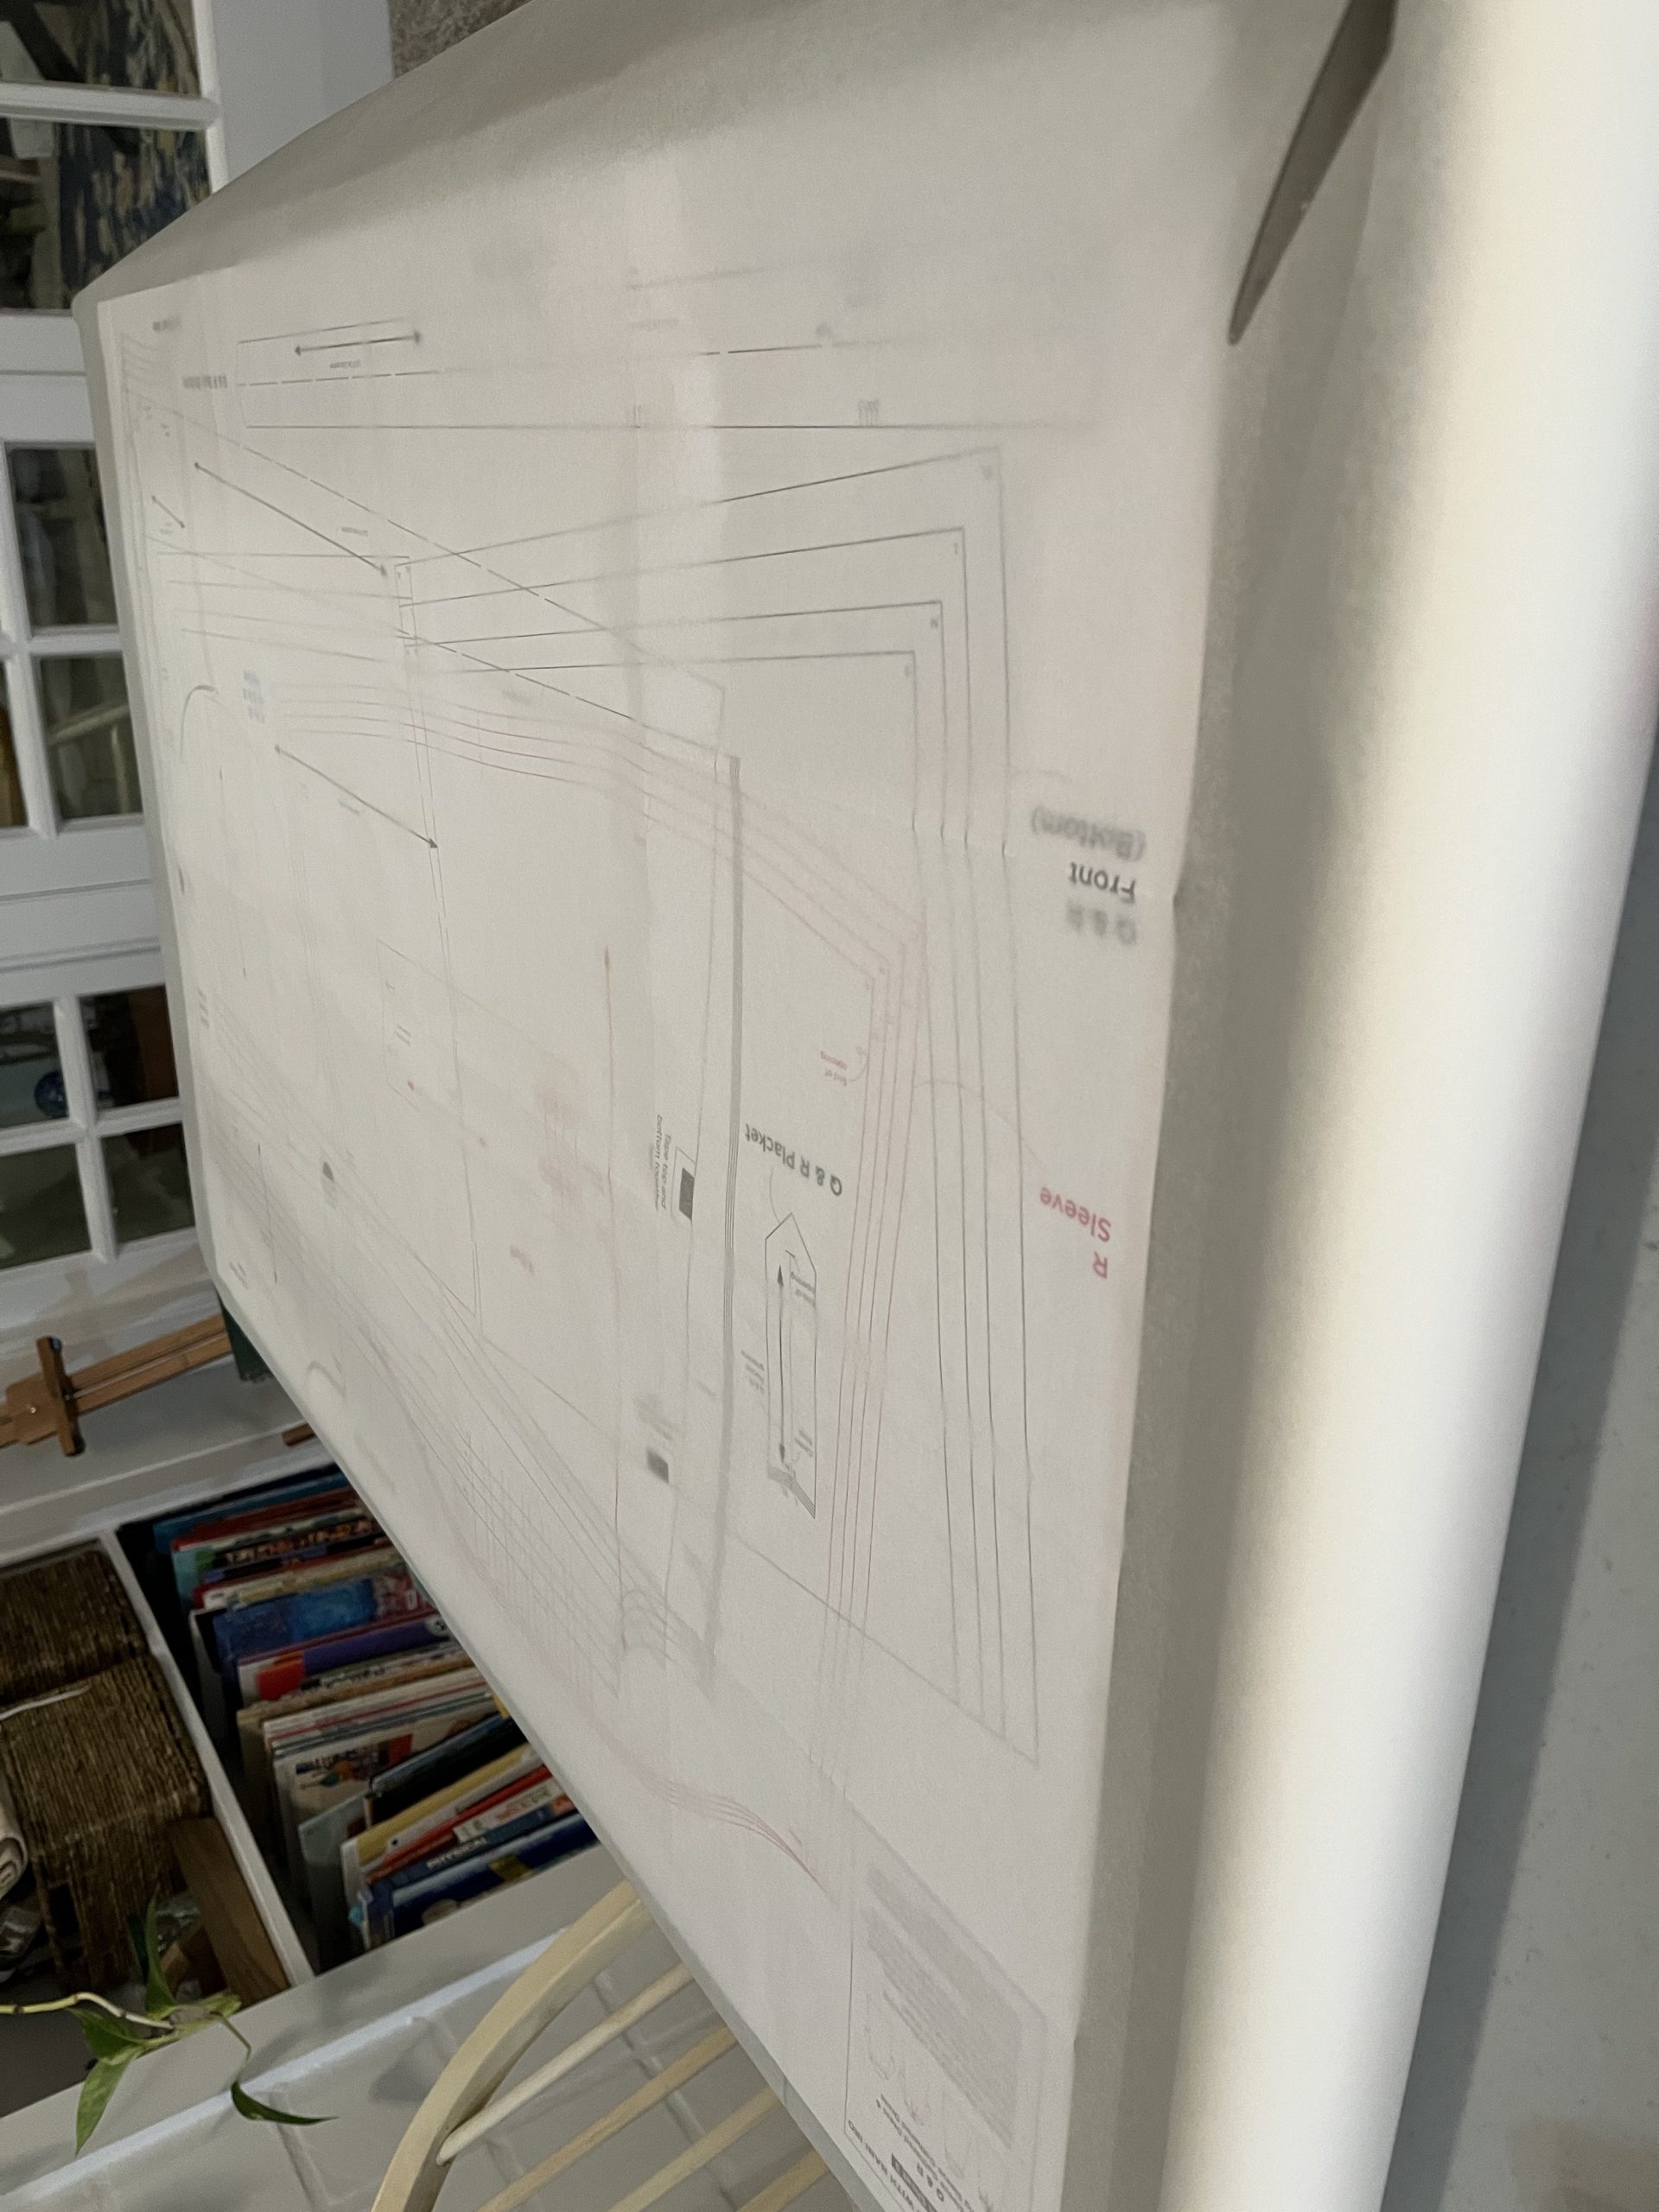
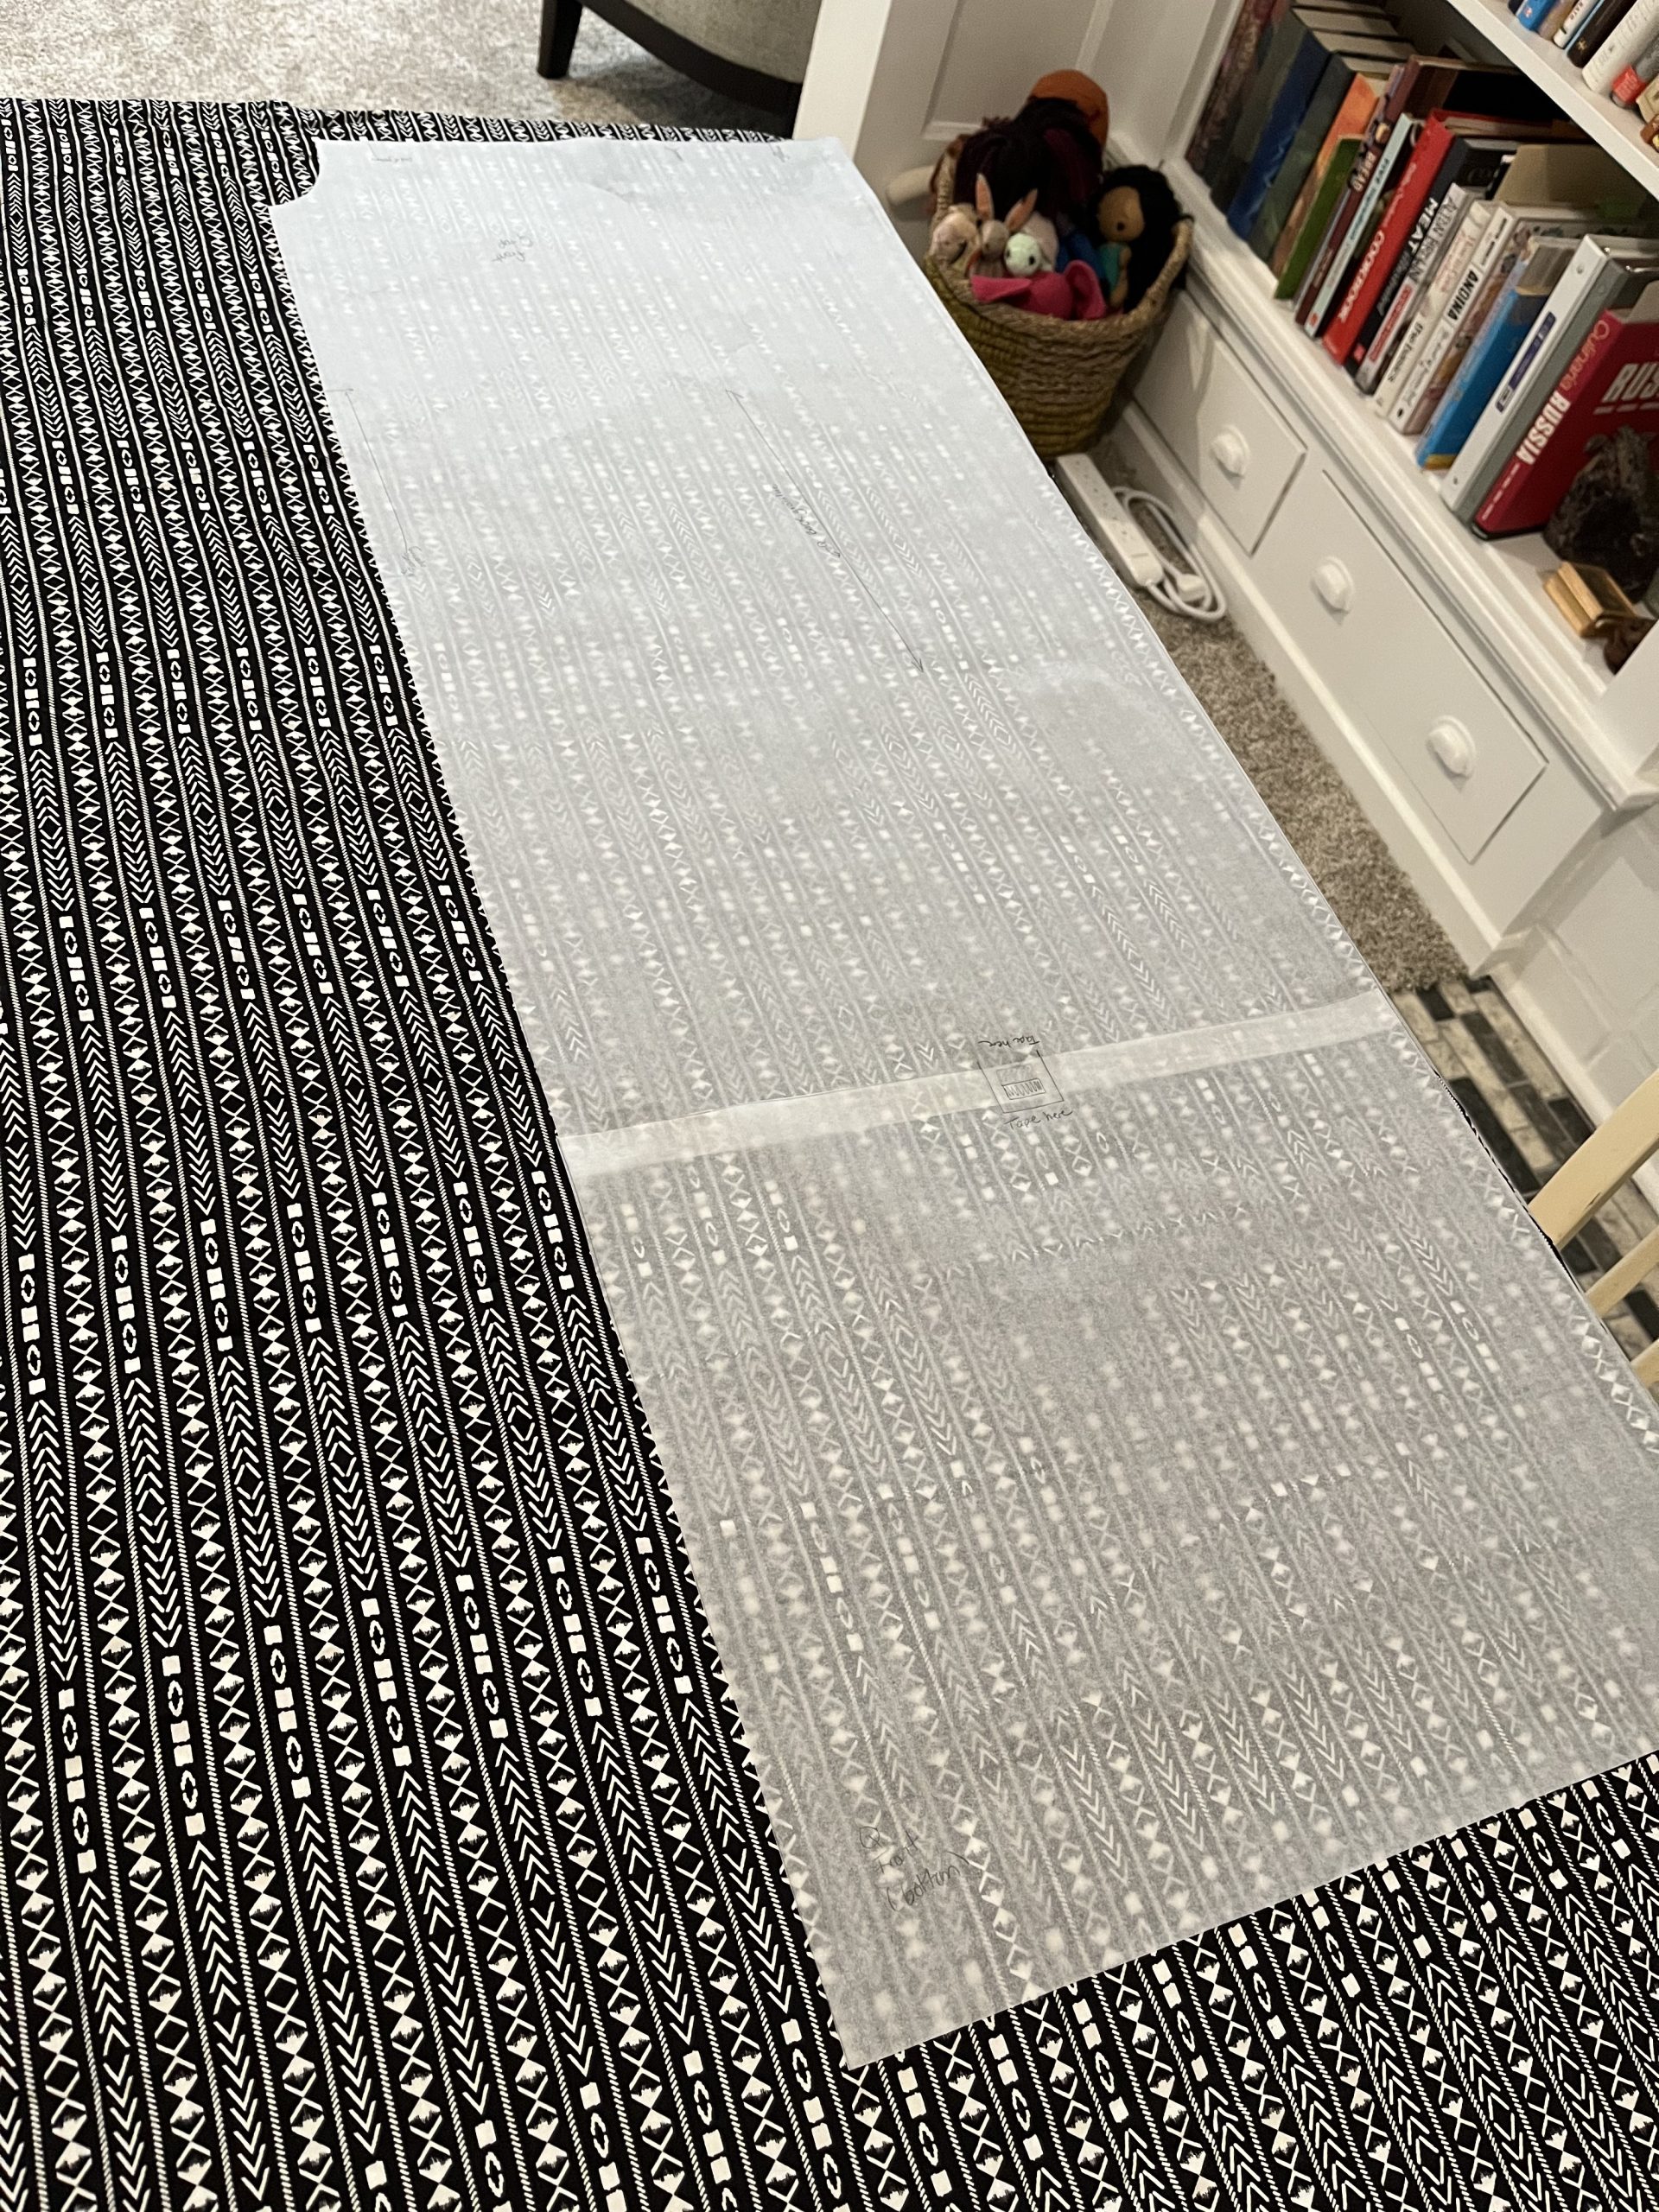
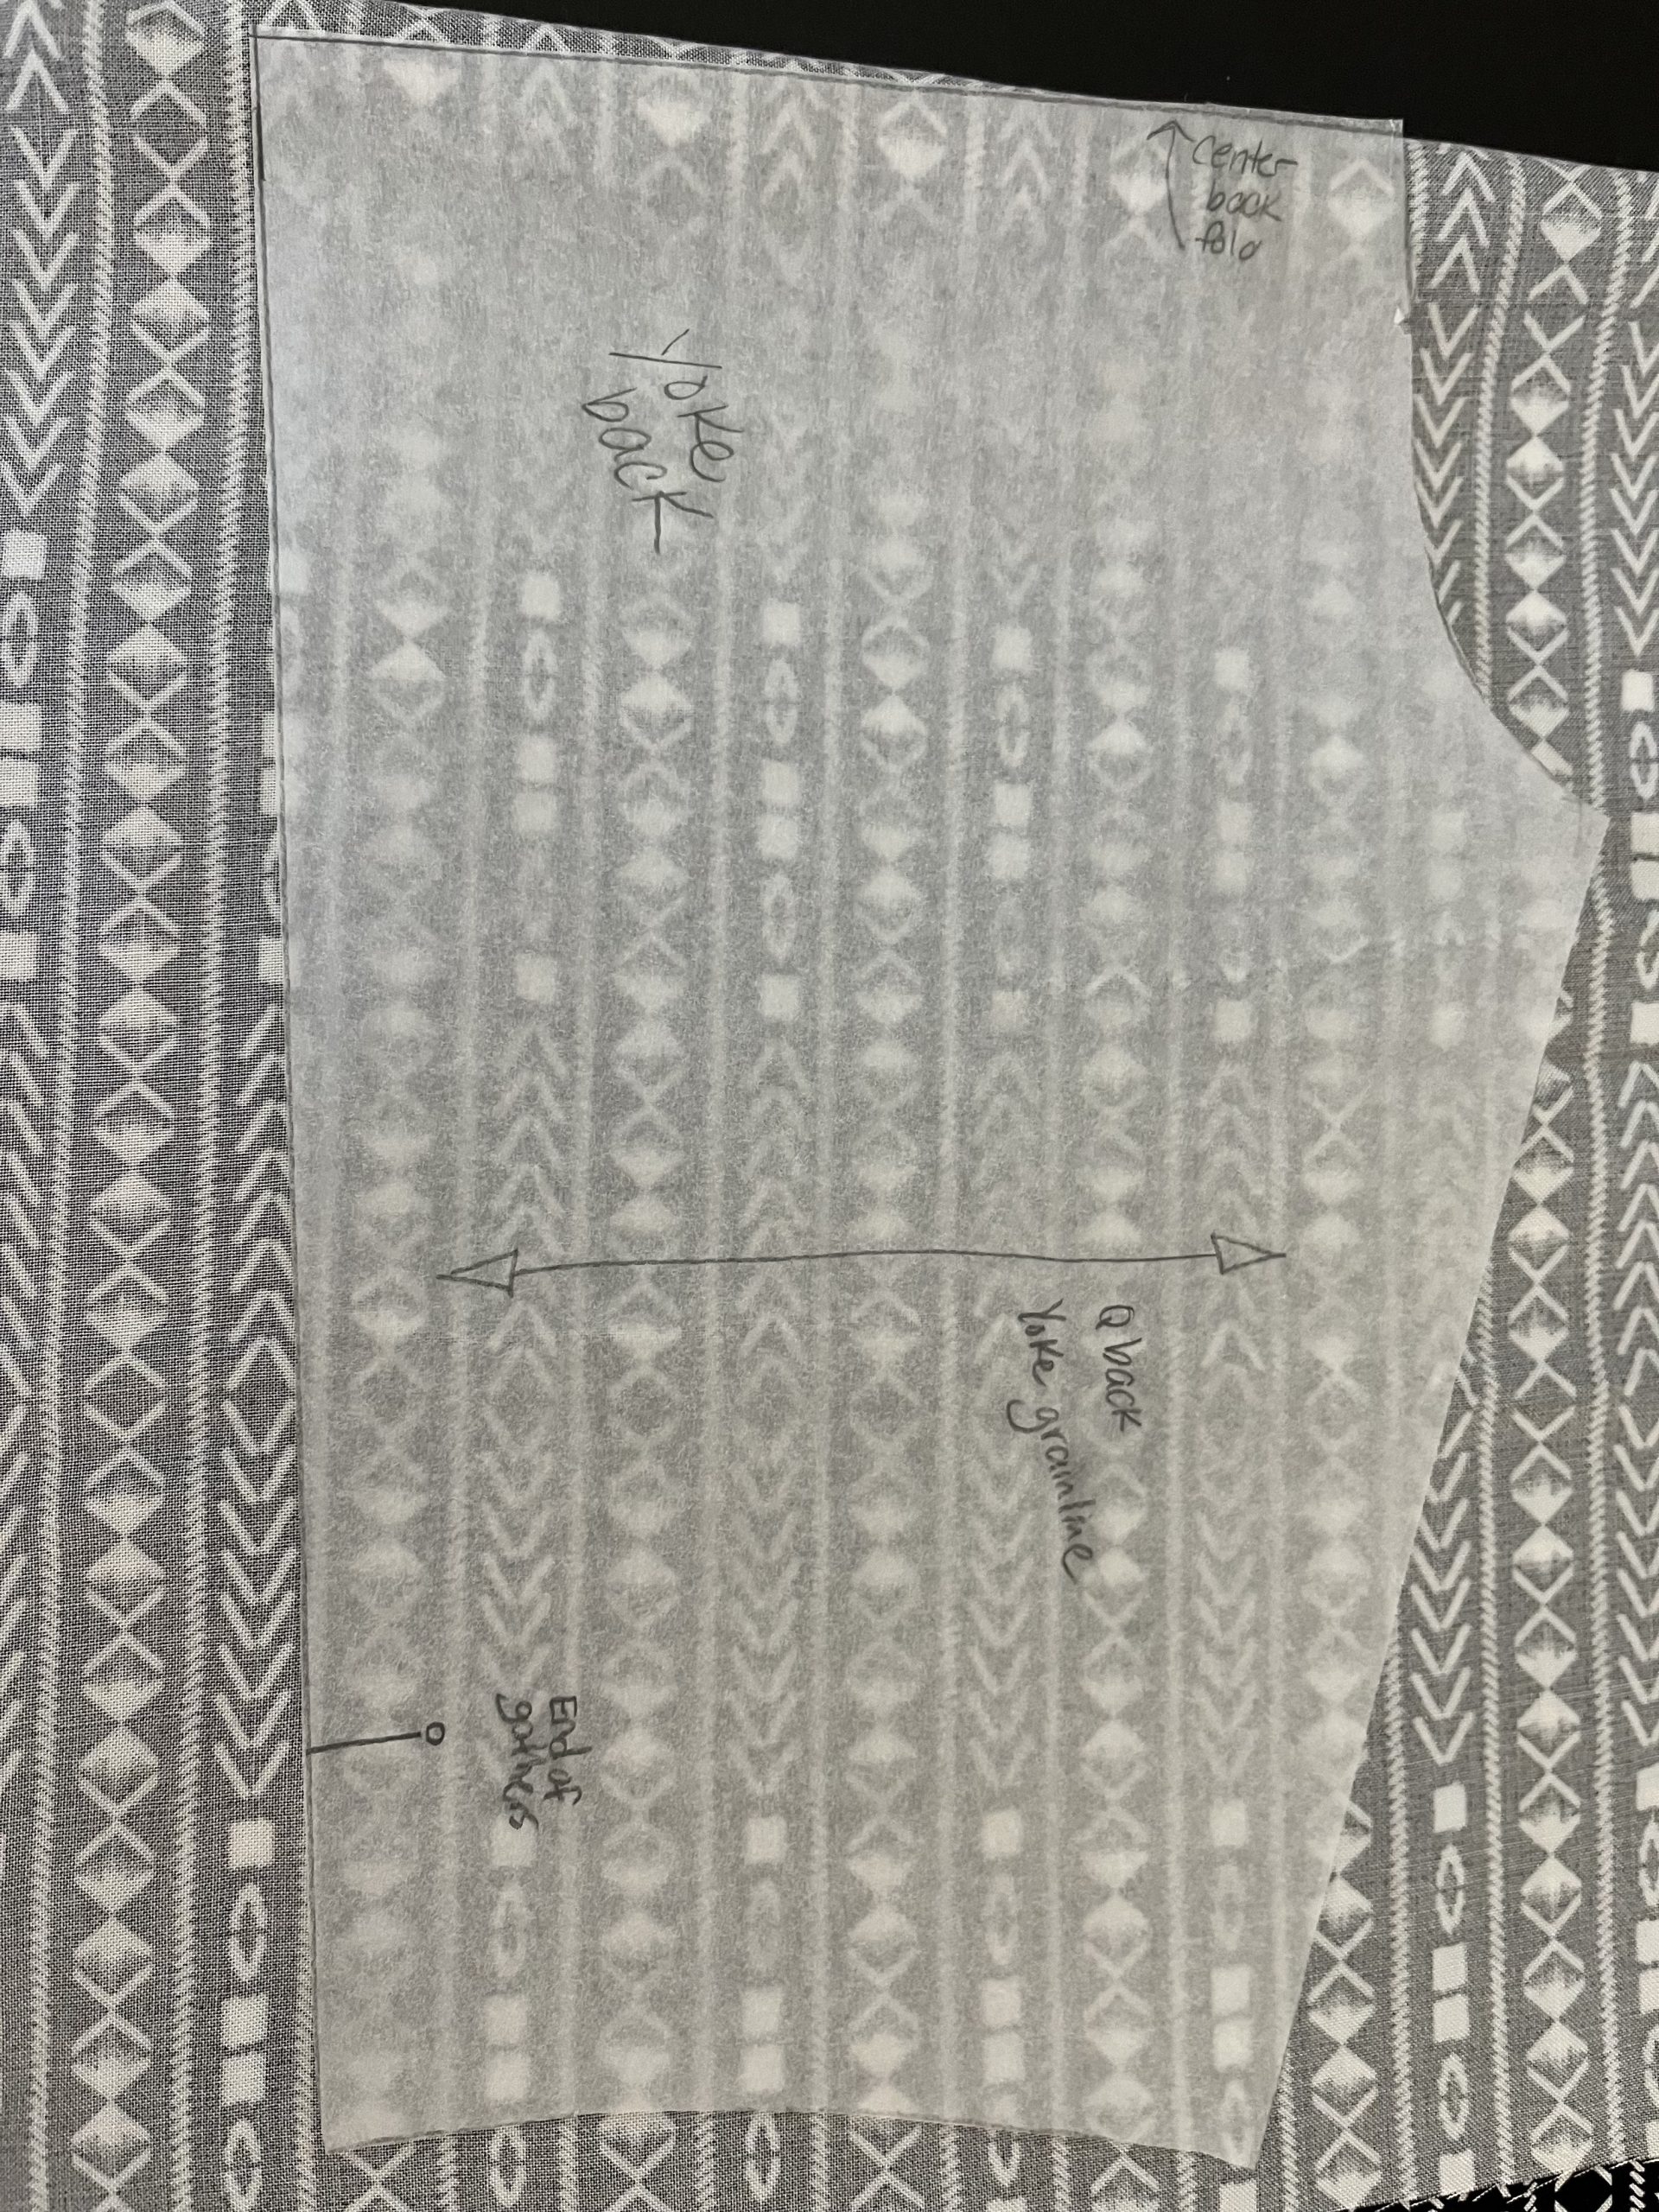
Part 1 – Trace and cut pattern pieces from paper. (2 hours)
Part 2 – Cut each pattern piece from fabric. (2 hours)
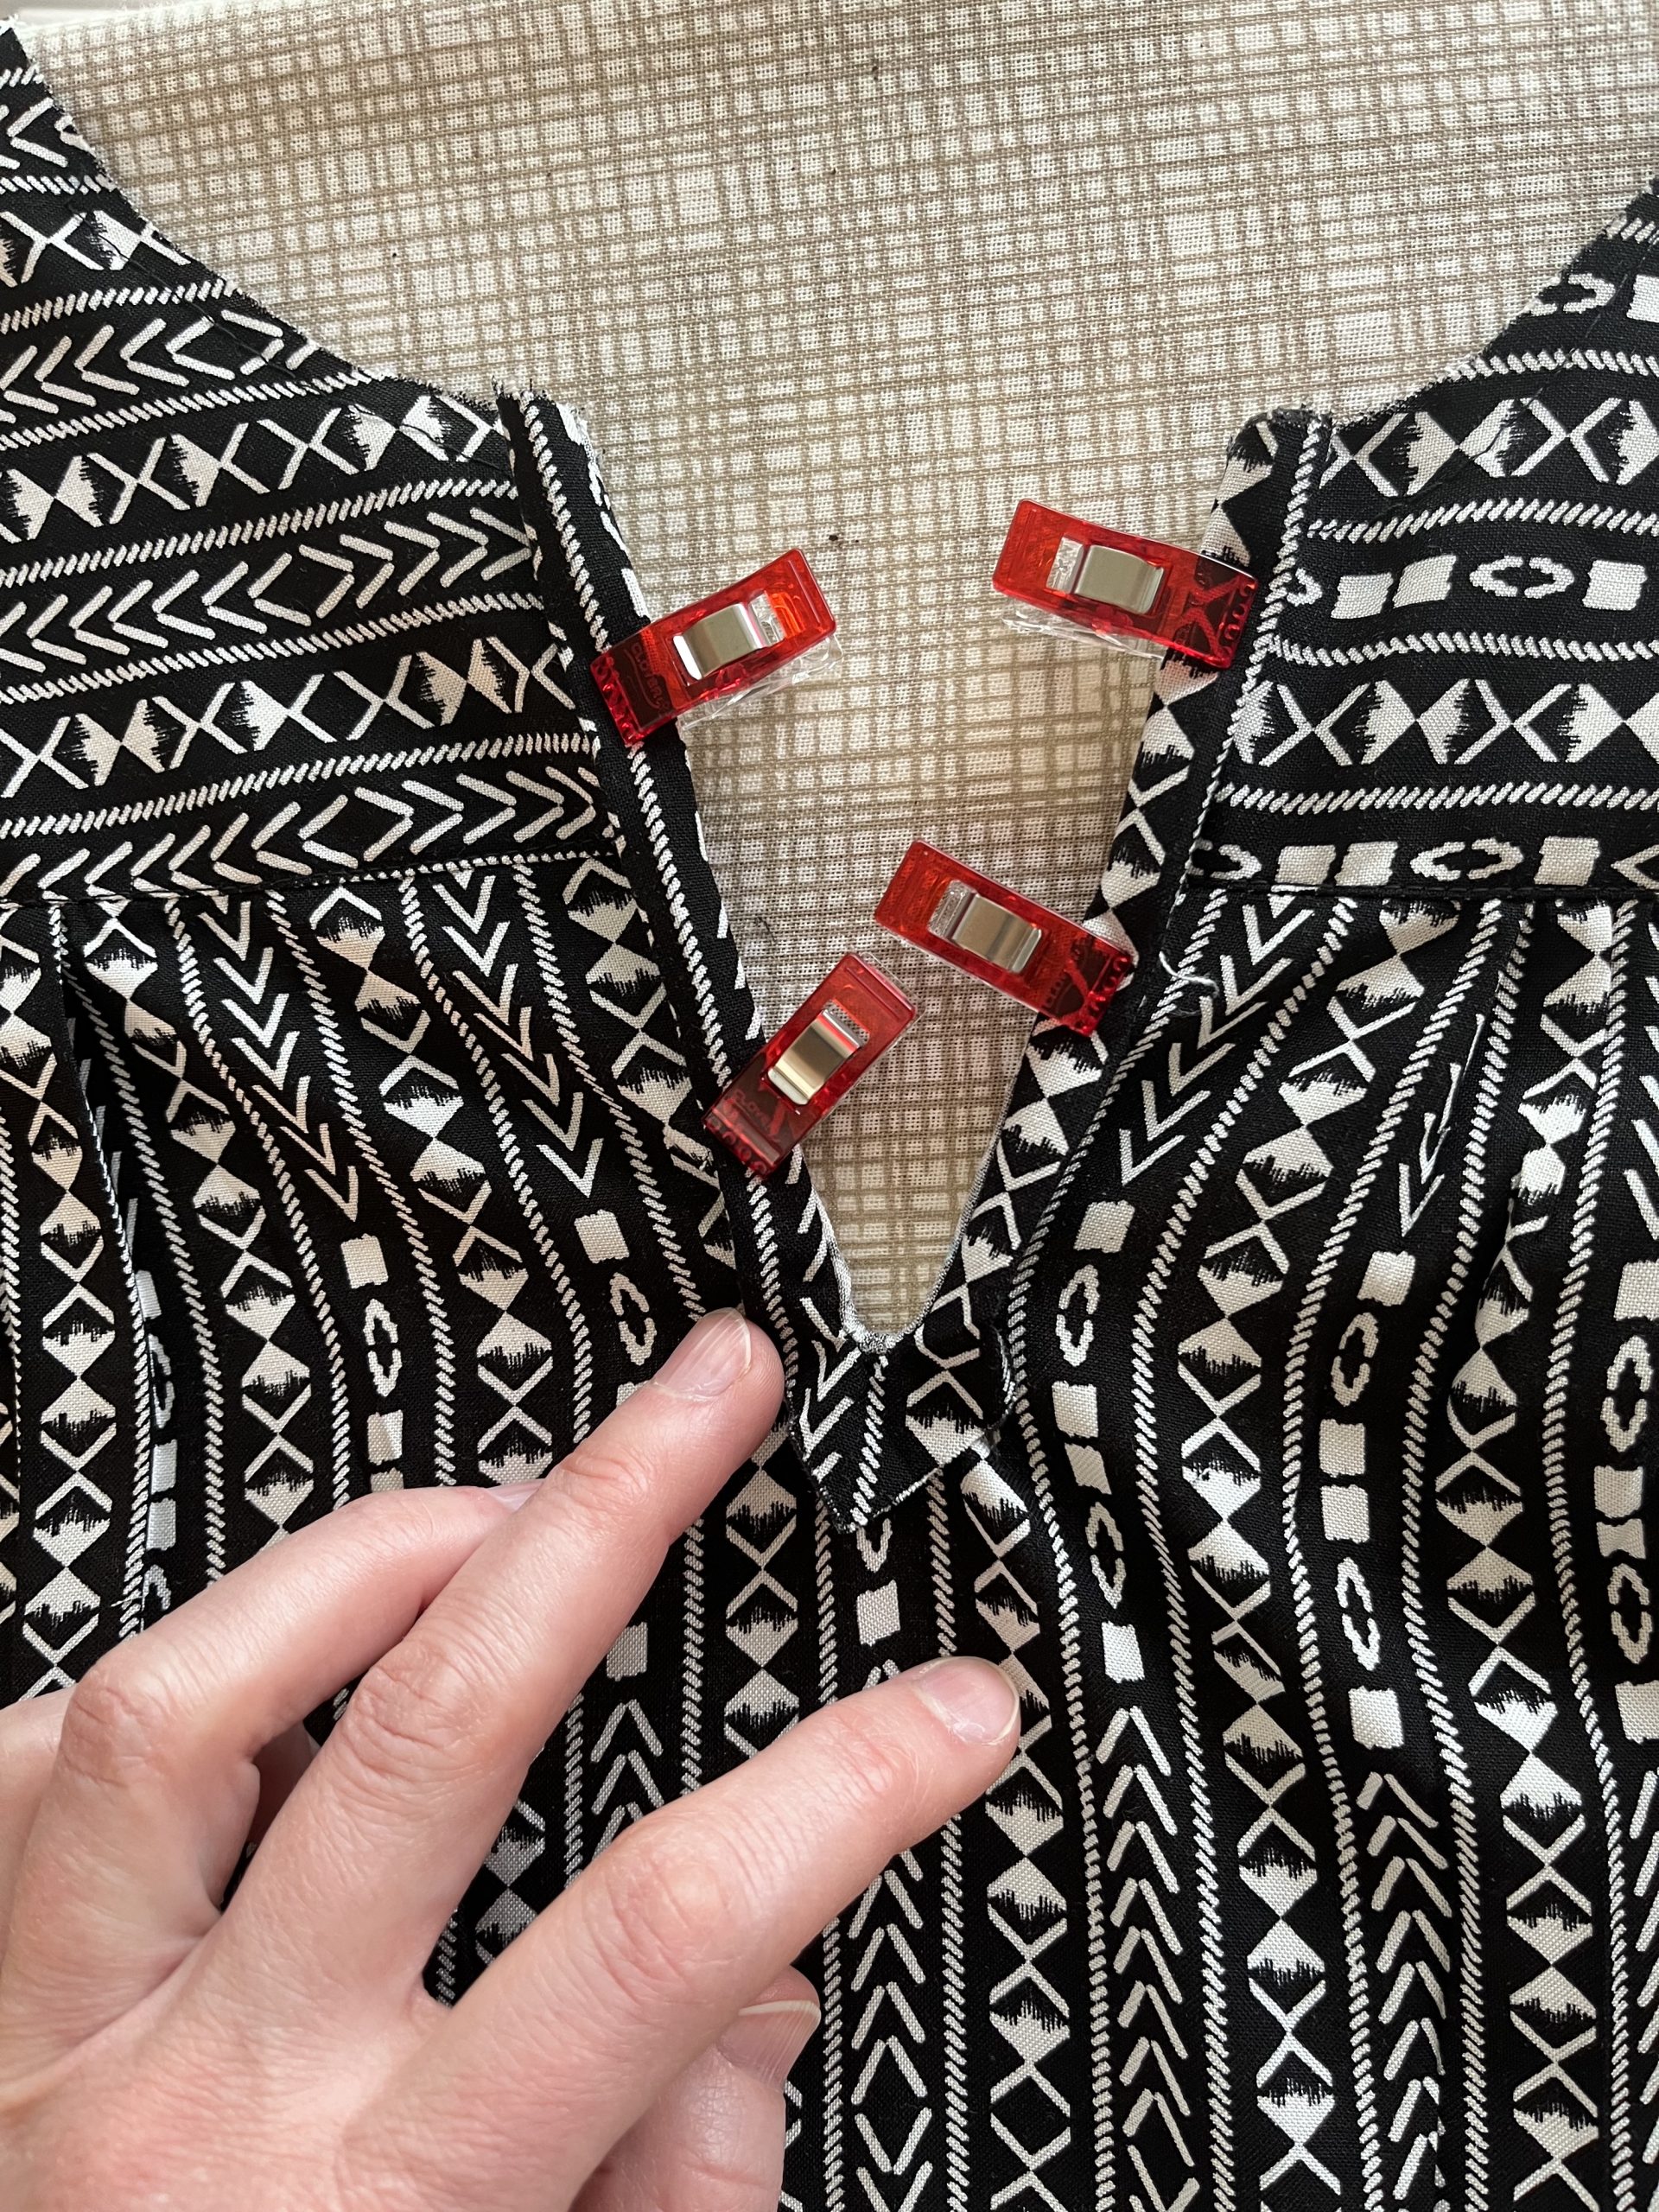
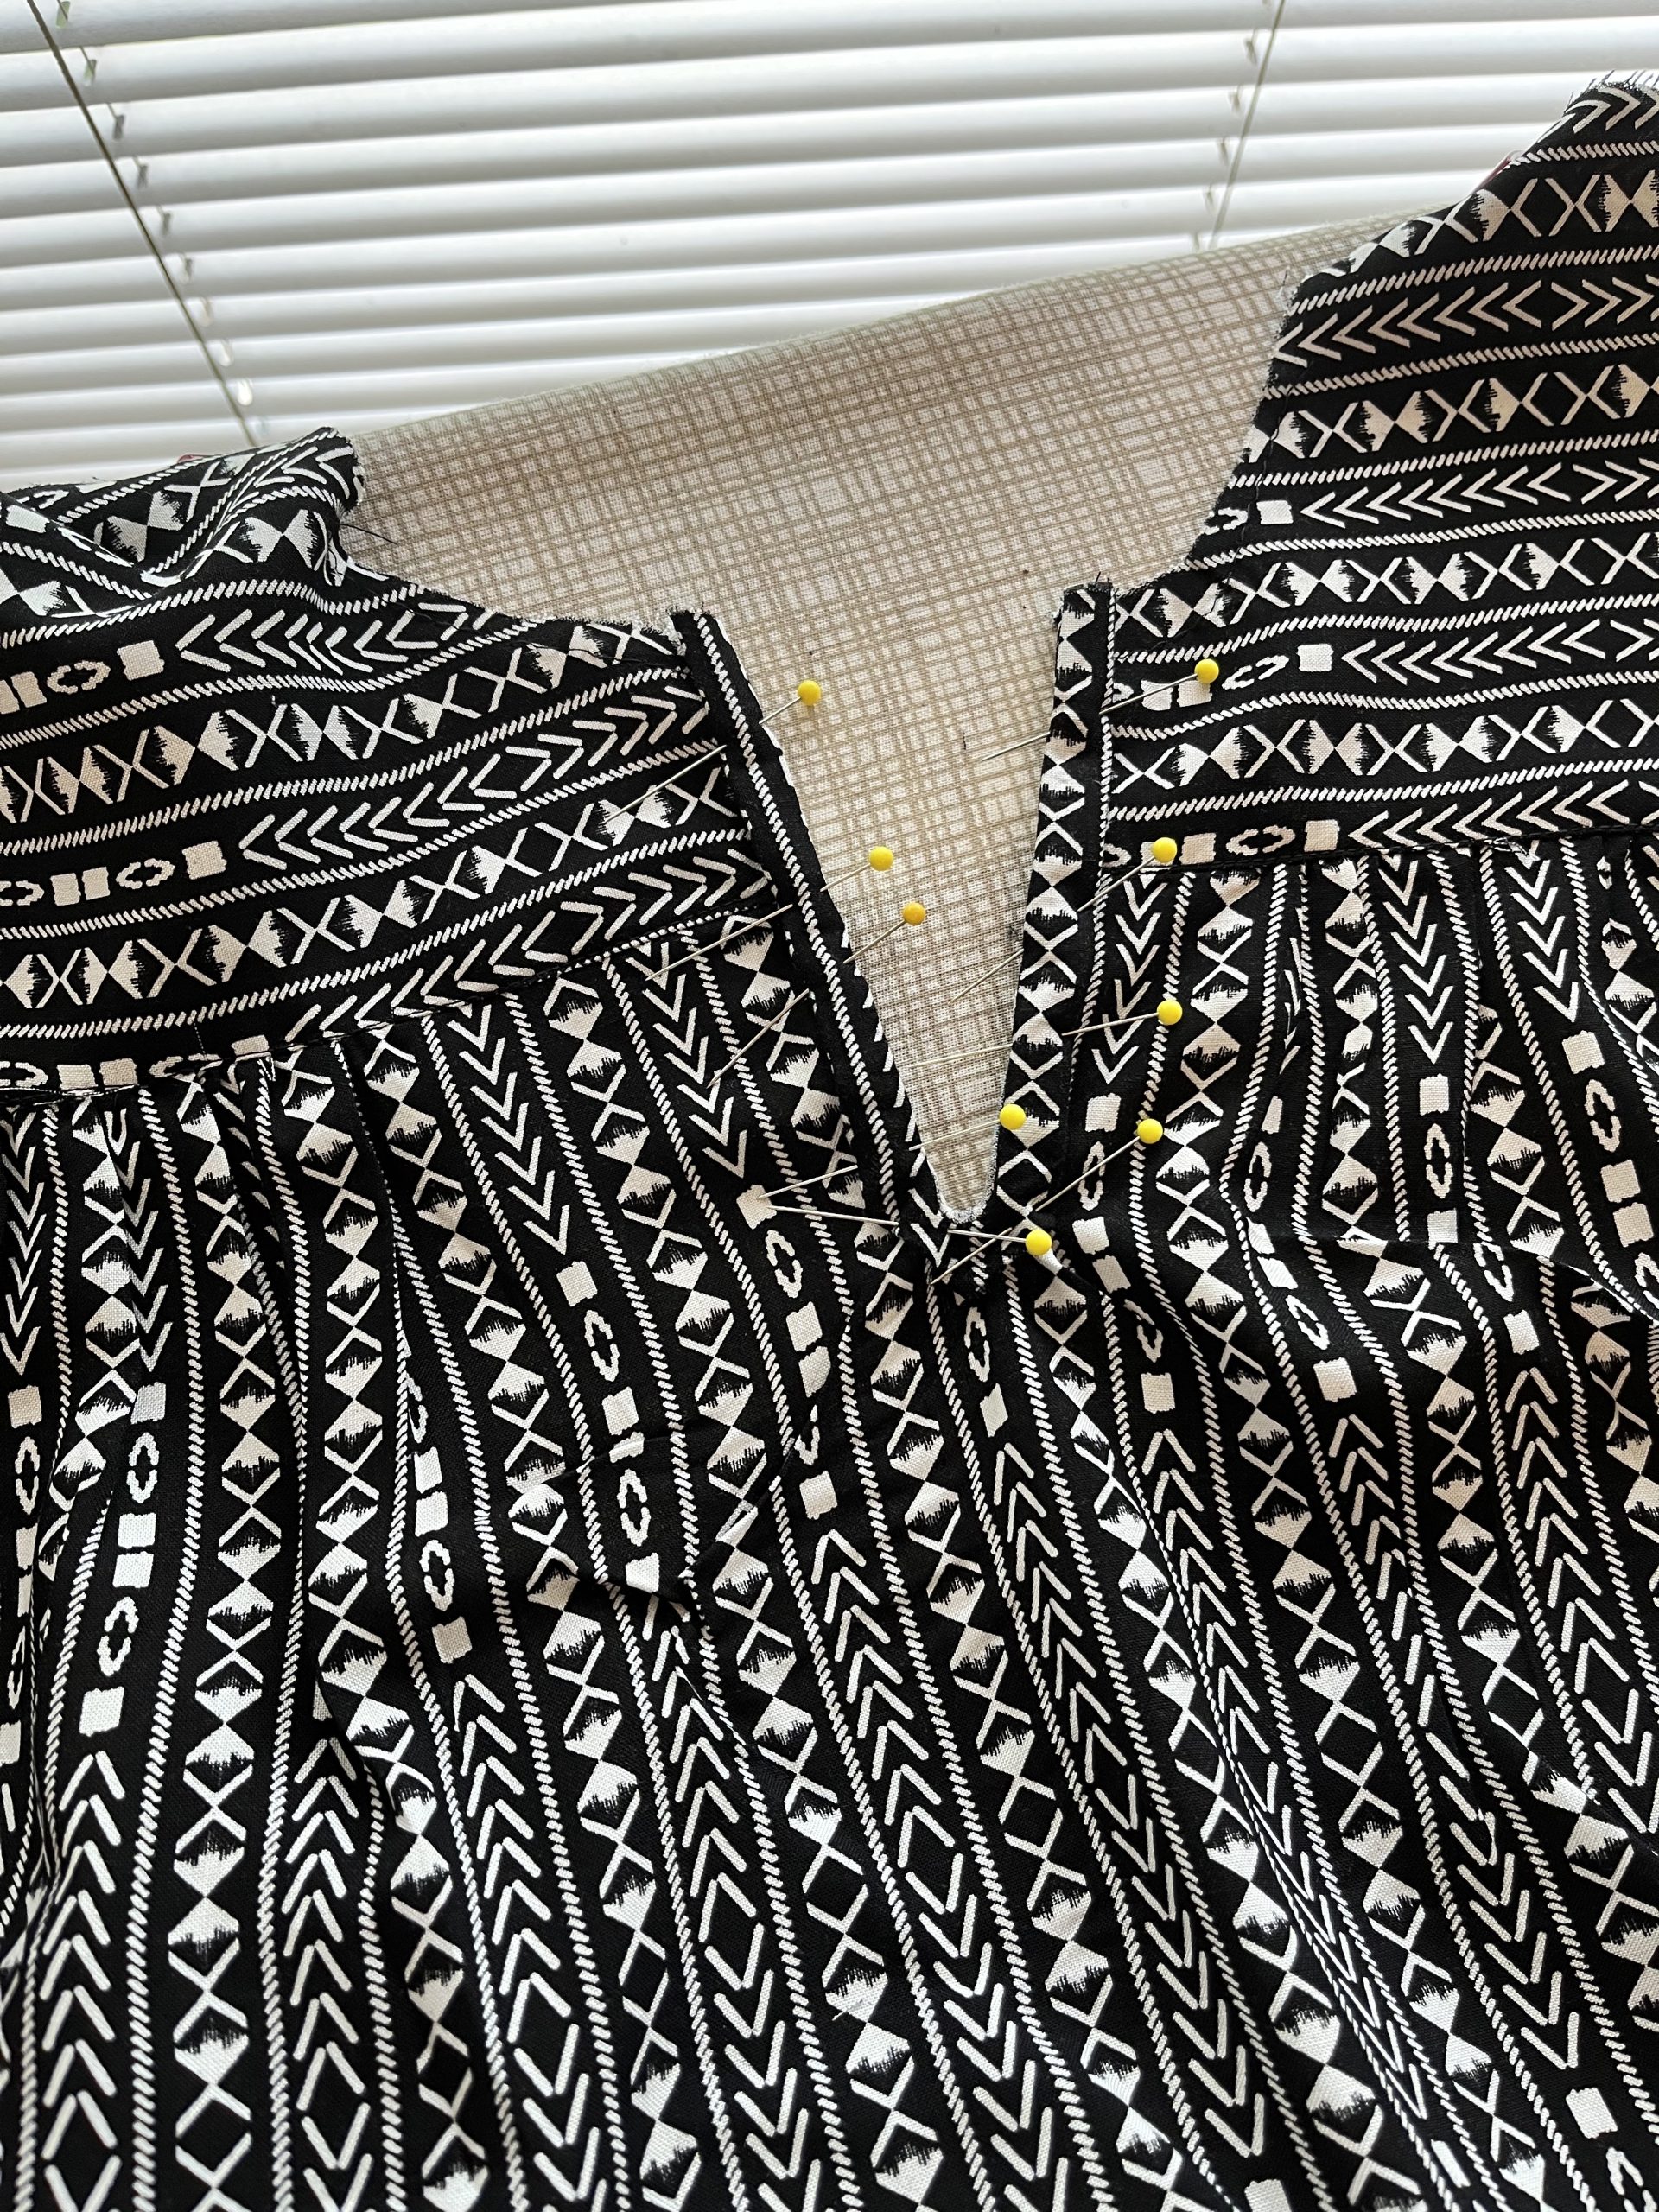
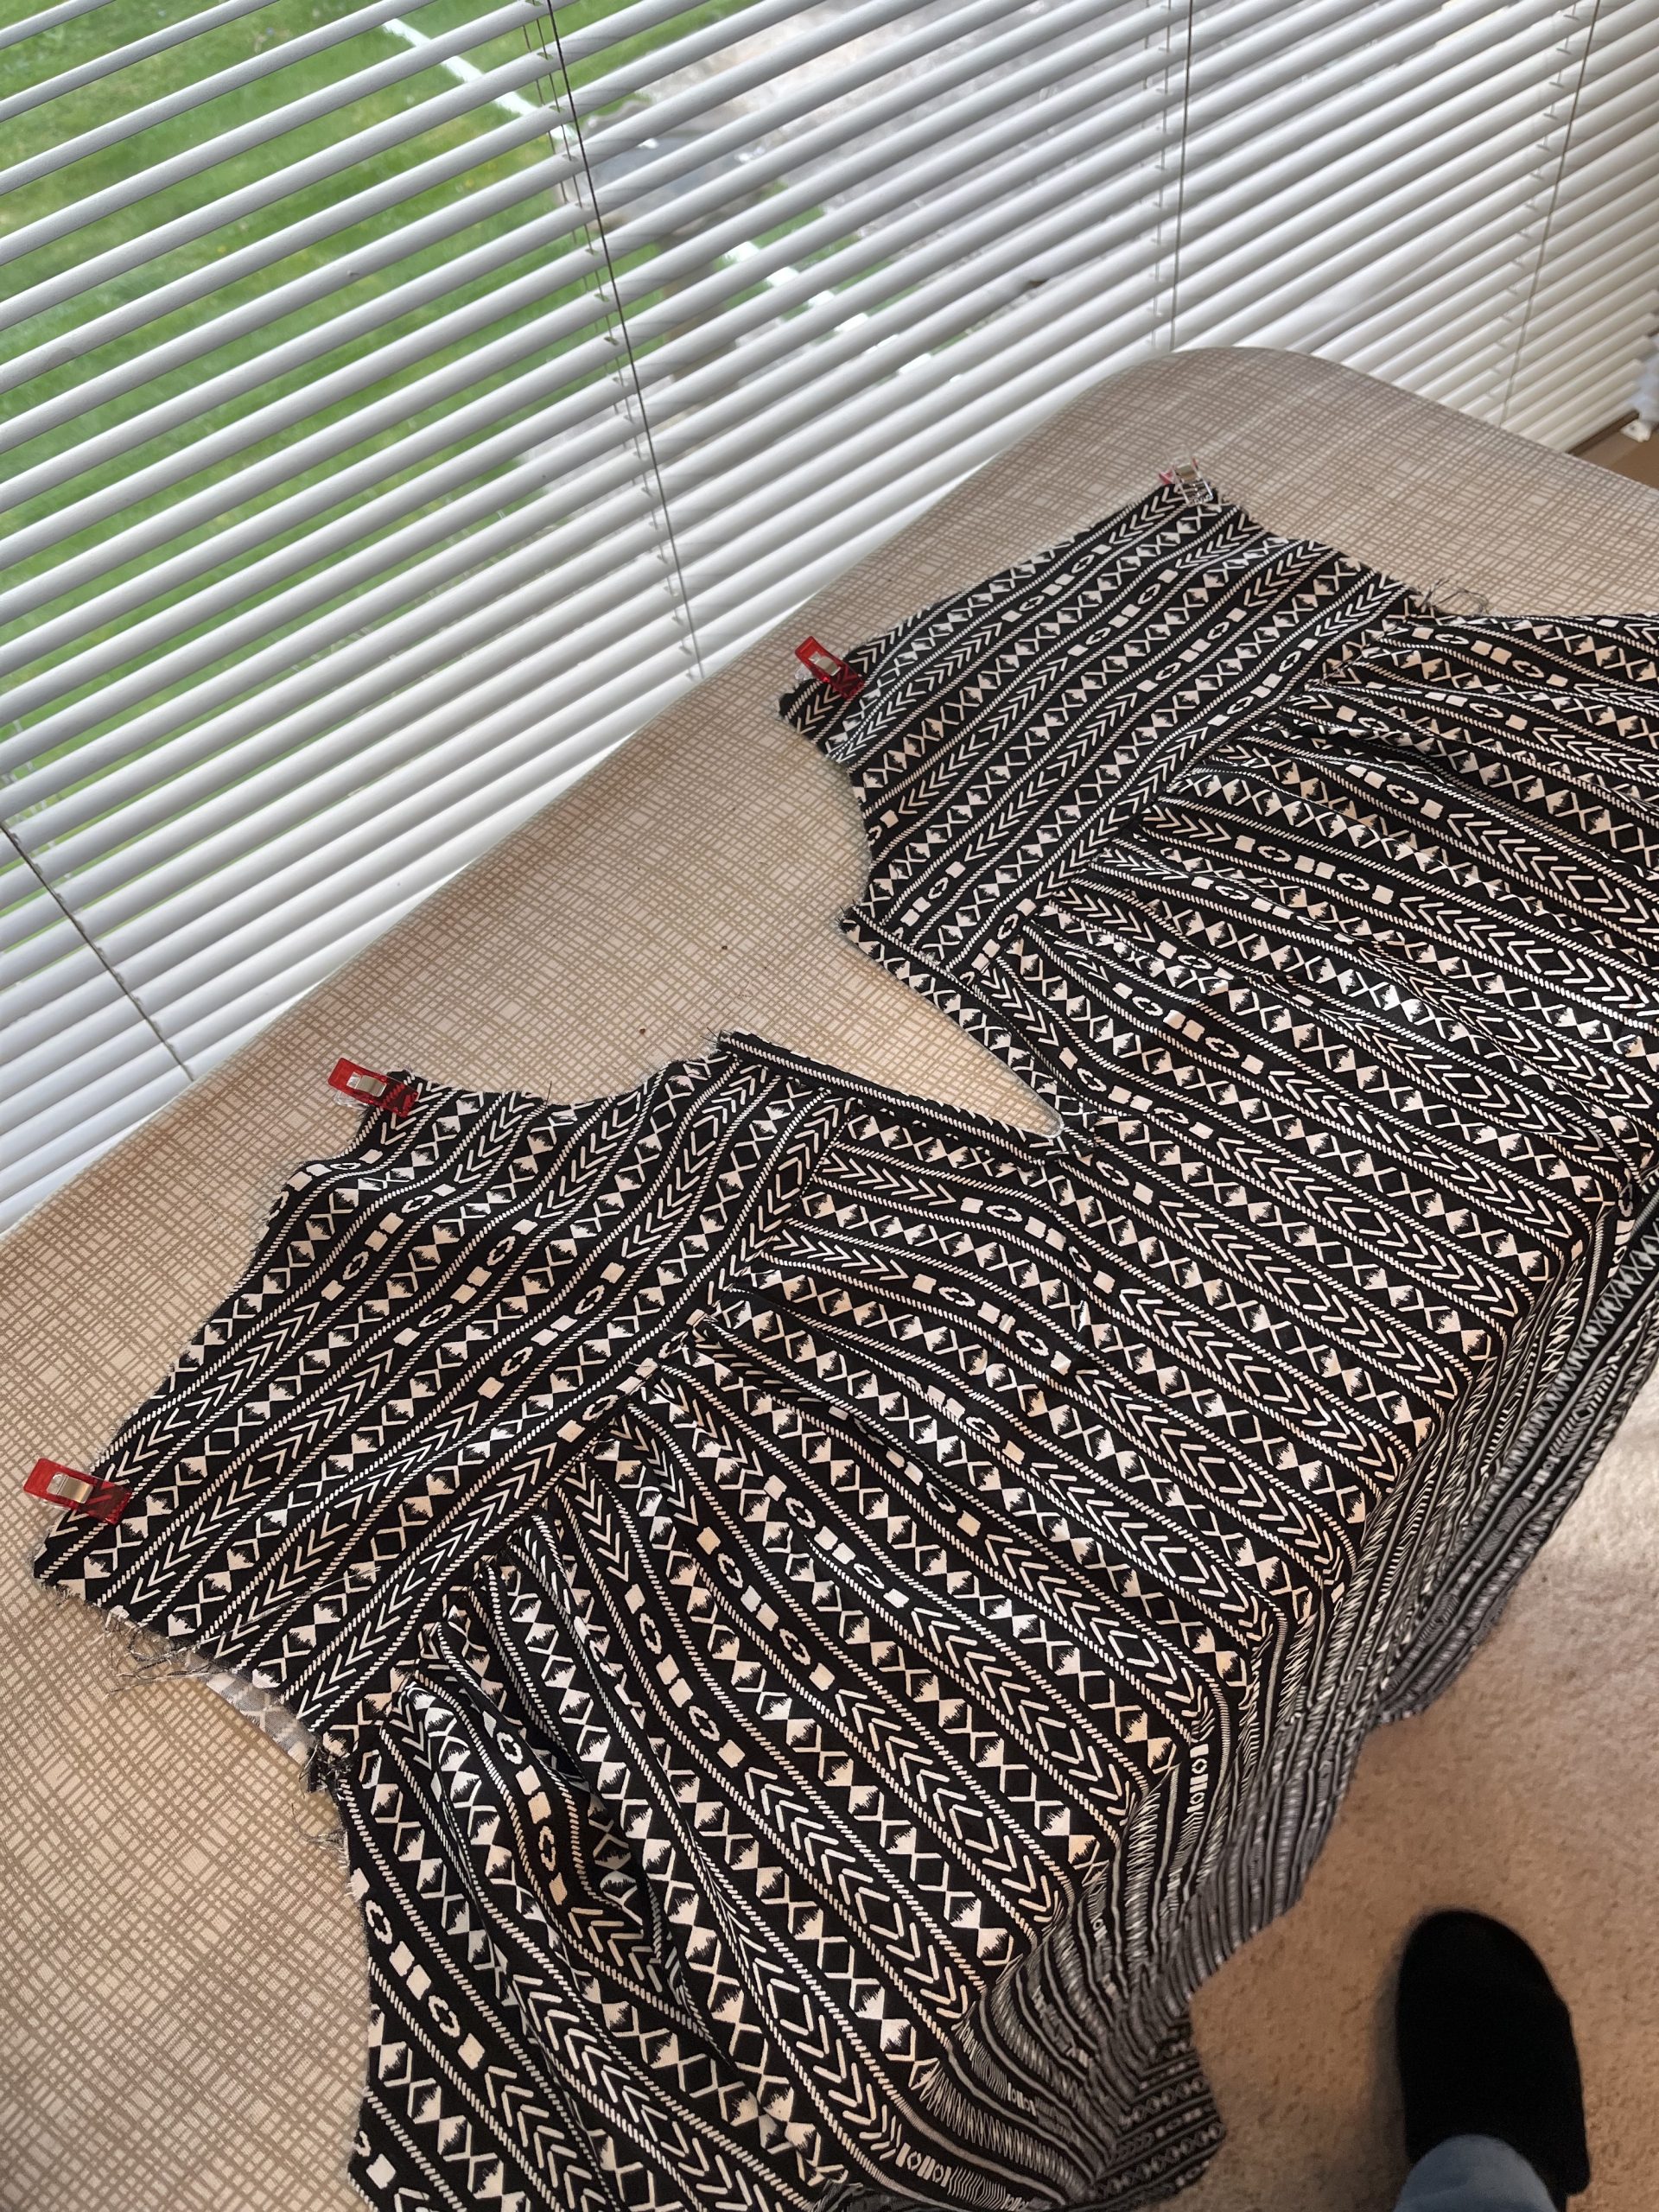
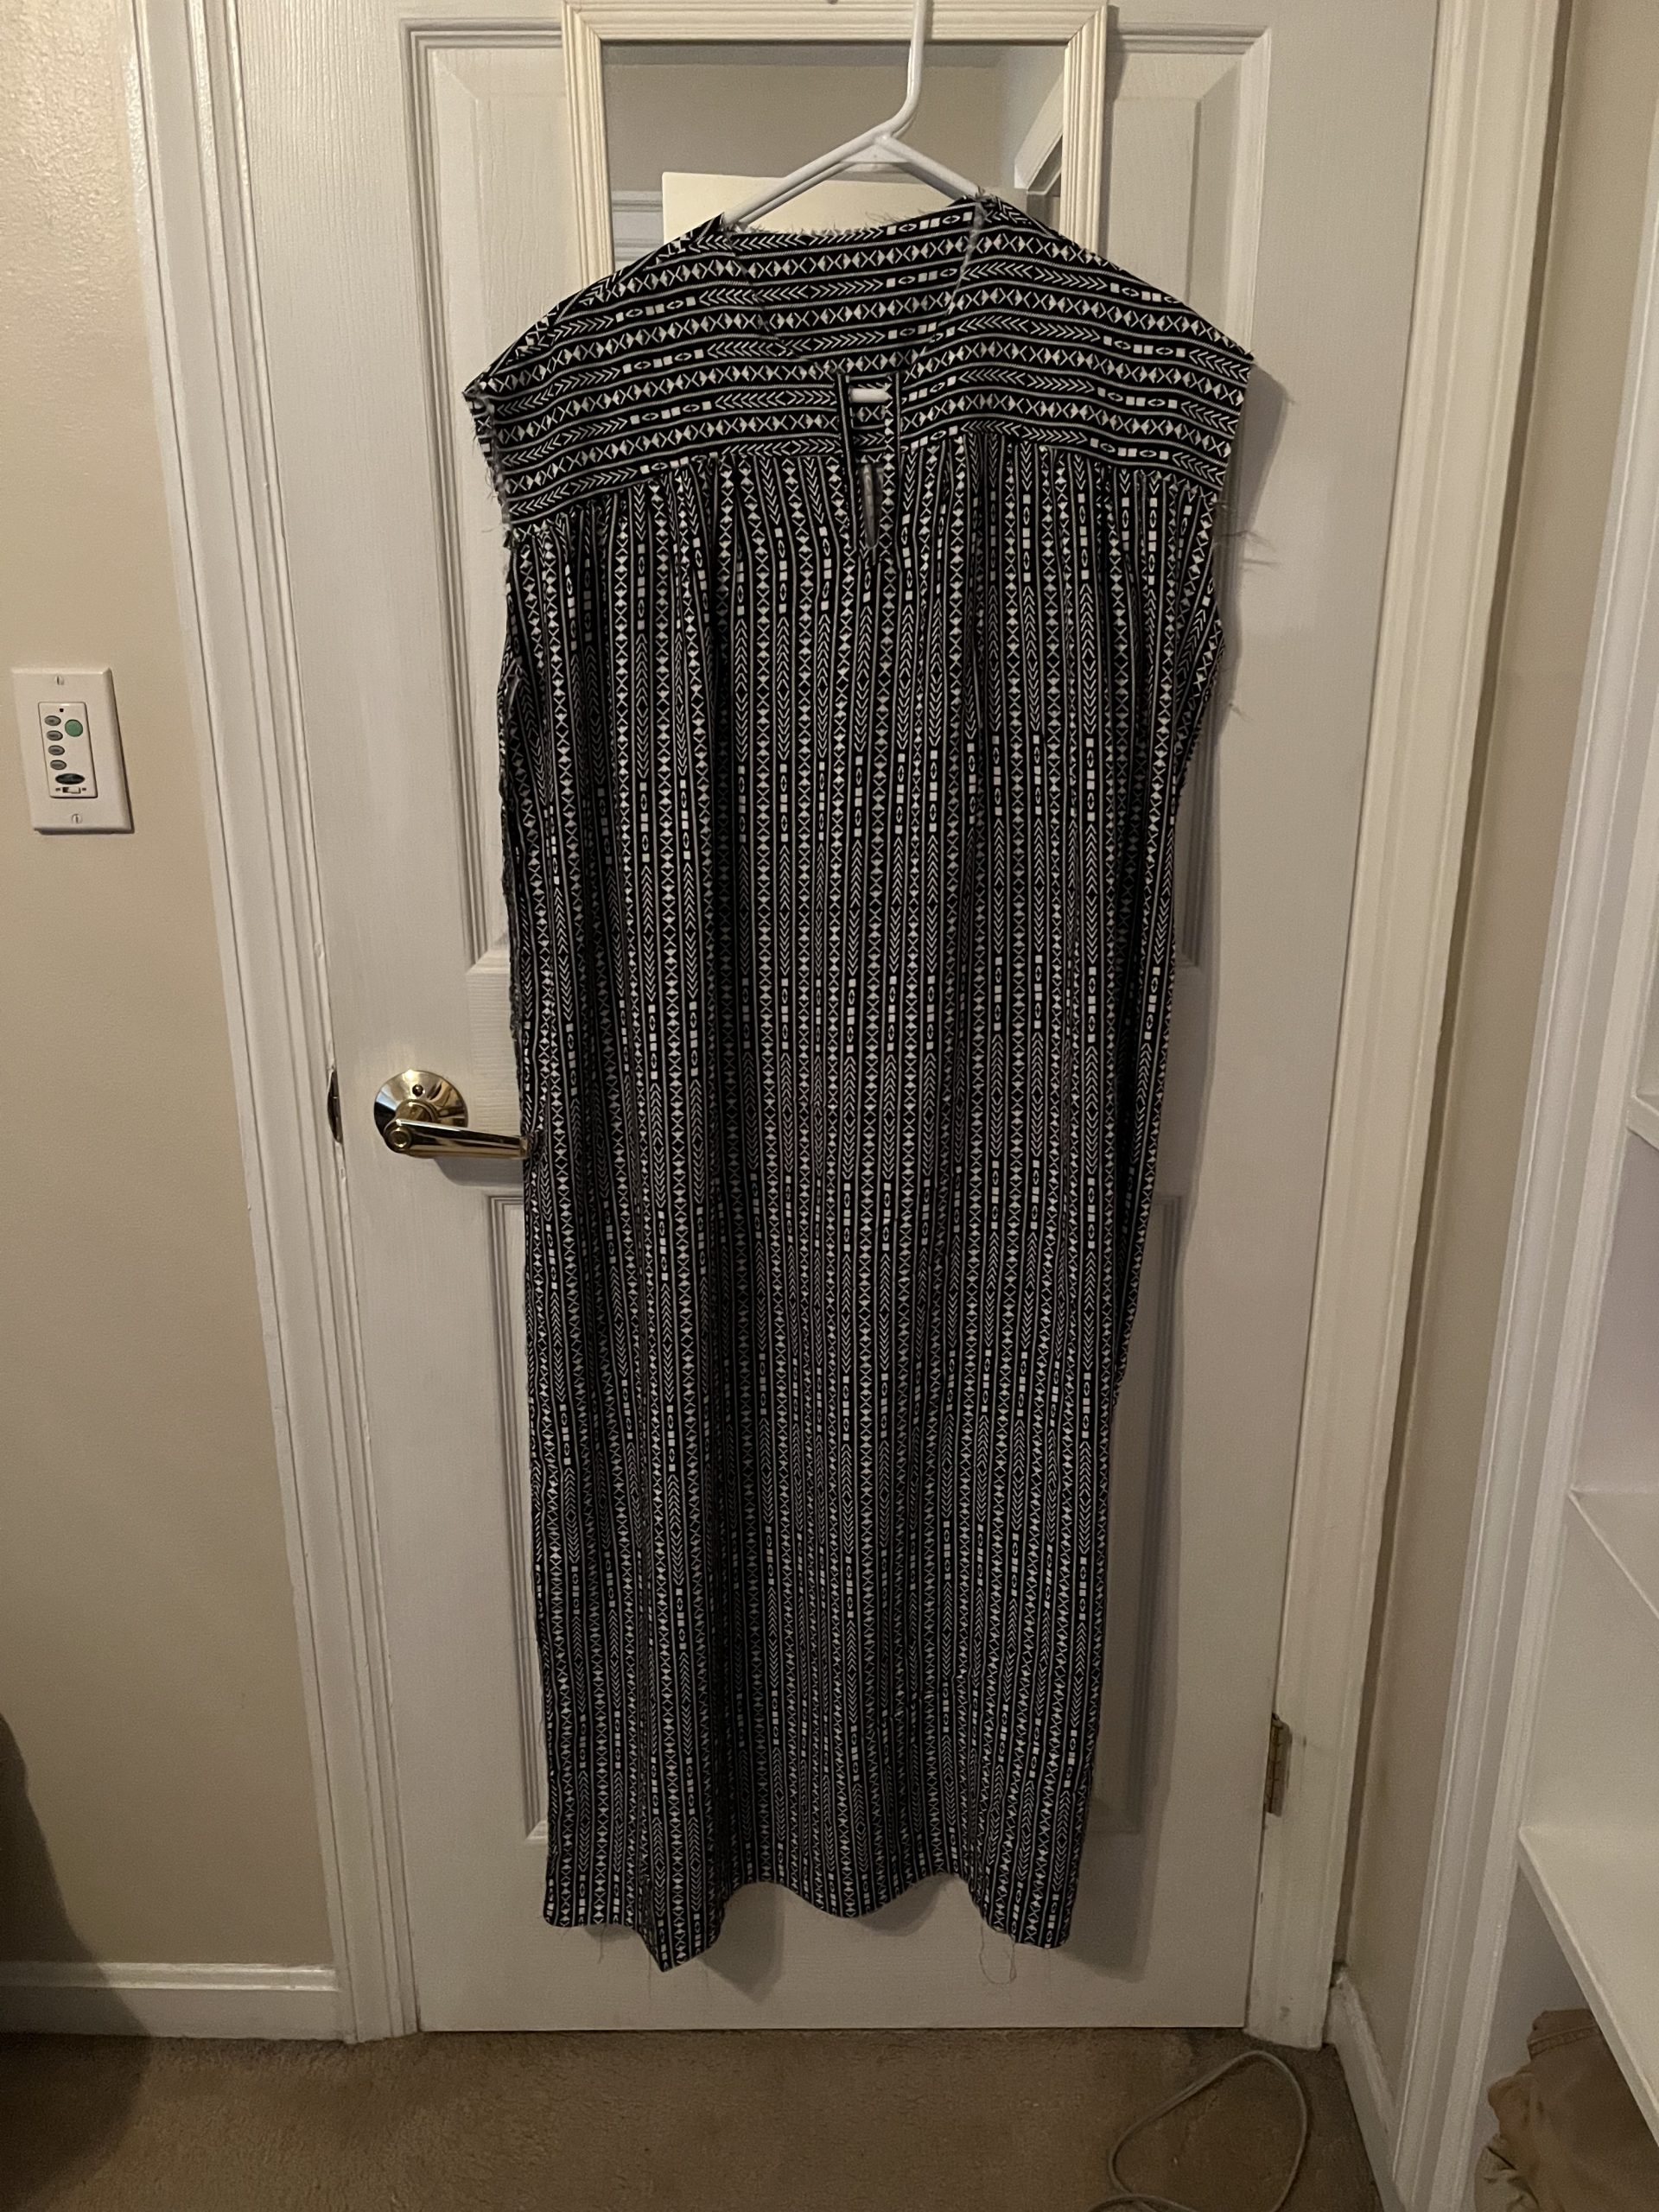
Part 3 – Construct the front, back, placket, necktie, bias tape sleeves, pockets, and hem. (9 hours)
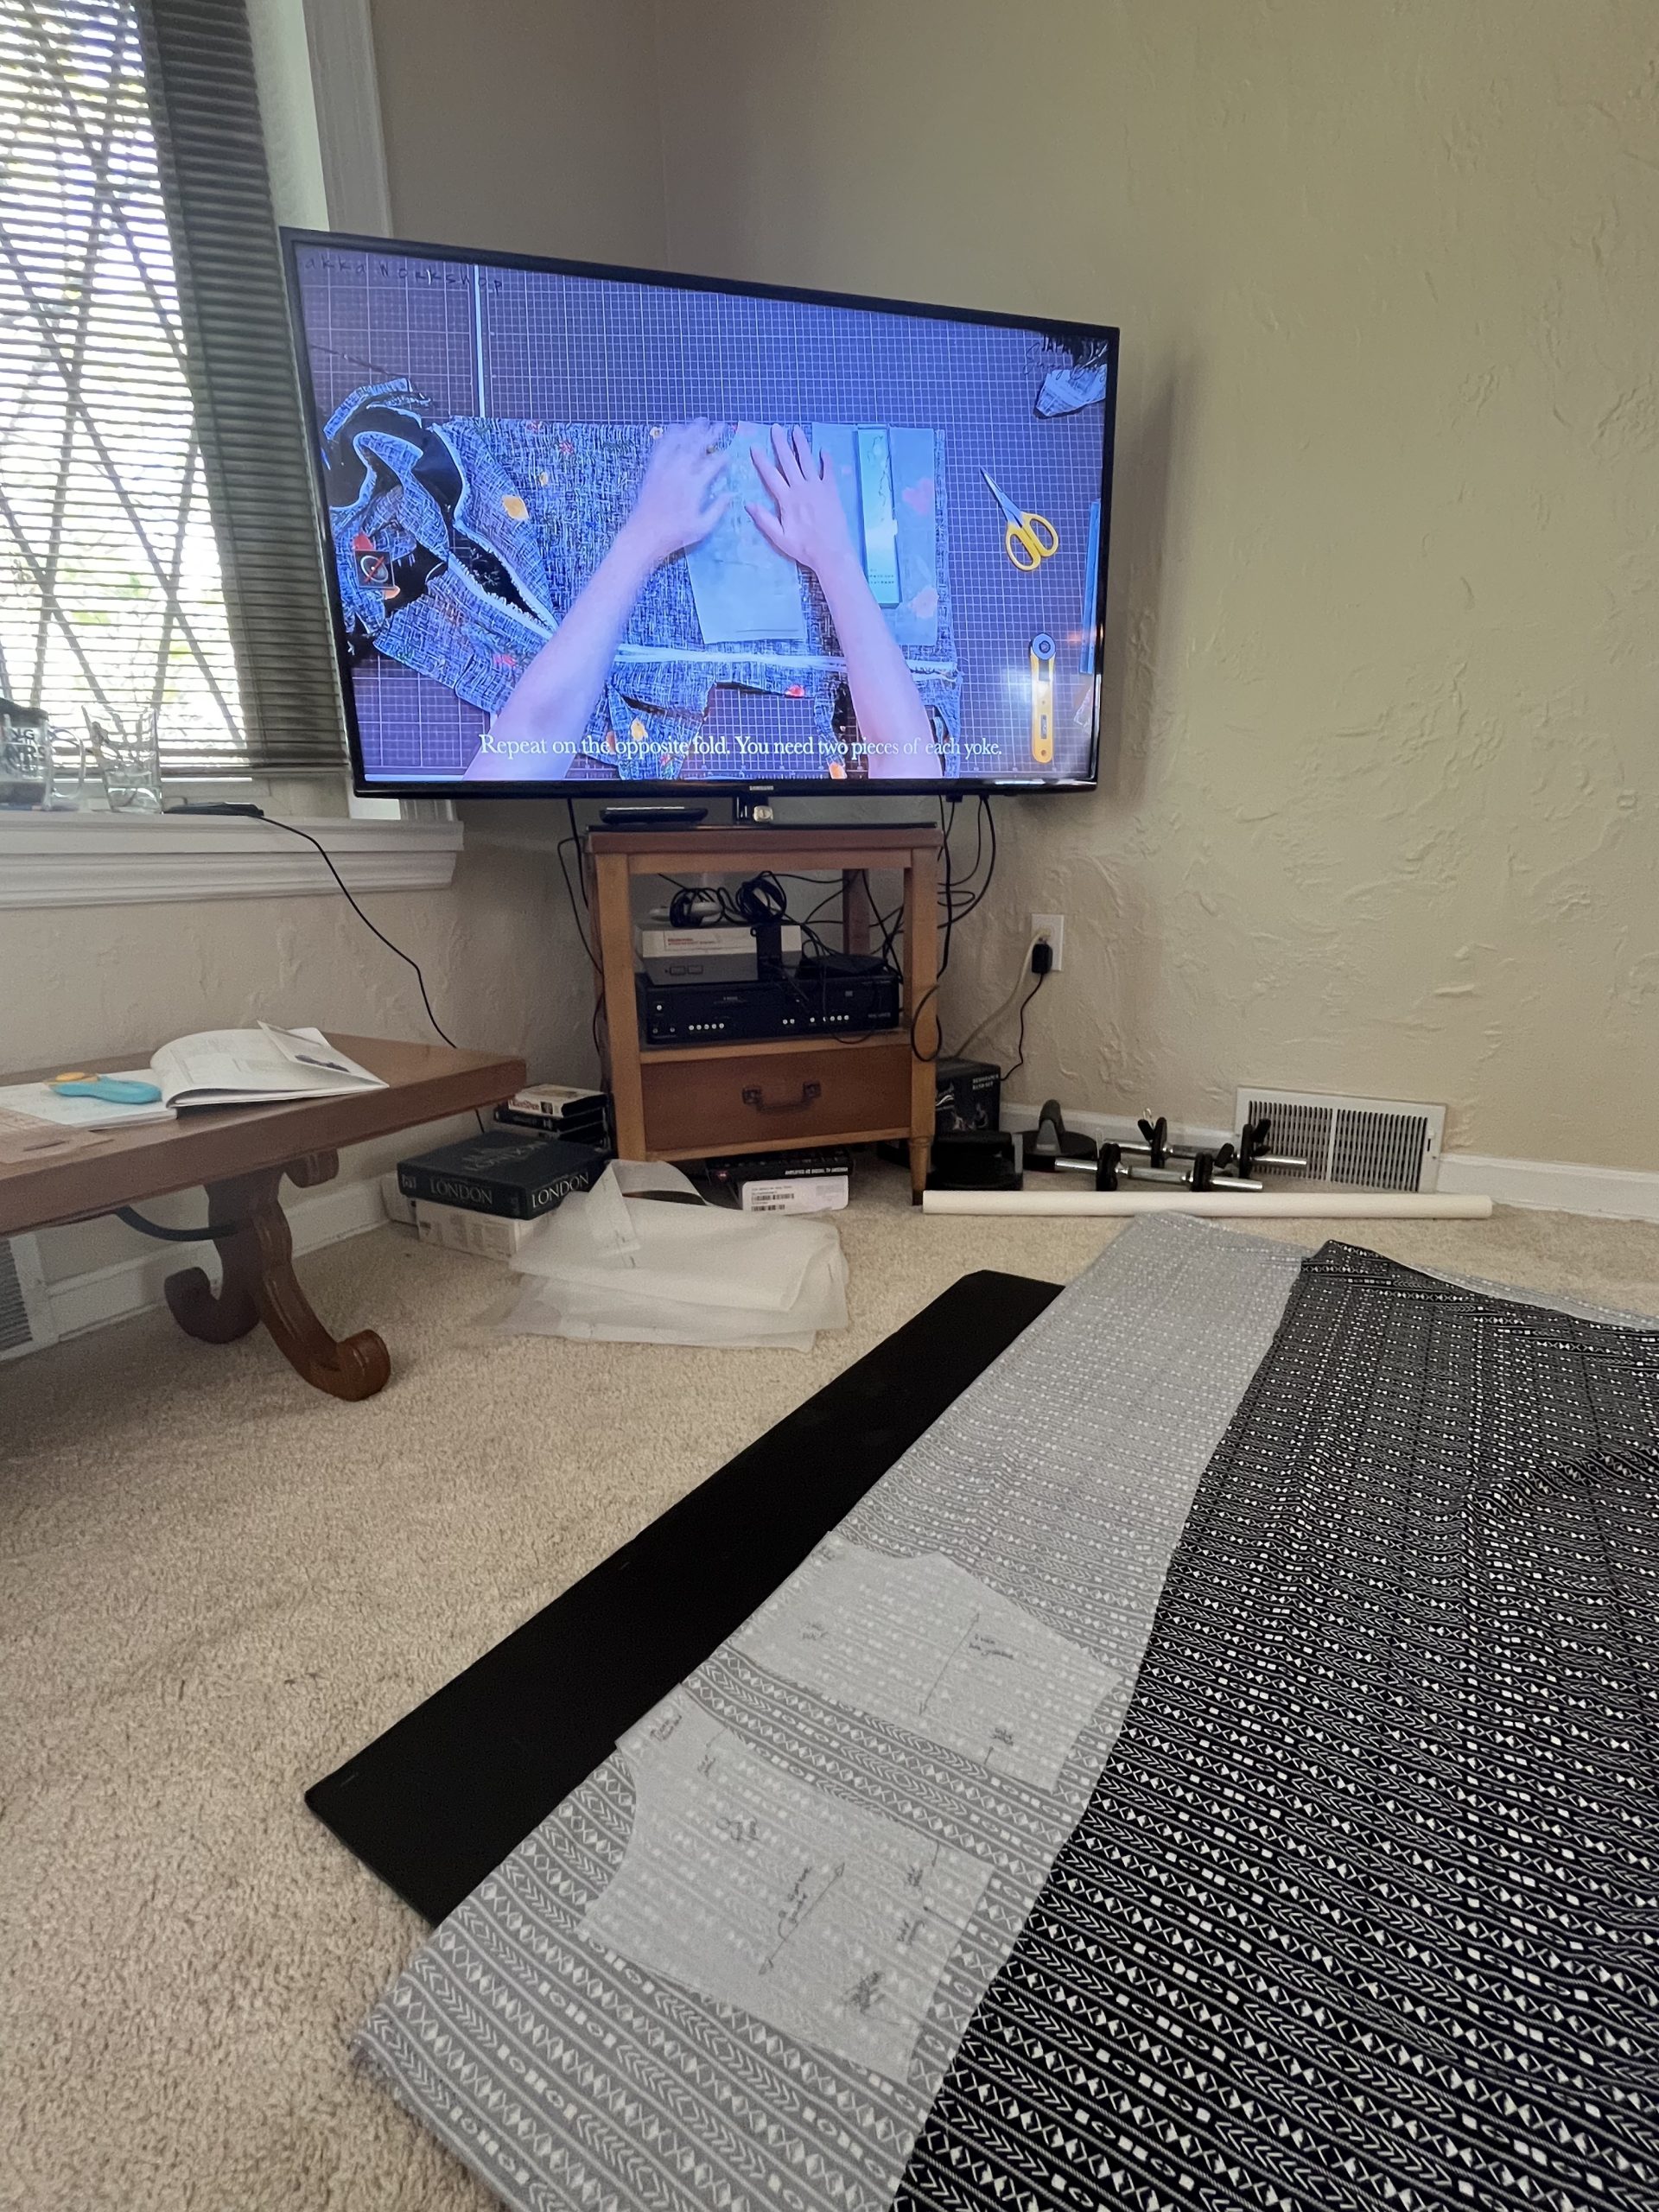
Day 1 – Trace and cut pattern pieces (about 2 hours)

Day 2 – Afternoon (8 hours)
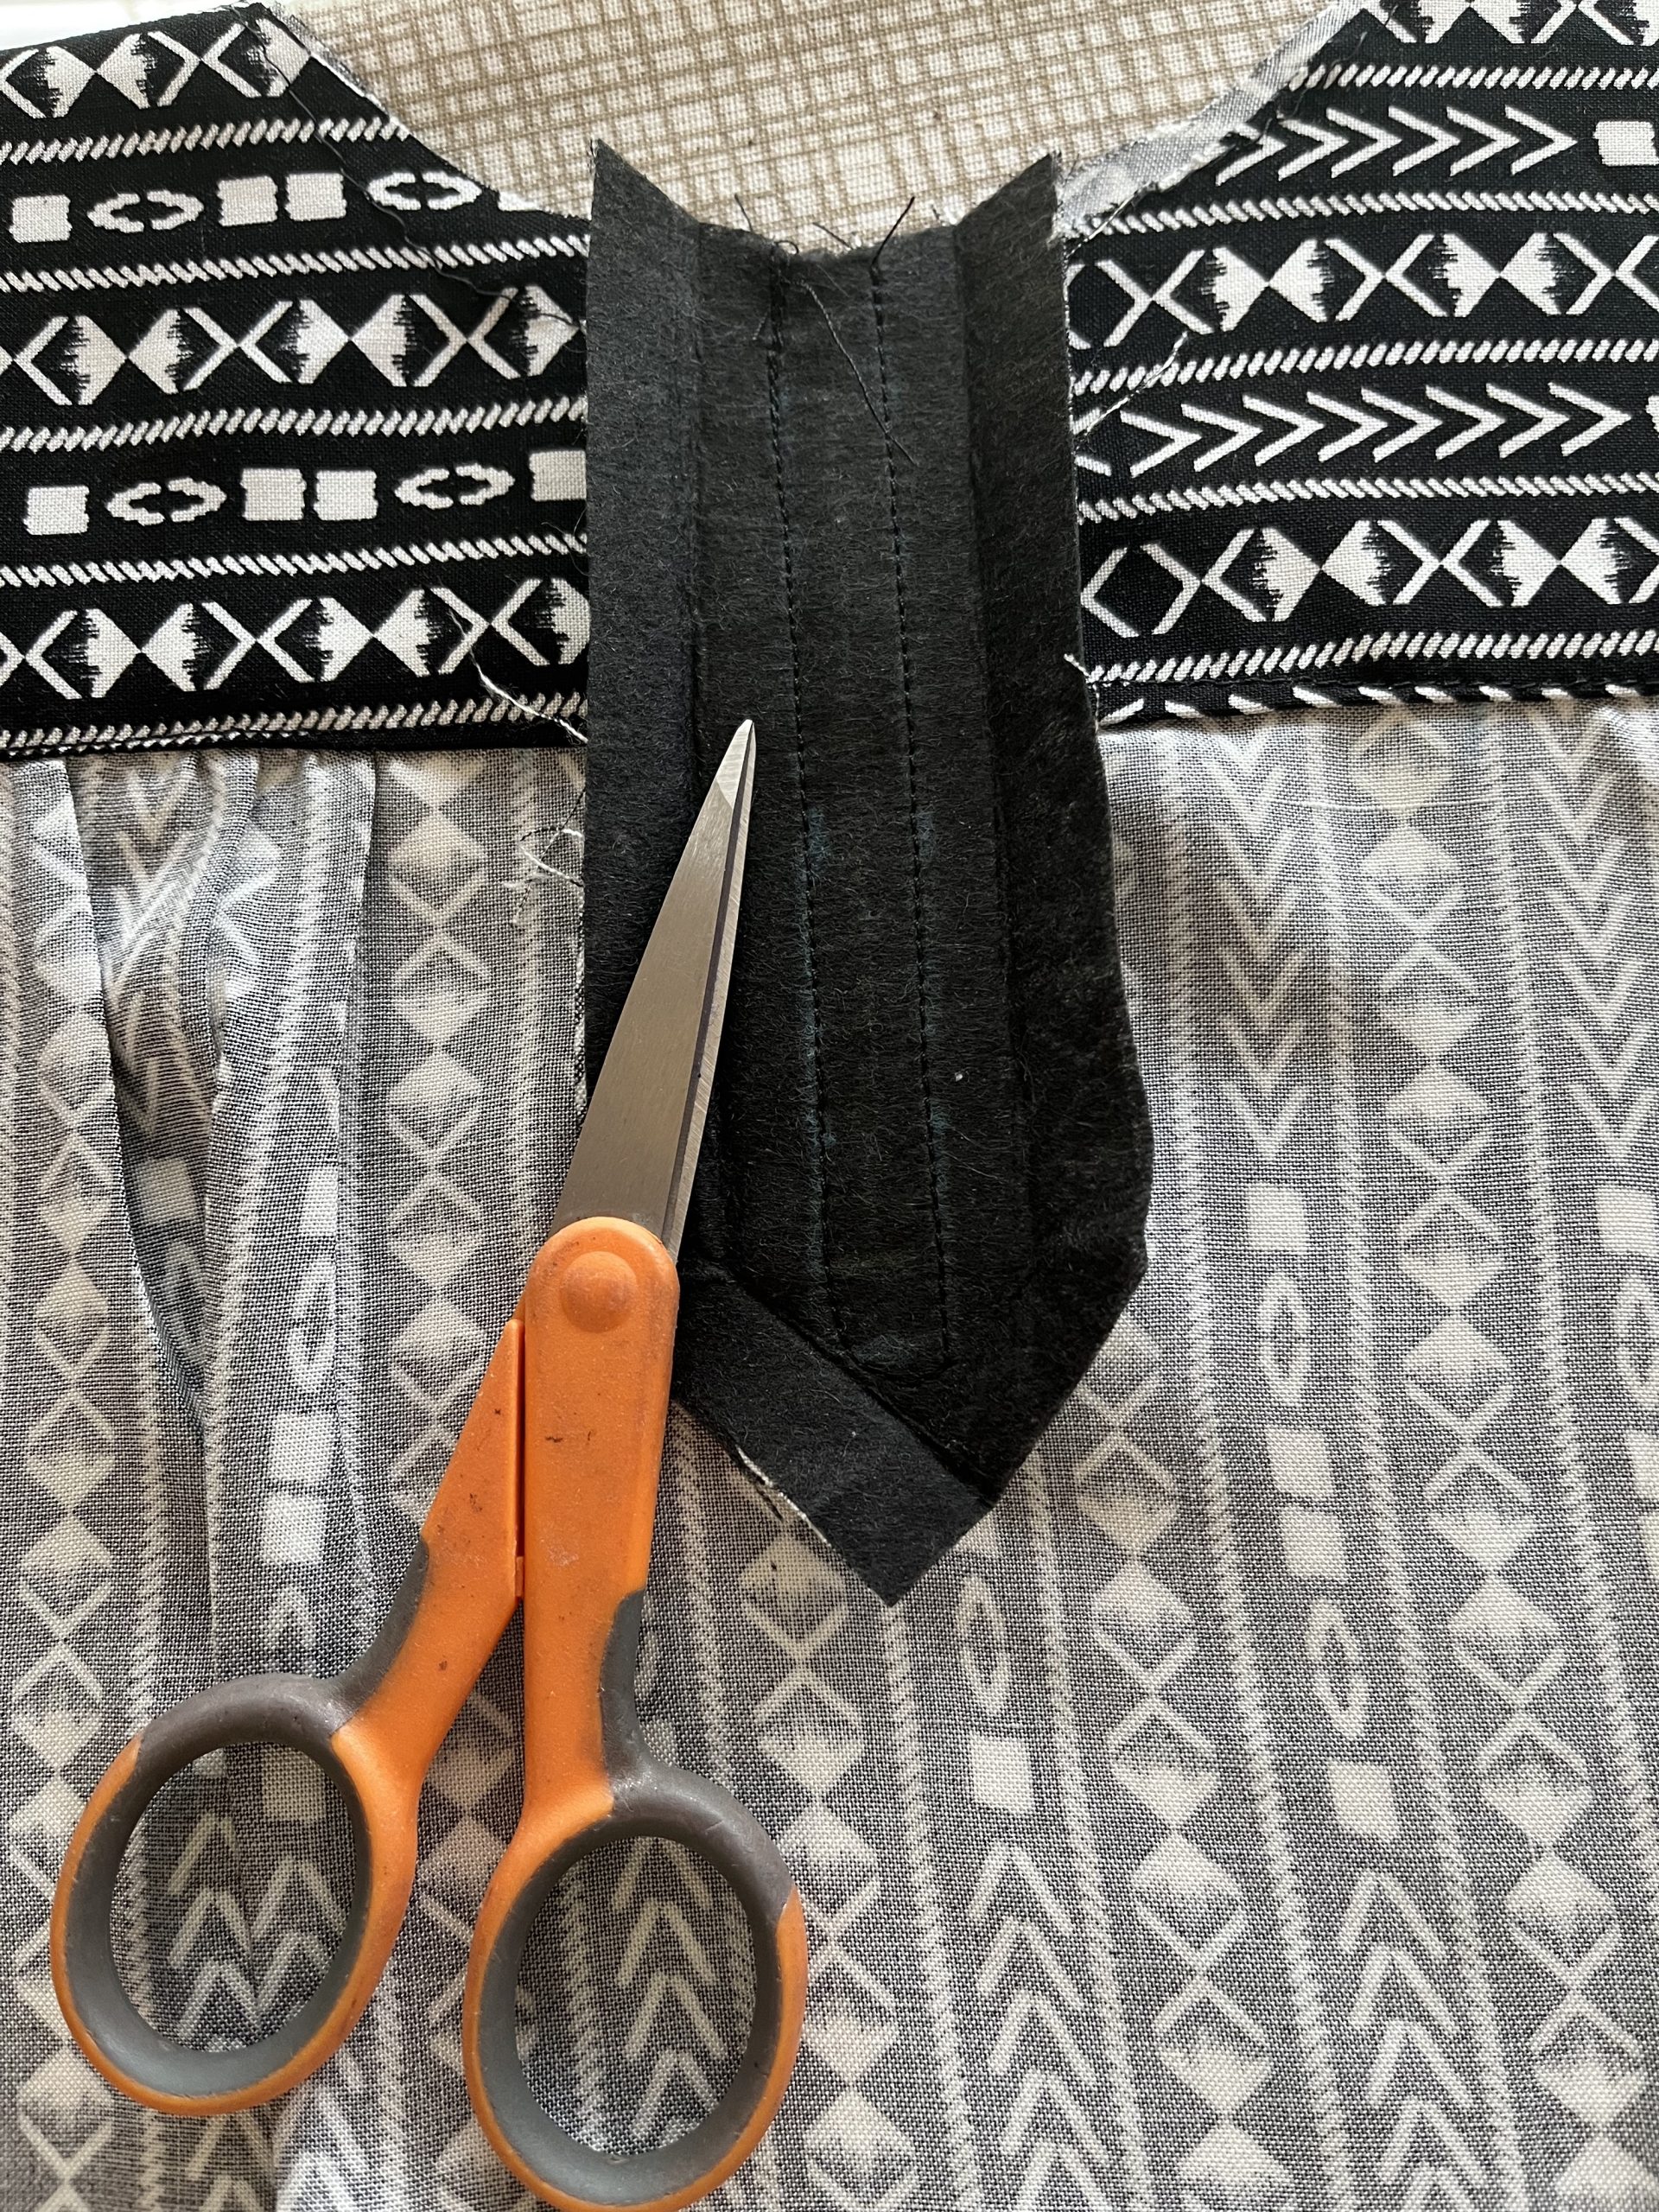
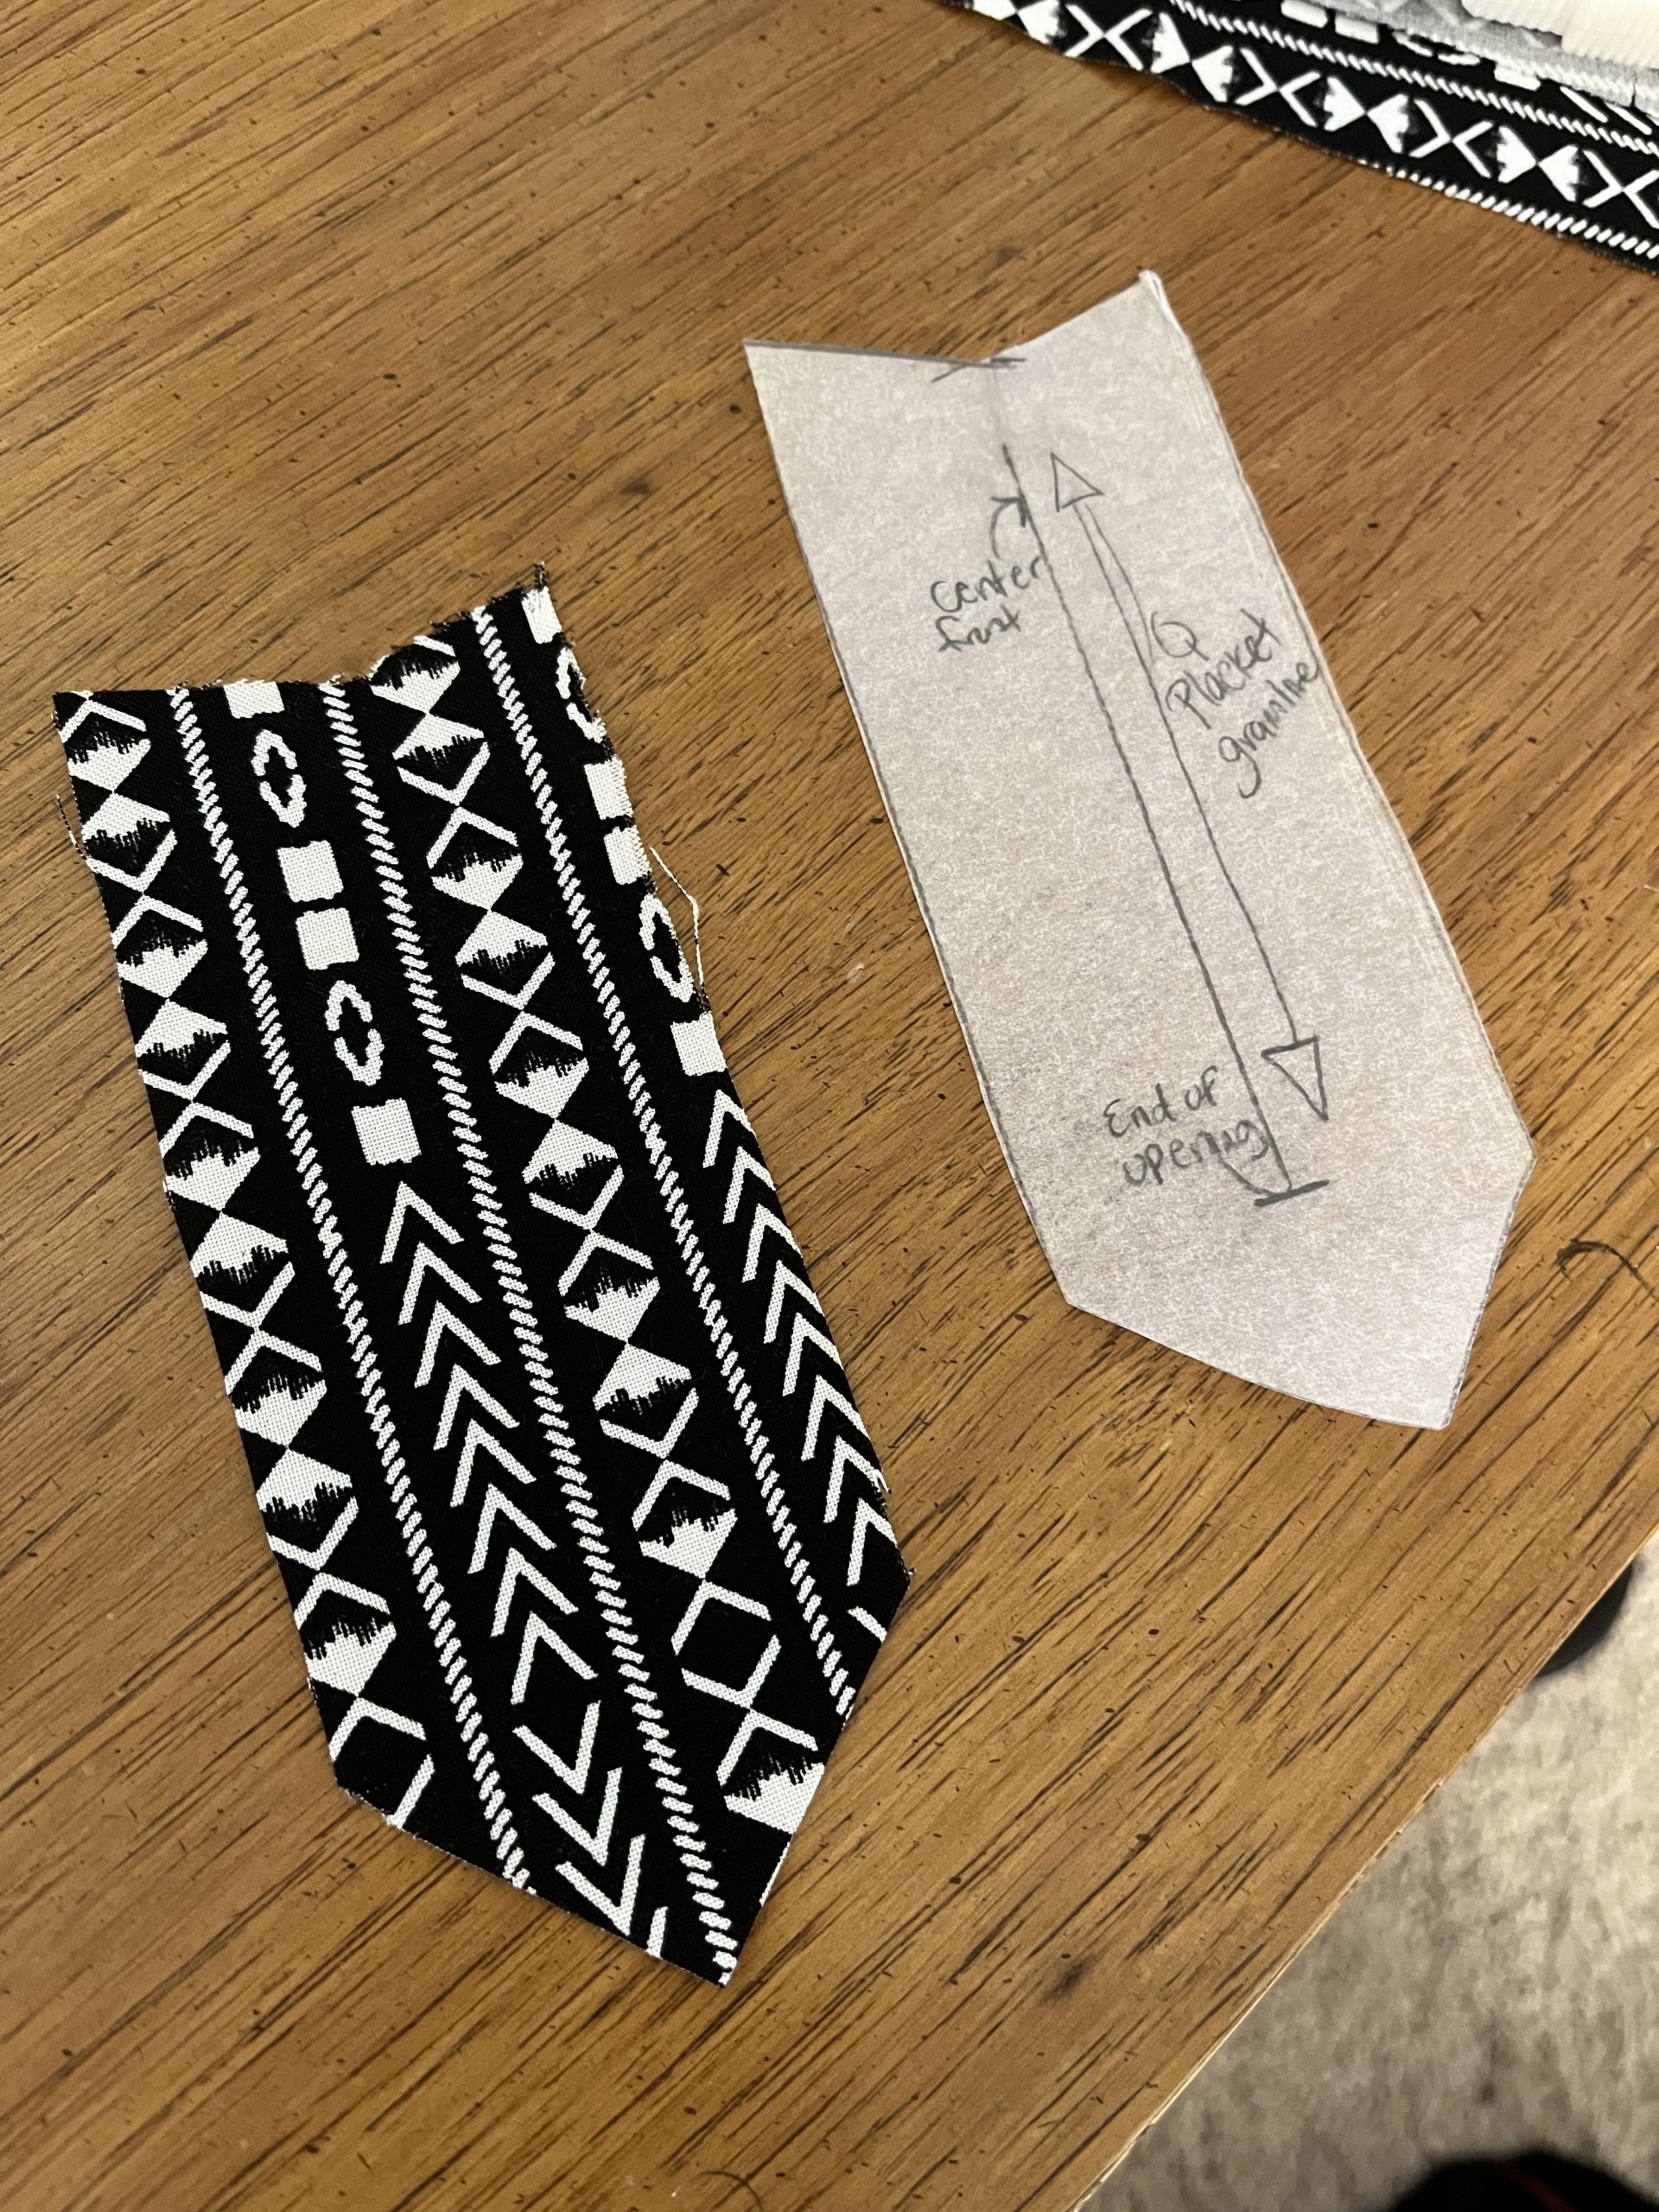
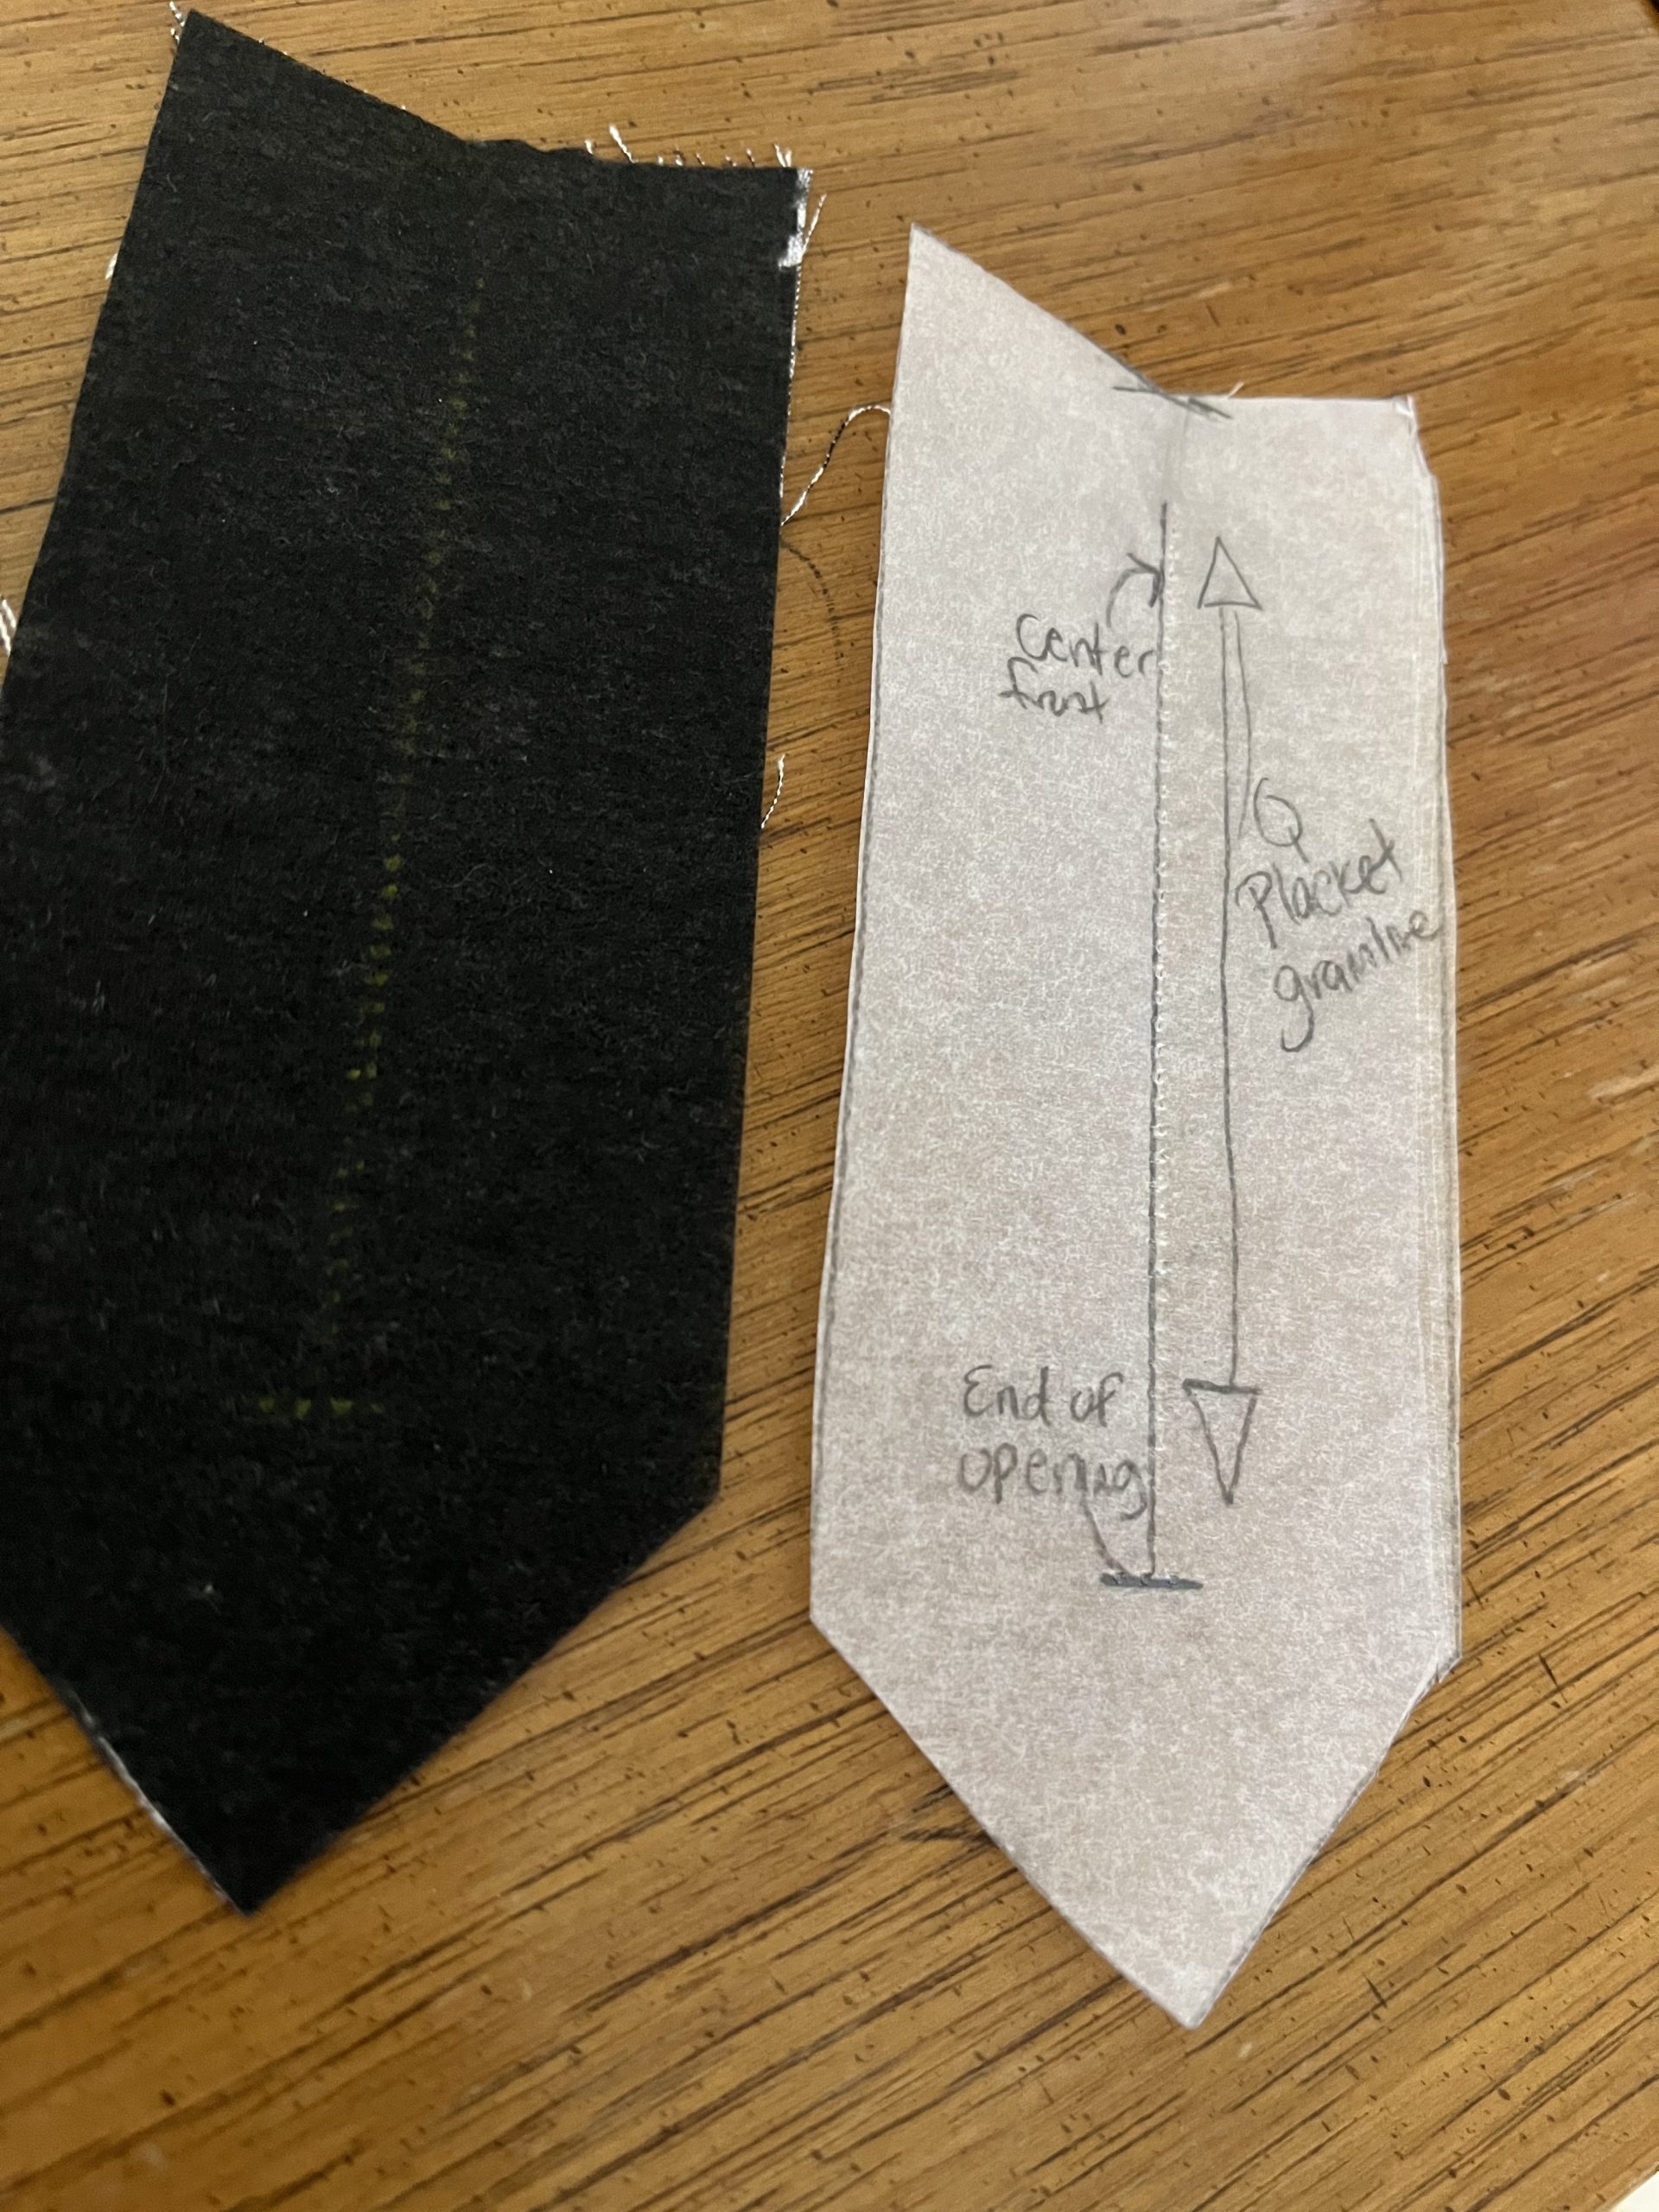
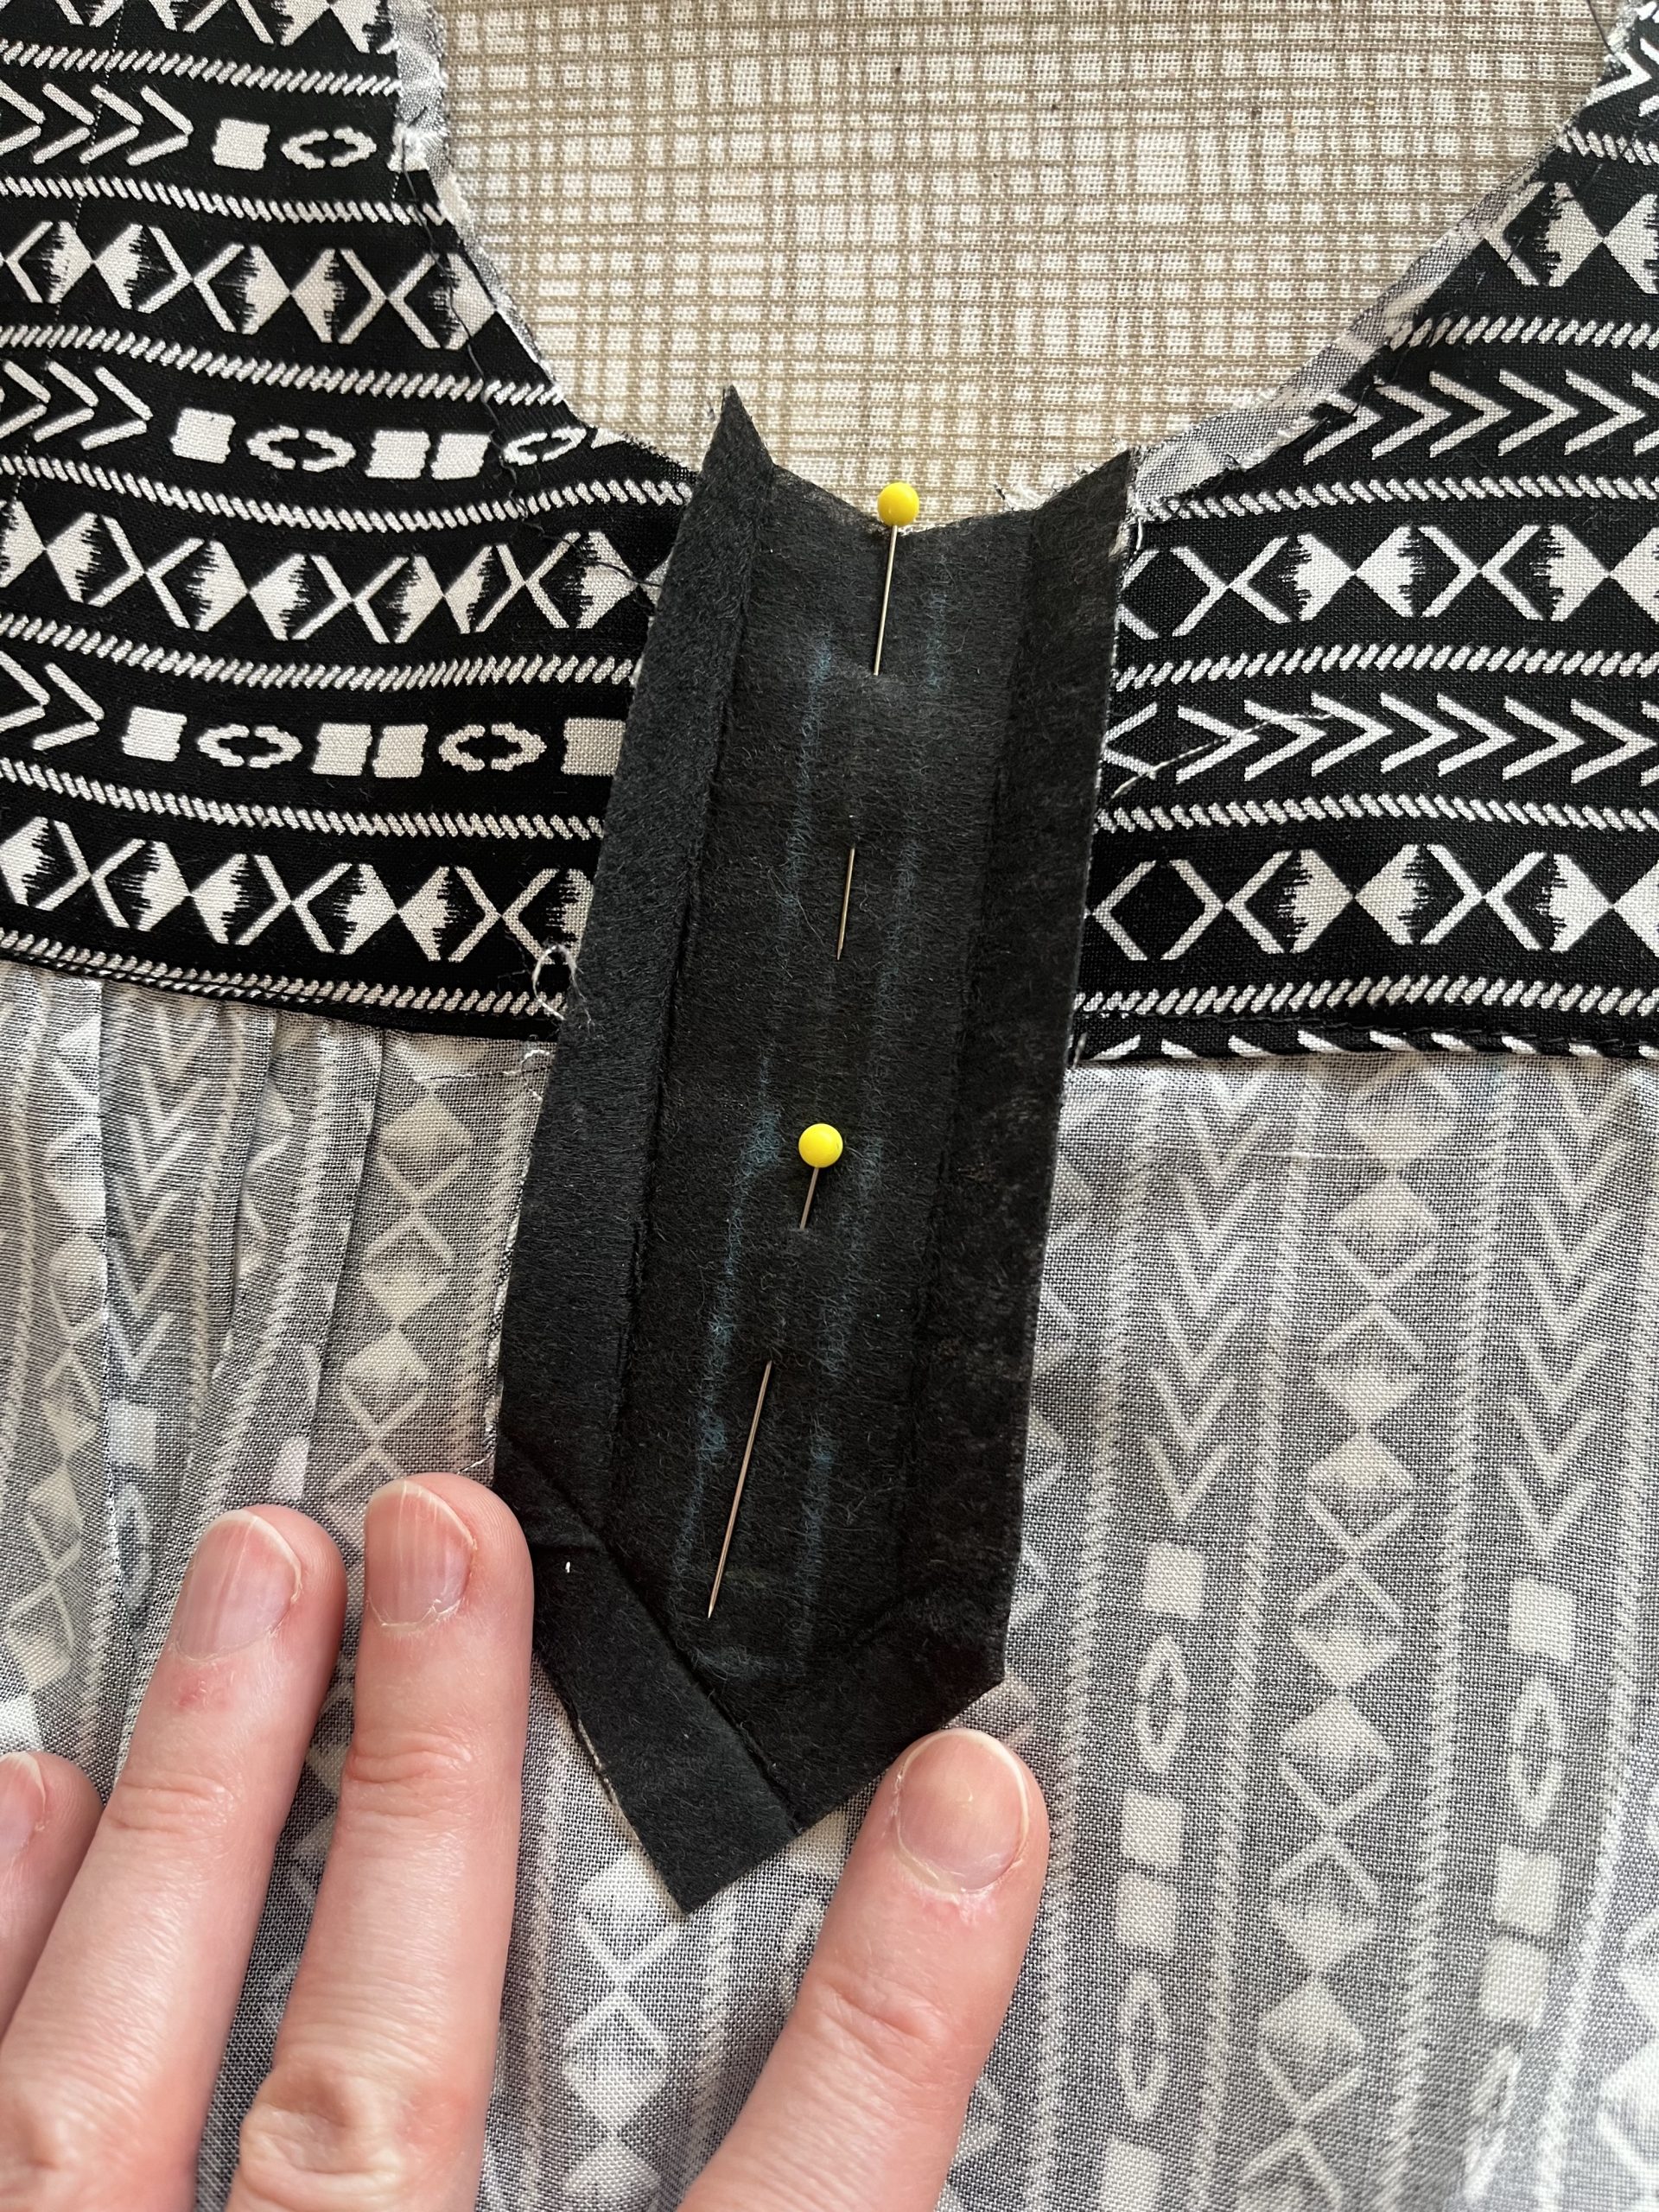
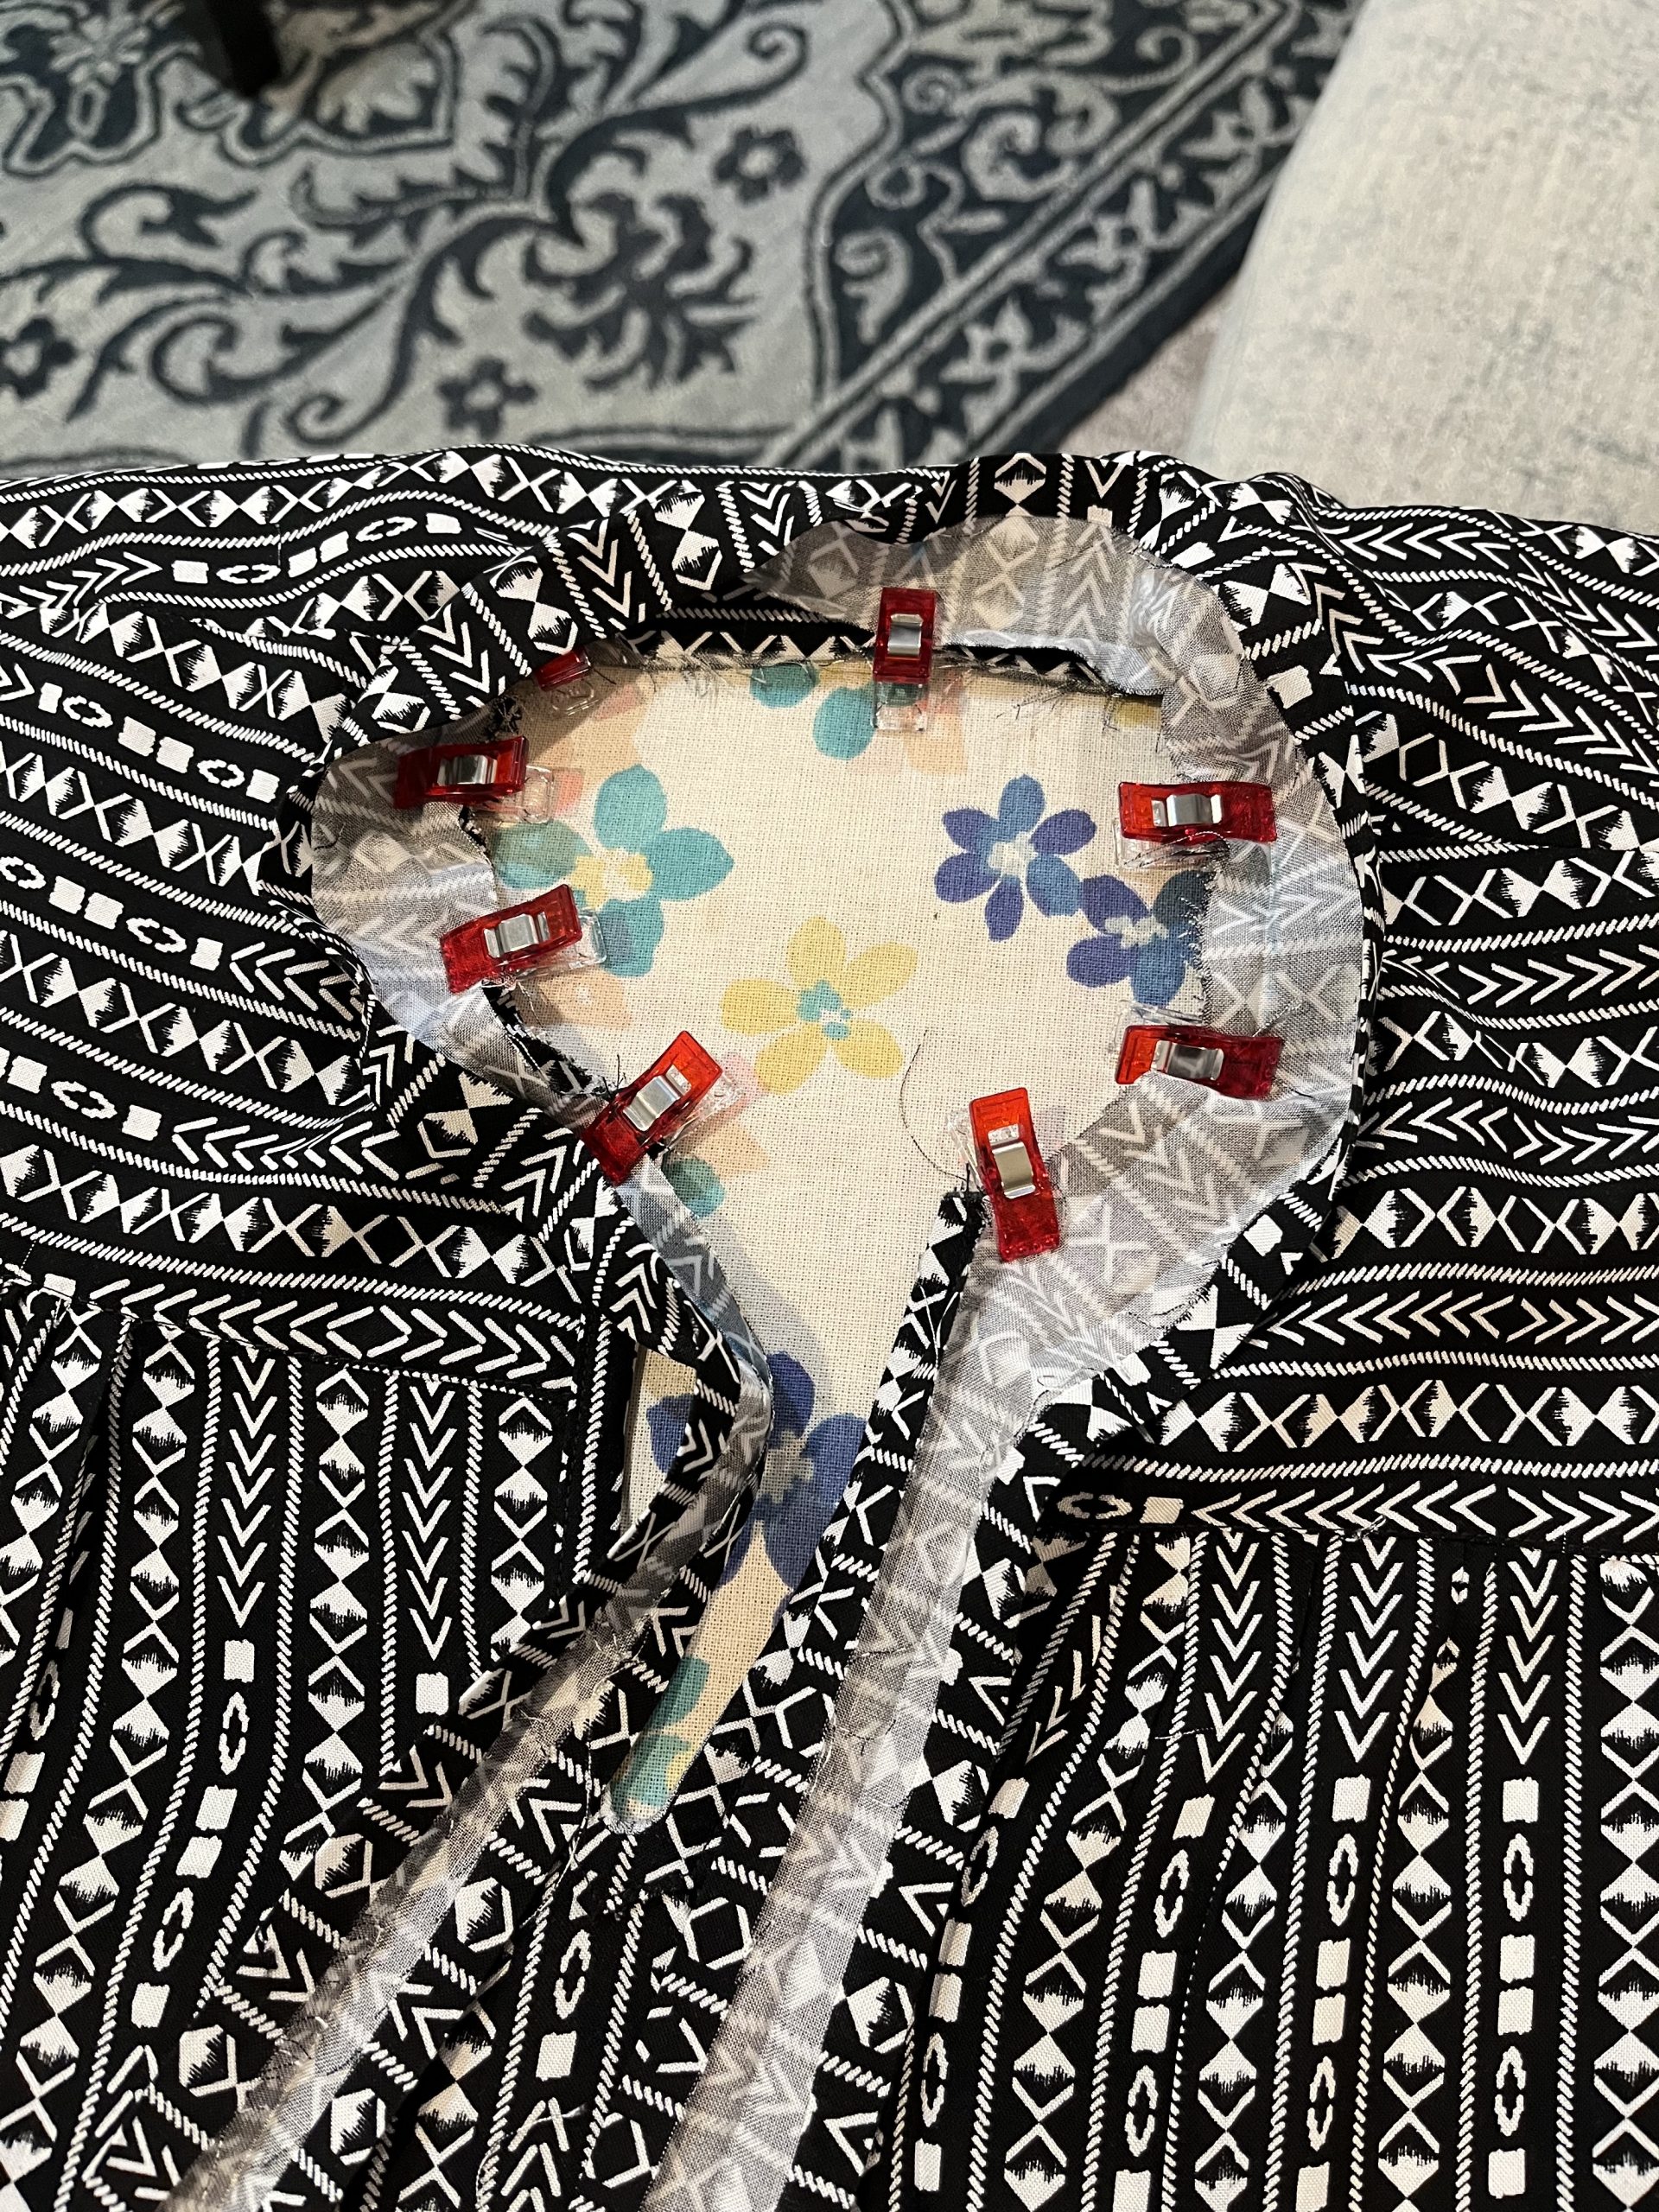
Making a placket was new for me. While making it, I watched and re-watched this section of the tutorial video more than 10 times.


Day 3 – Some more sewing (1 hour)
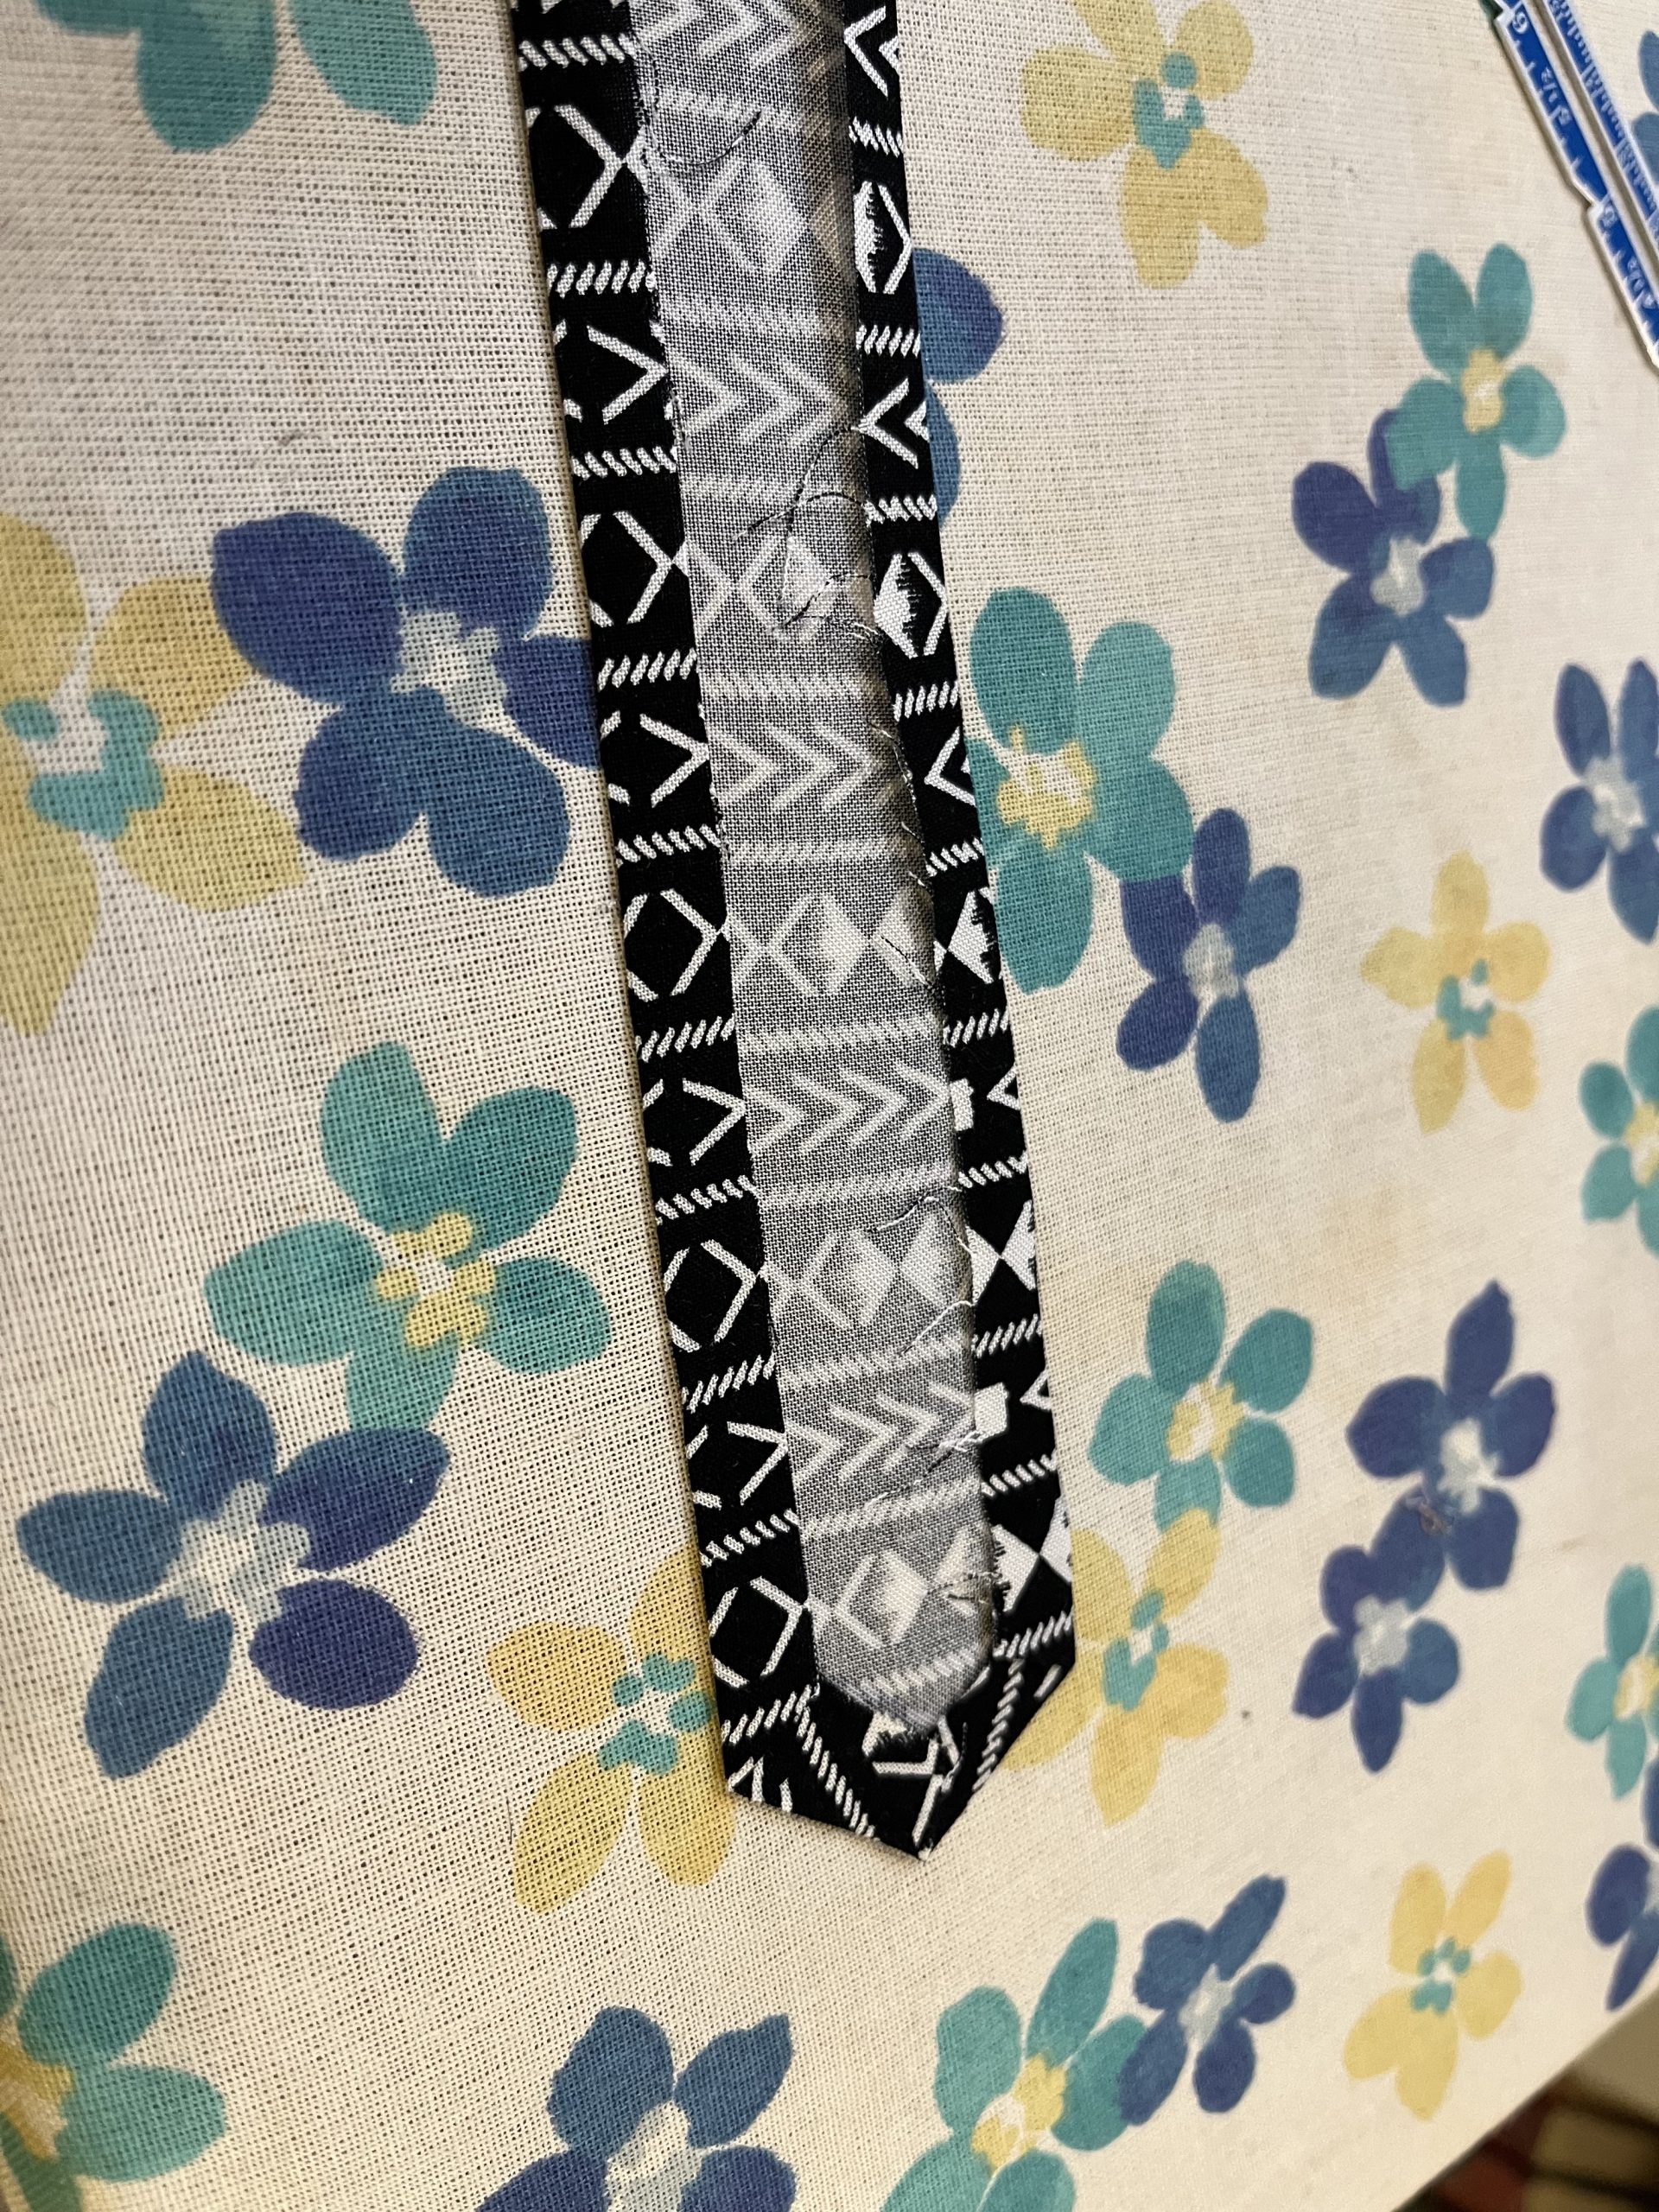
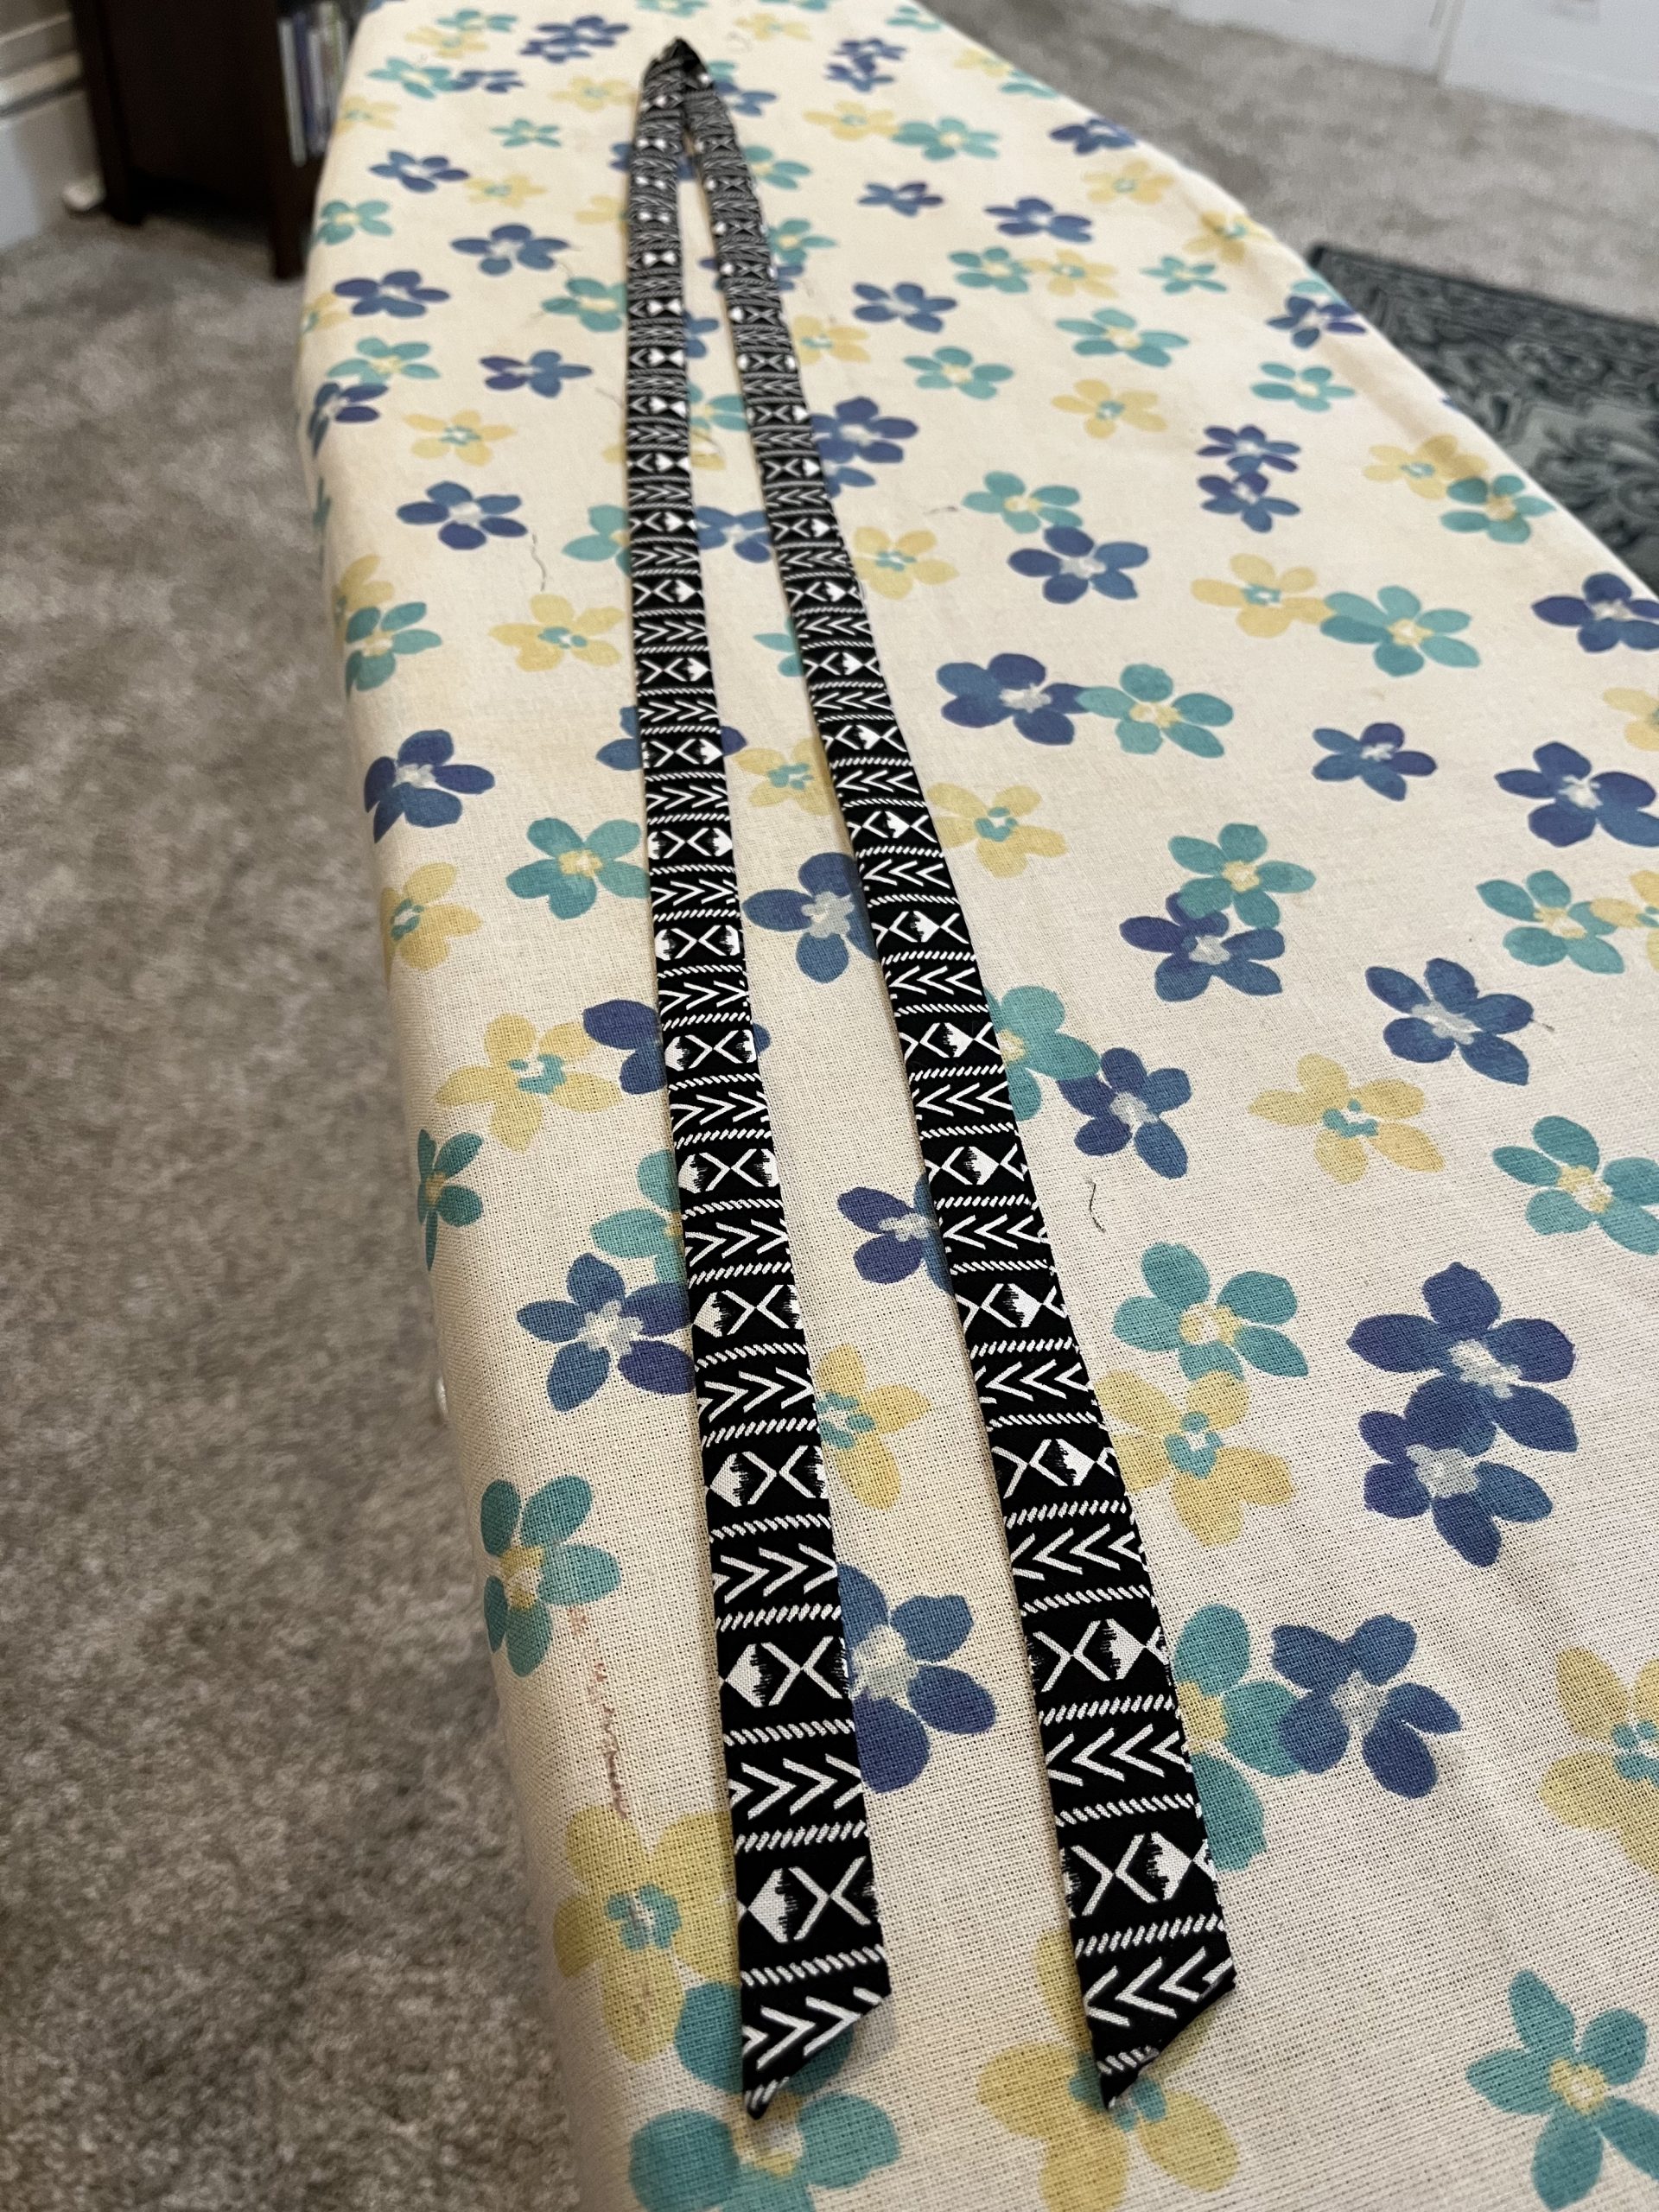
- Fold and iron neck-tie
- Sew neck-tie
Day 4 – Finish sewing (about 2 hours)
- Add pockets
- Sew sides of dress
- Hem the bottom of the dress.


What about the Nani IRO fabric?
If you read the last post, you’ll know I didn’t use my beloved Nani IRO fabric in this dress, and I am glad of that. I had to learn a few things first. Now that I’ve made the dress, I am not sure whether I want to make a second one.
This dress pattern would really show off the incredible designs of the Nani IRO fabric, but I am not sure whether I love this dress pattern enough to make it again.
For now, I’ve been looking at patterns from the Draper’s Daughter website for inspiration. We’ll see where the next adventure leads.
KatieDays
You must be logged in to post a comment.